
Have you ever faced the challenge of a mirror glued firmly to your wall and wondered how to remove it without causing damage? You’re not alone.
Removing a glued mirror can feel tricky, but with the right approach, you can do it safely and effectively. In this guide, you’ll discover simple, step-by-step methods to free your mirror without leaving marks or cracks behind. Keep reading, and you’ll learn how to tackle this task with confidence, saving time and avoiding costly repairs.
Your wall—and your peace of mind—will thank you.
Credit: bfymirror.com
Tools Needed
Removing a mirror glued to a wall requires more than just brute force. Having the right tools makes the job safer and easier. It also helps prevent damage to your wall and the mirror itself.
Protective Gear
First, equip yourself with protective gloves and safety goggles. Mirrors can shatter unexpectedly, and you want to keep your hands and eyes safe from sharp edges or flying glass.
Gloves with a good grip also help you hold the mirror steady without slipping. Don’t skip this step—your safety depends on it.
Heat Source
A heat gun or a hairdryer is essential for softening the adhesive. Warmth loosens the glue, making it easier to separate the mirror from the wall.
Be careful not to overheat and crack the glass. Move the heat source evenly across the mirror’s edges for the best results.
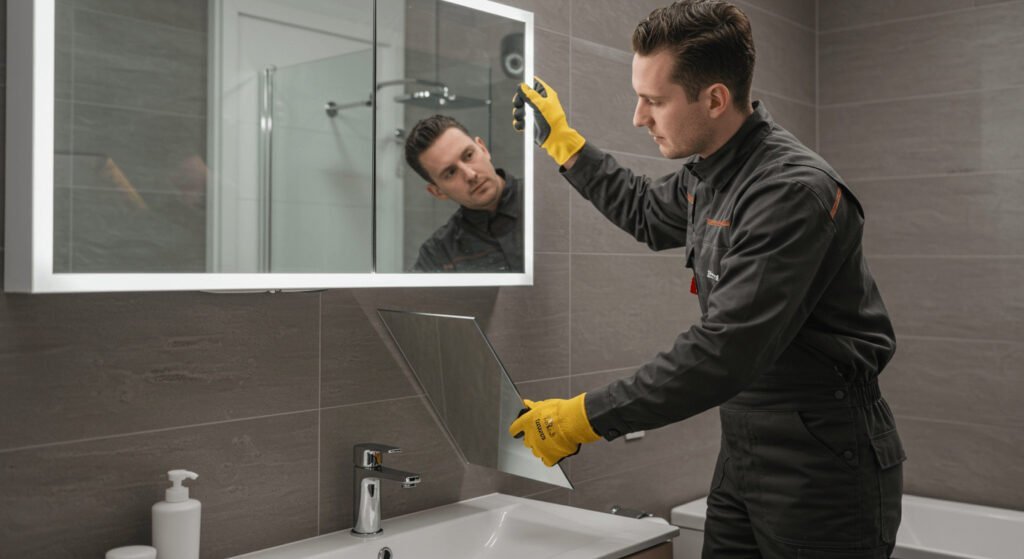
Putty Knife Or Thin Scraper
A flexible putty knife or a thin scraper will help you gently pry the mirror away from the wall. Avoid using anything too thick or rigid that might damage the surface.
Insert it carefully between the wall and mirror after heating, and work slowly to break the adhesive bond.
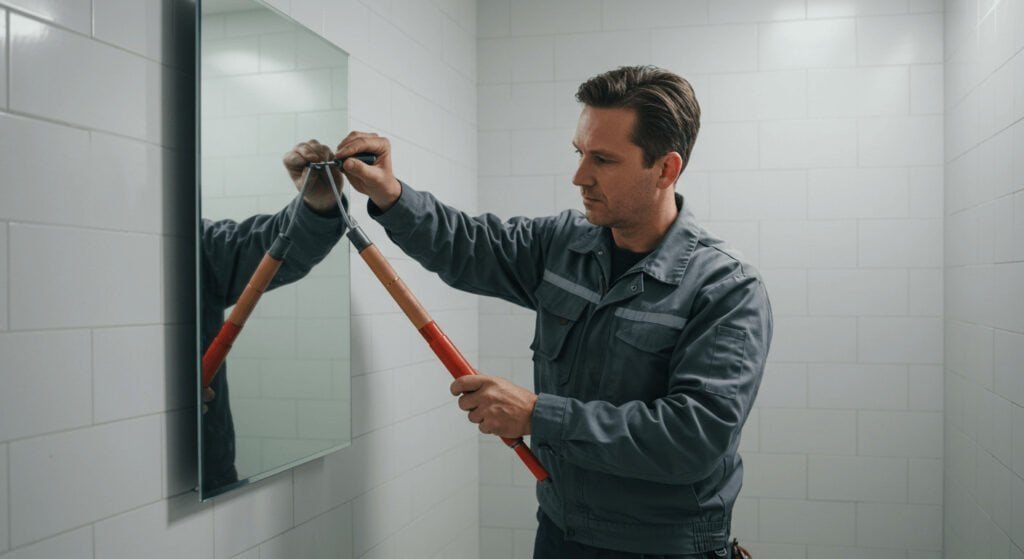
Dental Floss Or Fishing Line
These thin, strong lines act like a saw to cut through the glue behind the mirror. Slide the floss or line behind the mirror and use a back-and-forth motion to separate it.
This method reduces the risk of breaking the mirror compared to prying alone.
Adhesive Remover Or Rubbing Alcohol
After the mirror is off, some adhesive residue may remain. Use an adhesive remover or rubbing alcohol with a cloth to clean the wall surface.
This makes repainting or reapplying new fixtures easier and cleaner.

Credit: www.youtube.com
Prepare The Area
Clear the space around the mirror to avoid damage to nearby items. Lay down a drop cloth to catch debris and protect the floor. Ensure good lighting to see the edges and glue clearly.
Removing a mirror glued to a wall might seem daunting, but with the right preparation, you can make the process smooth and safe. Preparing the area is crucial to prevent any mishaps or damage to your space. Imagine starting this task only to find glass shards scattered on the floor or a nick in your fresh paint. Let’s avoid that by getting the area ready first!Clear The Surrounding Area
Before you dive into mirror removal, ensure the surrounding area is free from any obstacles. Move furniture away to create ample workspace. This also prevents any valuable items from getting damaged if the mirror falls unexpectedly.Protect The Floor
Lay down a sturdy drop cloth or old blanket beneath the mirror. This will catch any debris and protect your flooring from potential scratches or damage. If you’re working on a carpeted area, consider using a plastic sheet to prevent any adhesive residue from sticking.Gather Your Tools
Having the right tools on hand is vital. You’ll need a utility knife, safety gloves, goggles, and possibly a pry bar. Gather everything before you start, so you don’t have to stop midway to search for something.Wear Protective Gear
Safety should be your top priority. Wear gloves to protect your hands from sharp edges and goggles to shield your eyes from any flying debris. Even a small piece of glass can cause injury.Ensure Adequate Lighting
A well-lit space can help you see every detail clearly. Make sure the area is well-lit to avoid any accidents. If necessary, use a portable lamp or flashlight to illuminate darker corners. By thoughtfully preparing the area, you’re setting yourself up for success. Are you ready to tackle the next step with confidence?Soften The Adhesive
Removing a mirror glued to a wall can feel like a daunting task, especially when the adhesive has set firmly. The key to a smooth removal lies in softening that stubborn glue first. This makes the mirror easier to detach and reduces the risk of damaging your wall or the glass.
Using Heat
Heat helps break down the adhesive’s bond by making it more pliable. You can use a hairdryer or a heat gun on a low setting to warm the glued area gently. Hold the heat source about 6–8 inches away and move it slowly across the surface to avoid overheating or cracking the mirror.
As the adhesive softens, you’ll notice the mirror becoming easier to wiggle or lift. Don’t rush this step—applying too much heat too quickly might cause the glass to shatter. Have patience and test the mirror’s movement frequently.
Applying Solvents
Certain solvents are designed to dissolve or weaken adhesives safely. Acetone, rubbing alcohol, or adhesive removers can be useful here. Dab a small amount of solvent on a cloth and gently apply it along the edges of the mirror where the glue is concentrated.
Let the solvent sit for a few minutes to penetrate the adhesive thoroughly. You might need to reapply the solvent several times for stubborn glue. Always test the solvent on a small, hidden area first to ensure it won’t damage your wall’s paint or finish.
Have you ever noticed how some adhesives resist removal no matter what you try? Sometimes combining gentle heat with solvent application produces the best results. This dual approach can save you time and frustration while preserving your wall’s integrity.

Credit: www.youtube.com
Loosen The Mirror
Loosening a mirror glued to the wall requires care and patience. The goal is to gently separate the mirror from the wall without breaking the glass or damaging the surface. Two simple tools often help make this process smoother: a putty knife and dental floss. Both can work to weaken the adhesive and create space for easy removal.
Using A Putty Knife
Start by sliding a thin putty knife between the mirror and the wall. Move it slowly and carefully to avoid cracking the glass. Use gentle back-and-forth motions to widen the gap. The putty knife helps break the glue bond bit by bit. Work around the edges in small sections. Patience is key. Avoid forcing the knife too hard.
Using Dental Floss
Dental floss can act like a saw to cut through the glue. Slide a piece of floss behind the mirror edge. Use a gentle sawing motion to move it back and forth. This motion slowly breaks the adhesive. Keep the floss close to the wall to protect the mirror’s surface. Dental floss is flexible and fits into tight spaces. It is a safe tool for delicate mirrors.
Remove The Mirror Safely
Removing a mirror glued to a wall requires careful attention to avoid damage and injury. Safety should be your top priority throughout the process. Taking your time and using the right tools will help you remove the mirror cleanly and protect your wall and yourself.
Gather Protective Gear
Before you start, put on safety goggles and thick gloves. Mirrors can break unexpectedly and create sharp shards. Protecting your eyes and hands reduces the risk of cuts and injury.
Wear long sleeves and closed-toe shoes for extra protection. Safety isn’t just about avoiding mirror glass but also about preventing scrapes from tools or walls.
Prepare The Work Area
Clear the space around the mirror to avoid tripping hazards. Lay down a drop cloth or thick blankets on the floor to catch any falling debris.
If you have pets or children, keep them away from the area. A safe environment helps you focus and reduces distractions.
Use Proper Tools Carefully
Use a putty knife or a thin, flexible scraper to gently loosen the adhesive. Avoid using excessive force, which can cause the mirror to shatter.
A hairdryer or heat gun can soften the glue, making it easier to remove the mirror without damage. Keep the heat moving to avoid overheating one spot.
Handle The Mirror With Support
Ask a friend to help hold the mirror once it starts to come loose. Mirrors are heavy and awkward; two sets of hands prevent drops and accidents.
Support the mirror from the bottom and sides evenly. This reduces stress on the glass and lowers the chance of cracks.
Dispose Of Broken Pieces Properly
If the mirror breaks, wrap shards in newspaper or thick fabric before placing them in a sturdy box. Label the box to warn others of the sharp contents.
Check your local regulations for disposing of glass safely. Proper disposal prevents injuries and environmental harm.
Have you thought about how much damage a simple mistake can cause during this process? Taking safety seriously protects both you and your home.
Clean Residual Adhesive
After successfully removing a mirror from the wall, you’re often left with stubborn adhesive residue. Cleaning this leftover glue is crucial to restore your wall’s smooth surface and prepare it for repainting or redecoration. Tackling the residue can be tricky, but with the right approach, you can get your wall looking clean and fresh in no time.
Scraping Off Glue
Start by gently scraping off as much glue as possible using a plastic scraper or a putty knife. Avoid metal tools to prevent damaging the wall’s surface. Hold the scraper at a low angle and work slowly to lift the adhesive without gouging the paint or drywall.
If the glue is particularly tough, try softening it first with a hairdryer. Heat helps loosen the adhesive, making scraping easier and less likely to cause wall damage. Just be careful not to overheat and risk peeling paint.
Using Cleaning Solutions
For sticky residue that scraping can’t remove, apply a cleaning solution designed to break down adhesive. Common options include rubbing alcohol, white vinegar, or commercial adhesive removers.
- Soak a cloth or sponge in your chosen solution and press it against the residue for a few minutes.
- Gently rub the area in a circular motion to lift the glue.
- Wipe clean with a damp cloth to remove any leftover solution.
Test your cleaning solution on a small, hidden part of the wall first to ensure it doesn’t discolor or damage the paint. What if the residue still won’t budge? Sometimes repeating the process or combining gentle scraping with soaking makes all the difference.
Repair Wall Surface
After removing a mirror glued to your wall, you’re likely left with a rough surface that needs some attention. Repairing the wall surface is essential to restore its smoothness and prepare it for repainting or redecoration. Taking the time to properly fix holes and imperfections will make a noticeable difference in the final look of your wall.
Filling Holes
Start by inspecting the wall closely for any holes or cracks left behind. Use a putty knife to apply spackling compound or wall filler directly into these gaps. Press the filler firmly to ensure it fills the entire hole without air pockets.
Let the filler dry completely, which usually takes a few hours depending on the product. If the hole is deep, you might need to apply a second layer for a flush finish. Have you noticed how skipping this step leaves bumps that ruin the smoothness of your wall? Don’t rush it.
Sanding And Painting
Once the filler is dry, sand the repaired spots with fine-grit sandpaper until they feel smooth to the touch. Sanding evens out the surface, blending the patch seamlessly with the surrounding wall. Be careful to avoid sanding too much, which can damage the surrounding paint.
After sanding, wipe away dust with a damp cloth before painting. Use a primer if necessary, especially if the repaired area is large or the wall has a glossy finish. Then, apply paint that matches your wall color. It might take two coats to fully cover the repair.
Have you ever painted over a patch without sanding and noticed it standing out? Proper sanding and priming really help your wall look uniform and fresh.
Prevent Damage Tips
Removing a mirror glued to a wall needs care to avoid damage. The wall surface and mirror can easily break without the right approach. Use gentle techniques and the right tools to protect both. Patience is key to a safe removal process.
Use Heat To Soften The Adhesive
Apply warm air with a hairdryer on the glued area. Heat loosens the glue’s hold. Keep the dryer moving to avoid overheating one spot. Test the surface to check if the glue feels softer before pulling.
Protect The Wall With A Barrier
Place a thin plastic sheet or cardboard between the mirror and wall edges. This barrier stops scratching or chipping during removal. It also catches any falling glue pieces or debris.
Use A Plastic Scraper For Gentle Prying
Choose a plastic or silicone scraper over metal tools. Plastic tools reduce the risk of wall damage. Slowly work the scraper under the mirror’s edge. Avoid forcing or bending the mirror sharply.
Support The Mirror While Removing
Hold the mirror firmly on both sides as you loosen the glue. This prevents sudden drops or cracks. Ask for help if the mirror is large or heavy. A second pair of hands improves safety and control.
Clean Residue With Mild Solvents
Remove leftover glue with gentle solvents like rubbing alcohol. Test solvent on a small wall area first. Use soft cloths to avoid scratching the surface. Avoid harsh chemicals that can damage paint or drywall.
Frequently Asked Questions
How Do I Safely Remove A Glued Mirror From A Wall?
To safely remove a glued mirror, use a thin wire or dental floss to cut through the adhesive. Work slowly to avoid breaking the mirror. Protect yourself with gloves and goggles. Apply heat to soften the glue if needed, and gently pry the mirror away from the wall.
What Tools Are Needed To Remove A Glued Mirror?
You’ll need dental floss or thin wire, a heat gun or hairdryer, gloves, safety goggles, and a putty knife. These tools help cut adhesive, soften glue, and safely pry the mirror from the wall without damage.
Can Heat Help Loosen The Adhesive On A Glued Mirror?
Yes, applying heat with a hairdryer or heat gun softens the glue. This makes it easier to slide the floss or wire behind the mirror. Heat also reduces the risk of cracking the glass when removing the mirror.
How To Prevent Wall Damage When Removing A Glued Mirror?
Remove the mirror slowly and gently to avoid wall damage. Use a putty knife to carefully separate adhesive residue. After removal, clean glue residues with adhesive remover or warm soapy water to protect the wall surface.
Conclusion
Removing a mirror glued to a wall takes care and patience. Use the right tools and move slowly to avoid damage. Protect your hands and eyes for safety. Clean the wall after removal to remove leftover glue. Small cracks or marks can be fixed with simple repairs.
Taking your time helps keep both the mirror and wall safe. Now you can enjoy your updated space without the old mirror. Simple steps make this task easier than you thought.


