
Have you ever faced the frustrating challenge of removing a bathroom mirror that’s glued tightly to the wall? You might be worried about damaging your wall or breaking the mirror while trying to get it off.
The good news is, you don’t have to stress or call in an expert right away. You’ll discover simple, step-by-step methods to safely remove that stubborn mirror without causing a mess. Keep reading, and by the end, you’ll feel confident tackling this task yourself—saving time, money, and hassle.

Credit: www.angi.com
Tools Needed
Removing a bathroom mirror glued to the wall requires specific tools. Having the right tools makes the job easier and safer. These tools help protect the wall and prevent damage to the mirror. Prepare all tools before starting for a smooth process.
Protective Gear
- Safety gloves to protect your hands from glass cuts
- Safety goggles to shield your eyes from shards
- Long sleeves to avoid scratches and cuts
Cutting Tools
- Utility knife to cut through the adhesive around the mirror edges
- Wire or fishing line for sliding behind the mirror to separate it from the wall
Prizing Tools
- Putty knife or painter’s tool to gently pry the mirror off
- Plastic or wooden wedges to create space between the mirror and wall
Cleaning Supplies
- Adhesive remover or rubbing alcohol to clean leftover glue
- Soft cloths for wiping the wall and mirror surface
Support Materials
- Masking tape to secure the mirror before removal
- Drop cloth or towel to catch any falling pieces
Safety Precautions
Wear safety goggles and gloves to protect your eyes and hands from broken glass. Work slowly to avoid damaging the wall or mirror. Keep children and pets away during the removal process.
Removing a bathroom mirror that’s glued to the wall can be a challenging task. It’s crucial to prioritize safety to avoid injuries or damage. Before you dive into the process, take a few moments to ensure you’re well-prepared and protected.Wear Protective Gear
Before you start, put on safety goggles and gloves. Safety goggles shield your eyes from any flying glass shards. Gloves protect your hands from sharp edges and adhesive residue.Prepare The Area
Clear the surrounding area of any breakable items. Remove toiletries and decorations from nearby shelves. Place an old blanket or cardboard on the floor to catch falling debris.Use The Right Tools
Gather the necessary tools such as a putty knife and adhesive remover. Ensure your tools are in good condition. Dull or damaged tools can increase the risk of injury.Avoid Working Alone
Enlist the help of a friend or family member. Having an extra set of hands can prevent accidents. They can also assist in steadying the mirror as you work.Plan For Disposal
Have a disposal plan for the mirror and adhesive waste. Broken glass should be placed in a sturdy box or bag. Check local regulations for disposing of construction materials.Stay Calm And Patient
Rushing can lead to mistakes and injuries. Take your time and assess each step carefully. If you encounter resistance, pause and evaluate the situation before proceeding. Safety is your top priority when removing a glued bathroom mirror. By following these precautions, you’re not only protecting yourself but also ensuring the job is done efficiently. How will you ensure you’re prepared for this task?Preparing The Area
Preparing the area is the first key part of removing a bathroom mirror glued to the wall. Proper preparation helps prevent damage and keeps you safe. Take time to clear the space around the mirror and gather the tools you need. This makes the process smoother and faster.
Start by protecting surfaces and floors. Bathroom tiles and counters can crack or stain from falling glass or glue residue. Cover these areas with thick cloths or old towels. Use painter’s tape to hold protective sheets in place. This step keeps your bathroom clean and safe.
Next, remove any objects near the mirror. Clear shelves, towel racks, and countertops. This prevents items from falling or breaking during the mirror removal. It also gives you room to work without obstruction.
Wear safety gear to protect yourself. Safety glasses shield your eyes from glass shards. Gloves protect your hands from sharp edges and glue. Long sleeves can prevent scratches on your arms.
Gathering Necessary Tools And Materials
- Putty knife or scraper
- Utility knife
- Hairdryer or heat gun
- Protective gloves and glasses
- Thick cloths or towels
- Painter’s tape
- Plastic or wooden wedges
Clearing The Work Area
Remove all bathroom items near the mirror. Clear shelves, counters, and towel bars. This stops accidents and gives space to work.
Protecting Surfaces And Floors
Cover tiles and countertops with cloths or towels. Use painter’s tape to secure coverings. This prevents damage from falling glass or glue.
Putting On Safety Gear
Wear gloves to protect your hands. Use safety glasses to guard your eyes. Long sleeves can shield your arms from cuts.

Credit: www.youtube.com
Softening The Adhesive
Removing a bathroom mirror glued to the wall requires softening the adhesive first. This step reduces the bond strength, making the mirror easier to detach. Softening the glue helps prevent damage to the wall and mirror edges. Two common ways to soften adhesive are using heat and applying solvents.
Using Heat
Heat loosens many types of adhesives by making them more flexible. A hairdryer or heat gun works well for this task. Hold the heat source a few inches from the mirror surface.
- Move the heat evenly over the glued area.
- Keep the heat steady but avoid overheating.
- Check frequently to see if the glue softens.
Once the adhesive feels softer, gently try to lift the mirror. Heat helps avoid sudden breaks or cracks.
Applying Solvents
Certain solvents dissolve or weaken glue bonds effectively. Acetone or rubbing alcohol are common choices. Use a cloth or cotton ball to apply the solvent along the mirror edges.
- Allow the solvent to soak into the adhesive for several minutes.
- Apply more solvent if needed to keep the area wet.
- Test the glue softness by gently pressing or prying.
Solvents break down the adhesive, making removal easier and safer for the wall. Use gloves and ventilate the room while working with chemicals.
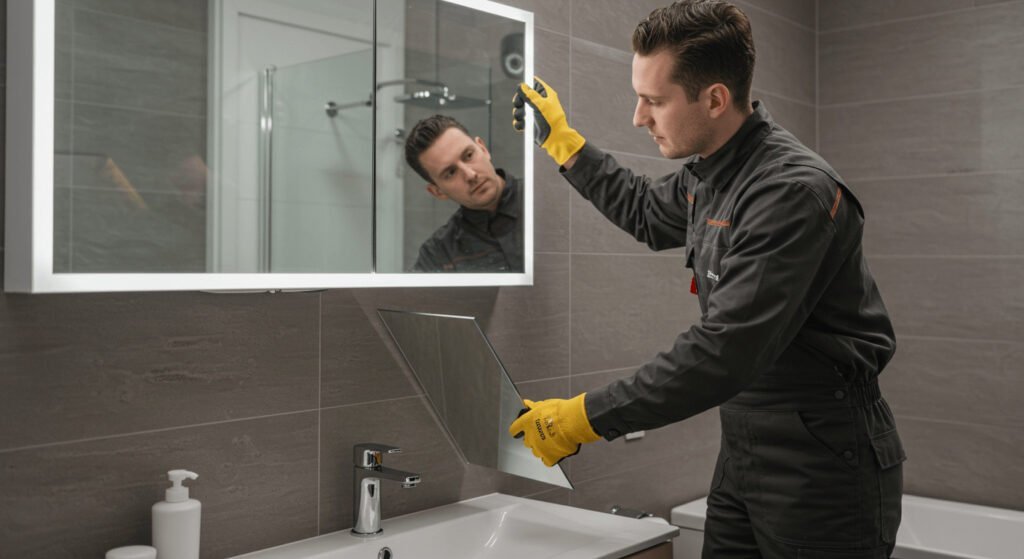
Removing The Mirror
Removing a bathroom mirror glued to the wall can feel like a tough job. However, with the right approach, you can do it without breaking the glass or damaging the wall beneath. The key is to be patient and use gentle techniques to loosen the adhesive.
Loosening The Edges
Start by softening the glue around the mirror’s edges. Use a hairdryer or a heat gun on a low setting to warm the adhesive. Heat makes the glue less sticky and easier to separate.
Next, slide a thin, flexible tool like a putty knife or dental floss gently under the mirror’s edge. Avoid forcing it; work slowly to avoid cracking the mirror. Moving the tool back and forth helps cut through the softened glue.
Have you noticed how heating the glue changes its texture? This simple step often prevents damage and saves you from a costly replacement.
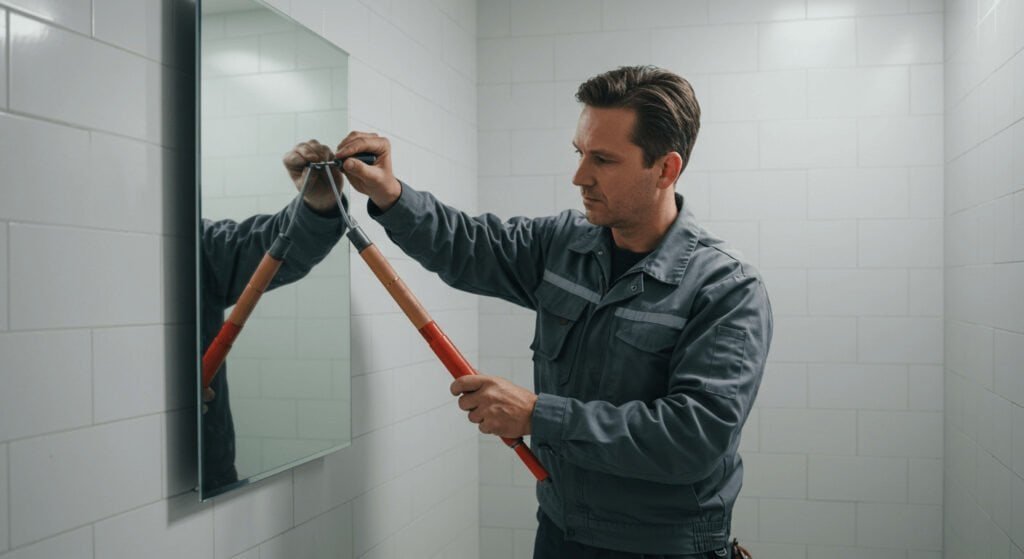
Prying The Mirror Off
Once the edges are loose, it’s time to pry the mirror away from the wall. Use a putty knife or a pry bar, but protect the wall by placing a thin piece of wood between the tool and the surface.
Apply gentle, even pressure to lift the mirror gradually. If it resists, return to heating and loosening the edges some more. Patience here avoids sudden breaks or wall damage.
Keep a helper nearby to hold the mirror as it comes off. Mirrors can be heavy and fragile, and having an extra pair of hands can prevent accidents. What’s your experience with handling heavy or glued items? Sometimes teamwork is the best tool.
Cleaning Residue
After removing a bathroom mirror glued to the wall, some adhesive residue often remains. This leftover glue can be sticky and unsightly. Cleaning it properly restores the wall’s smooth surface. Use simple tools and safe products for the best results. Patience and gentle effort prevent wall damage.
Scraping Off Glue
Start by gently scraping the glue with a plastic scraper or putty knife. Avoid metal tools to protect the wall’s paint or drywall. Work slowly and carefully to lift the glue without scratching. Remove small bits at a time to reduce damage risk. Clean the scraper frequently to keep it effective.
Using Cleaning Agents
Apply a small amount of a mild adhesive remover or rubbing alcohol. Let it sit for a few minutes to soften the glue. Use a soft cloth or sponge to rub the residue gently. Avoid harsh chemicals that can harm wall surfaces. Rinse the area with warm water and dry thoroughly. Repeat the process if some glue remains.
Repairing The Wall
After removing a bathroom mirror glued to the wall, the surface often looks rough and damaged. Fixing the wall is important to restore its smoothness and prepare it for painting or new decorations. This process involves filling any holes or cracks left behind and then sanding and painting the area to match the rest of the wall.
Filling Holes
Start by cleaning the wall to remove dust and loose debris. Use a putty knife to apply a wall filler or spackling compound into the holes and cracks. Press the filler firmly to fill every gap completely. Let the filler dry according to the package instructions. For larger holes, you may need to apply the filler in layers, allowing each layer to dry before adding the next.
Sanding And Painting
Once the filler is dry, gently sand the patched areas with fine-grit sandpaper. Sand until the surface feels smooth and blends with the surrounding wall. Wipe away the dust with a clean, damp cloth. Choose a paint color that matches your bathroom wall. Apply the paint evenly over the repaired spots using a brush or roller. Allow the paint to dry fully before using the bathroom or hanging items on the wall.
Credit: bfymirror.com
Frequently Asked Questions
How To Safely Remove A Glued Bathroom Mirror?
Use a thin wire or fishing line to cut through the adhesive. Work slowly to avoid breaking the glass. Wear gloves and eye protection for safety.
What Tools Are Needed To Remove A Glued Mirror?
You need fishing line, a putty knife, adhesive remover, gloves, and safety glasses. These tools help safely detach the mirror without damage.
Can Heat Help Remove A Glued Bathroom Mirror?
Yes, applying gentle heat softens the adhesive. Use a hairdryer or heat gun on low to avoid damaging the wall or mirror.
How To Prevent Wall Damage When Removing A Glued Mirror?
Work carefully and use adhesive remover to loosen glue. Avoid prying aggressively. Protect the wall with tape before starting.
Conclusion
Removing a bathroom mirror glued to the wall takes care and patience. Use the right tools and follow safety steps to avoid damage. Work slowly and gently to protect your wall and mirror. Clean any leftover glue carefully for a neat finish.
Taking your time helps get the best results without stress. Now, you can remove your mirror safely and confidently.


