
Are you tired of your motion sensor not working properly? Whether it’s flickering lights or a sensor that won’t detect movement, a faulty motion sensor can be frustrating and even a safety concern.
The good news is, you don’t need to call a professional or spend a fortune to fix it. Replacing your motion sensor is easier than you think, and with the right steps, you can have it working like new in no time.
Keep reading, and you’ll learn exactly how to replace your motion sensor quickly and safely—no technical skills required.
Tools And Materials Needed
Before you start replacing a motion sensor, gathering the right tools and materials is key. Having everything at hand saves time and prevents frustration halfway through the job. It also ensures your replacement goes smoothly and safely.
Basic Tools
- Screwdriver Set– Both flathead and Phillips screwdrivers are usually required to remove the sensor cover and mounting screws.
- Voltage Tester– Safety first: test the wires to make sure the power is off before you touch anything.
- Wire Strippers– These help you remove insulation cleanly from wires when connecting the new sensor.
- Electrical Tape– Use this to secure wire connections and prevent shorts after installation.
- Ladder– If your sensor is installed high, a stable ladder will be necessary for safe access.
Having these basic tools ready is a good start. It’s surprising how often a missing screwdriver can delay the process. Do you have a voltage tester on hand? It’s a small investment that protects you from electrical shocks.
Replacement Sensor Options
Choosing the right replacement sensor depends on your needs and the existing setup. You can find sensors that vary by detection range, light sensitivity, and mounting style.
| Type | Features | Best For |
|---|---|---|
| Basic PIR Sensor | Detects motion via infrared heat | Indoor or outdoor entryways |
| Adjustable Range Sensor | Customizable detection distance and angle | Large outdoor areas or driveways |
| Combination Sensor | Motion and ambient light sensing | Energy-saving lighting control |
Think about where you want the sensor to work and what features matter most. Would a wider detection angle help cover blind spots? Sometimes upgrading your sensor improves your home’s security and convenience more than you expect.

Credit: www.reddit.com
Safety Precautions
Handling electrical components like a motion sensor demands careful attention to safety. Ignoring precautions can lead to electrical shocks or damage to your home’s wiring. Taking simple, clear steps before you begin can protect you and make the replacement process smoother.
Turning Off Power
Always start by switching off the power at the circuit breaker. Don’t rely on just turning off the light switch; the wiring can still carry a dangerous current. Use a voltage tester to double-check that the power is indeed off before touching any wires.
I once skipped this step, thinking I was being careful, and felt a small shock that startled me. It was a sharp reminder that even if the light is off, electricity might still be flowing. Would you risk that shock just to save a minute?
Using Protective Gear
Wear insulated gloves and safety glasses to shield yourself from accidental sparks or debris. Gloves provide a barrier against electrical current, while glasses protect your eyes from dust or loose wire strands. It’s easy to overlook protective gear, but it can prevent injuries that might ruin your day.
Imagine a tiny wire flicking into your eye or a stray spark burning your skin. Using the right gear is a small effort that keeps you safe and confident throughout the task. Have you ever thought about what could happen if you skipped this simple step?
Removing The Old Motion Sensor
Removing the old motion sensor is the first critical step before installing a new one. This process involves careful handling to avoid damaging the wiring or mounting surface. Knowing exactly where and how to disconnect the sensor makes the replacement smoother and safer for you.
Locating The Sensor
Start by identifying where your current motion sensor is installed. These sensors are often placed near entryways, garages, or outdoor lighting fixtures. If you’re unsure, look for a small device mounted on a wall or ceiling, usually with a lens that detects movement.
Sometimes, the sensor might be hidden behind a fixture or paint, so take your time to spot it clearly. Have a flashlight handy if the area is dim. Pinpointing the exact location helps you prepare the right tools and avoid unnecessary damage.
Disconnecting Wires
Before touching any wires, turn off the power at your circuit breaker to prevent electric shock. Double-check that the power is off by testing the sensor or nearby lights. Safety first—it’s better to be overly cautious here.
Once power is off, remove the sensor’s cover to access the wiring. You’ll usually find 2 or 3 wires: a live (black or red), neutral (white), and sometimes a ground (green or bare copper). Carefully unscrew or unplug these wires, noting their positions for reconnecting the new sensor.
Removing Mounting Hardware
With the wires disconnected, focus on the hardware holding the sensor in place. Most sensors are attached with screws or clips. Use a screwdriver or the appropriate tool to remove these fasteners gently.
Keep the screws safe if your new sensor requires the same mounting. If the sensor is glued or stuck, avoid forcing it off; instead, gently wiggle it free to prevent wall damage. Have you checked if your sensor is compatible with your existing mounting setup before removal?
Installing The New Sensor
Installing the new motion sensor is a crucial part of the replacement process. It requires careful attention to detail to ensure the sensor works correctly and safely. Proper installation not only guarantees your sensor detects motion effectively but also extends its lifespan.
Wiring The Sensor
Start by matching the wires from the new sensor to the existing wiring in your home. Usually, you’ll find a black (live), white (neutral), and green or bare copper (ground) wire. Connect each wire securely using wire nuts or connectors to avoid loose connections that can cause malfunctions.
Double-check your connections before moving on. A loose or incorrect wire can cause the sensor not to work or even create a safety hazard. If the wires are color-coded differently, refer to the sensor’s manual or use a voltage tester to identify each wire properly.
Securing The Sensor
Once the wiring is complete, place the sensor into its mounting bracket or housing. Ensure it fits snugly and aligns with the area you want to monitor. Use screws or mounting clips provided with the sensor to firmly attach it to the wall or ceiling.
Check the sensor’s position by gently nudging it—if it moves easily, tighten the screws a bit more. A securely mounted sensor prevents false alarms caused by movement or vibrations. Have you noticed how even a small shift in angle can change detection zones significantly?
Adjusting Sensor Settings
Most motion sensors allow you to adjust sensitivity, detection range, and timer settings. Start with moderate sensitivity to avoid triggering the sensor with minor movements like pets or tree branches. Test the sensor’s response by walking through the detection area and adjust accordingly.
Set the timer to keep lights or alarms on for a comfortable duration—too short, and it might turn off before you finish moving; too long, and it wastes energy. Don’t hesitate to experiment with these settings over a few days; fine-tuning makes a big difference in performance and satisfaction.
Testing The New Sensor
Testing the new motion sensor ensures it works properly before final installation. Walk in front of it to check if it detects motion and triggers the light or alarm. Adjust the sensor angle if needed for better coverage.
Testing the new motion sensor ensures it works effectively. After installation, it’s crucial to verify its functionality. This step prevents any future inconvenience and ensures safety.Restoring Power
First, switch the power back on. This step is crucial for sensor activation. Ensure the circuit breaker is turned on. Check the switch, ensuring it’s in the correct position. The sensor needs power to function correctly.Checking Sensor Activation
Walk in front of the sensor. Observe if the light turns on promptly. The sensor should detect motion instantly. If it doesn’t, consider adjusting its position. Ensure the sensor’s range covers the desired area. Sometimes, altering the angle helps. Test the sensor at different times of the day. Lighting conditions can affect its performance.Troubleshooting Common Issues
If the sensor fails, check the wiring. Loose connections can cause problems. Ensure all wires are secure and connected. Double-check the sensor’s settings. Incorrect settings may hinder performance. Consult the sensor’s manual for guidance. If issues persist, consider resetting the sensor. A reset often resolves minor glitches.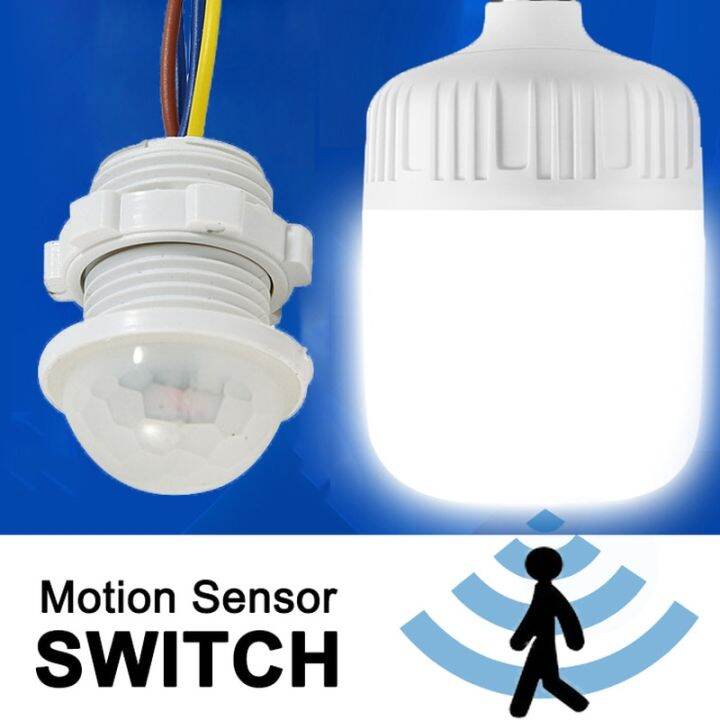
Credit: mradelectric.com
Maintaining Your Motion Sensor
Maintaining your motion sensor is key to ensuring it works effectively and lasts longer. Simple upkeep can prevent false alarms and missed detections, saving you time and frustration. Let’s dive into practical tips that keep your sensor in top shape.
Cleaning Tips
Dirt and dust can block your sensor’s view, causing it to miss movement. Use a soft, dry cloth to gently wipe the sensor’s lens every few weeks. Avoid harsh chemicals that might damage the sensitive components.
If your sensor is outdoors, check it after bad weather or storms. Spider webs and leaves can also interfere with its performance, so clear those away promptly. Have you noticed how a quick wipe can drastically improve sensor response?
Regular Testing
Test your motion sensor monthly to make sure it detects motion correctly. Walk through its detection area and watch if the connected light or alarm activates. This simple check helps catch issues before they become bigger problems.
If your sensor has adjustable settings, use testing time to tweak the sensitivity or detection range. This personalizes its performance to fit your space perfectly. How often do you test your home devices to keep them reliable?
When To Replace
Even well-maintained sensors wear out over time. If you notice frequent false alarms or if the sensor misses obvious motion, it might be time for a replacement. Sensors typically last 5 to 7 years but check your model’s manual for specifics.
Battery-powered sensors that require constant battery changes could also signal it’s time to upgrade. Consider newer models with improved technology for better accuracy and energy efficiency. Are you ready to swap out your old sensor for a smarter solution?

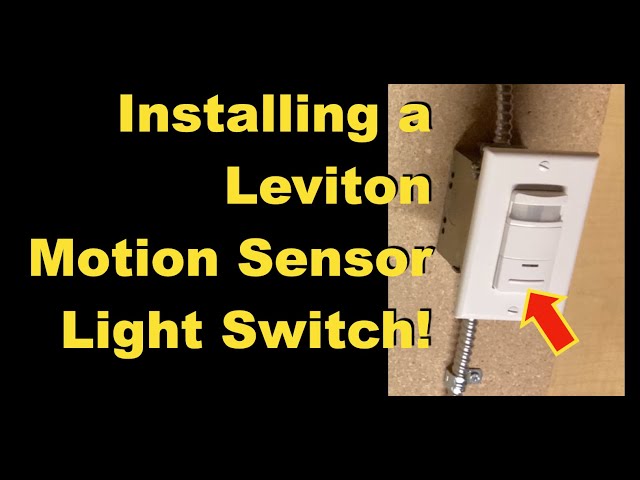
Credit: www.youtube.com
Frequently Asked Questions
How Do I Safely Turn Off The Power Before Replacing A Motion Sensor?
Always switch off the circuit breaker controlling the sensor. Use a voltage tester to confirm no power is present. Safety first prevents electrical shocks during replacement.
What Tools Are Needed To Replace A Motion Sensor?
You typically need a screwdriver, wire strippers, electrical tape, and a voltage tester. These tools help safely remove and install the sensor.
Can I Replace A Motion Sensor Without Professional Help?
Yes, if you have basic electrical knowledge and follow safety steps. Turn off power, disconnect wires carefully, and install the new sensor as instructed.
How Do I Connect Wires When Installing A New Motion Sensor?
Match wire colors: black to black (hot), white to white (neutral), green or bare to ground. Secure connections with wire nuts and electrical tape for safety.
Conclusion
Replacing a motion sensor can be simple and quick with the right steps. Always turn off the power before starting the work. Take your time to carefully remove the old sensor. Connect the new sensor following the instructions closely. Test the sensor to make sure it works properly.
This small task can improve your home’s safety and convenience. You don’t need to be an expert to do it. Just follow these easy steps and you will succeed. Simple fixes like this save money and give peace of mind.


