
If your vintage Tansor desk lamp has worn-out or damaged wiring, you might feel unsure about how to fix it safely. But don’t worry—replacing the wiring is easier than you think, and you can bring your favorite lamp back to life with just a few simple steps.
In this guide, you’ll learn exactly what tools you need and how to carefully replace the wiring, so your lamp shines bright again. Keep reading, and you’ll discover how to handle this project confidently, even if you’re not an expert.

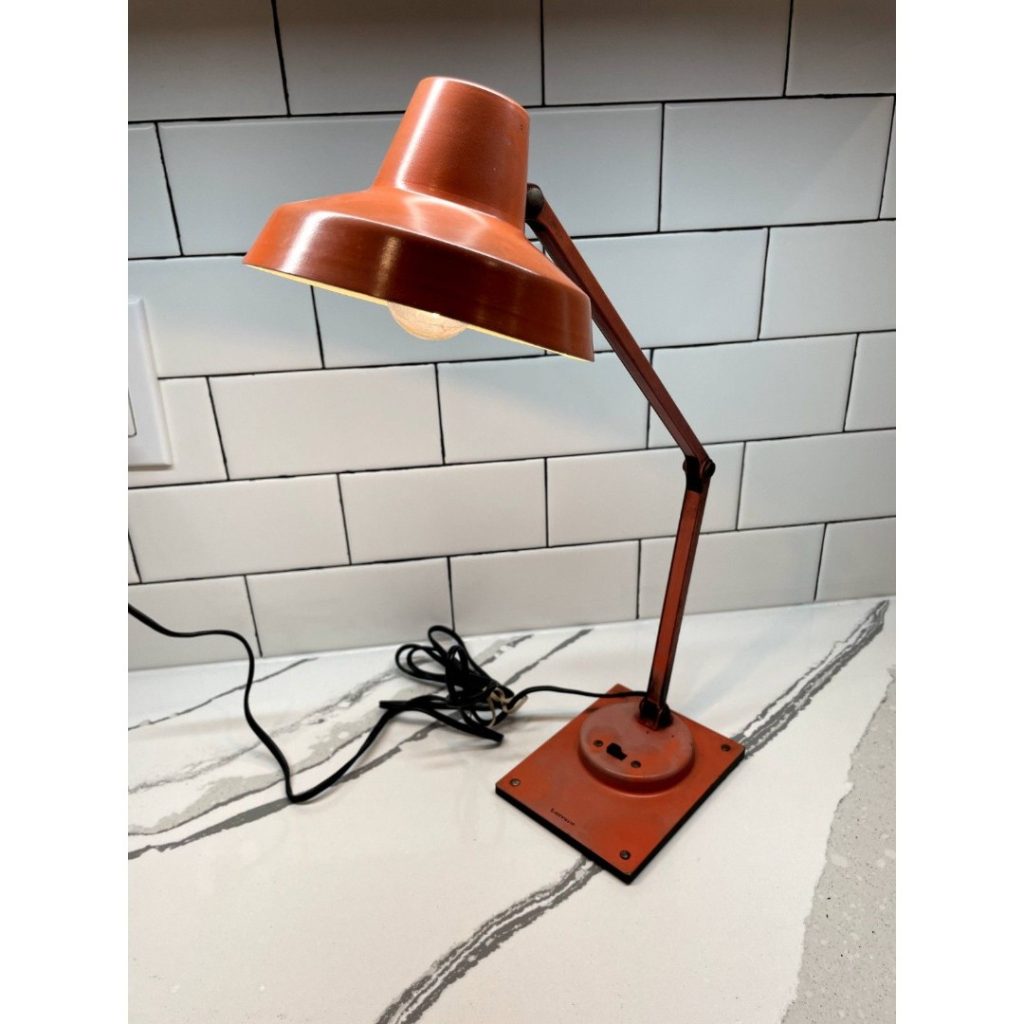
Credit: thebakerstable.ca
Tools And Materials Needed
Replacing the wiring on a vintage Tansor desk lamp requires specific tools and materials. Having the right equipment ensures safety and efficiency. This section lists everything needed to complete the task smoothly.
Essential Tools
- Screwdriver set for opening lamp casing
- Wire strippers to remove insulation
- Needle-nose pliers for bending and holding wires
- Multimeter to test electrical continuity
- Electrical tape to insulate wire connections
- Heat shrink tubing for added protection
- Wire cutters for trimming wires
- Utility knife for precise cutting
Recommended Replacement Parts
- New cloth-covered lamp cord for vintage look
- Replacement socket compatible with Tansor lamps
- Inline switch for easy on/off control
- Wire connectors or terminal blocks
- Grounding wire if original lamp supports grounding
- Light bulb matching socket specifications

Credit: forum.belgiumdigital.com
Preparing The Workspace
Preparing the workspace is the first important step when replacing wiring on a Tansor desk lamp vintage. A well-prepared area helps keep tools and parts organized. It also makes the process safer and smoother. Taking time to set up correctly reduces mistakes and speeds up the work.
Safety Precautions
Ensure the lamp is unplugged before starting any work. Use insulated tools to prevent electric shocks. Wear safety glasses to protect your eyes from dust and debris. Keep your hands dry and avoid wearing loose clothing that might catch on parts. Work in a well-lit space to see clearly what you are doing.
Setting Up A Clean Area
Choose a flat, stable surface like a workbench or table. Clear away clutter to avoid losing small screws or wires. Lay down a soft cloth or mat to protect the lamp’s finish. Arrange your tools and replacement parts within easy reach. Use small containers or trays to hold screws and tiny pieces safely.
Removing The Old Wiring
Replacing the wiring on a vintage Tansor desk lamp can be rewarding. Removing the old wiring is a crucial step. This process requires patience and attention to detail. Let’s dive into the steps needed to ensure a safe and effective replacement.
Disassembling The Lamp
Start by unplugging the lamp from any power source. Safety first. Next, locate the screws or fasteners holding the lamp parts together. Use a screwdriver to carefully remove these screws. Gently separate the lamp base, shade, and any other detachable parts. Keep the screws in a safe place to prevent losing them. This disassembly will expose the internal wiring.
Detaching The Existing Wires
Identify the wires connected to the lamp’s socket. These wires are usually held by screws or clips. Loosen these screws with a screwdriver. Carefully pull the wires away from their connections. Note the wiring arrangement to guide the new installation. Dispose of the old wires properly. Ensure no wire pieces are left inside the lamp.
Selecting The Right Replacement Wire
Choosing the right replacement wire for your Tansor desk lamp is more important than you might think. The wire you pick affects not only the safety but also the lamp’s performance and longevity. Before you buy, consider the type, gauge, length, and insulation to make sure your vintage lamp shines safely and reliably.
Wire Type And Gauge
Not all wires are created equal. For a vintage desk lamp like the Tansor, you want a wire designed for low-voltage lighting applications. Copper wire is usually the best choice because it conducts electricity efficiently and resists corrosion.
The gauge of the wire matters a lot. Thicker wires (lower gauge numbers) carry more current safely, while thinner wires (higher gauge numbers) can overheat if the current is too high. A common gauge for desk lamps is 18 AWG, which balances flexibility and current capacity perfectly.
Ask yourself: does the original lamp wiring have a specific gauge? Matching this gauge avoids overheating and ensures your lamp works just like it did originally.
Length And Insulation Considerations
Measure the wire length you need before you buy. Too short, and you’ll have to splice connections, which can weaken the electrical path and create hazards. Too long, and you’ll have excess wire that looks messy and can get tangled.
Insulation type also plays a key role. Look for heat-resistant insulation, especially since desk lamps generate warmth during use. Silicone or rubber insulation offers good flexibility and durability, while PVC is a budget-friendly option but less heat-resistant.
Think about where your lamp will sit. Will the wire be exposed to bending or twisting? Choosing a wire with durable insulation protects against wear and tear, keeping your lamp safe over time.
Installing The New Wiring
Installing new wiring in your Tansor desk lamp vintage is a critical task that breathes new life into this classic piece. The process demands patience and attention to detail, especially when routing wires and making secure connections. Getting these steps right ensures your lamp works safely and looks as authentic as ever.
Routing The Wire Through The Lamp
Start by carefully threading the new wire through the lamp’s base and arm. Take your time to avoid any sharp bends or pinches that could damage the wire insulation. If you encounter tight spots, gently use a long, thin tool like a knitting needle to guide the wire without forcing it.
Think about how the original wiring was arranged. Mimicking that path helps maintain the lamp’s vintage look and prevents stress on the wire. Have you noticed any spots where the old wire was worn or twisted? Those areas often need extra care during routing.
Connecting To The Socket And Plug
Once the wire is in place, strip the ends carefully to expose the copper without cutting the strands. Connect the live (usually brown or black) and neutral (blue or white) wires to the corresponding terminals on the socket. Tighten the screws firmly but avoid over-tightening, which can damage the terminal.
Next, attach the other end of the wire to the plug. Double-check the wiring diagram on the plug for correct placement of live, neutral, and ground wires. After securing the wires, gently pull on them to ensure they don’t slip out. Have you tested the continuity with a multimeter before reassembling? It’s a small step that can save you from future headaches.

Credit: www.ebay.com
Testing The New Wiring
Testing the new wiring on your Tansor desk lamp vintage is a crucial step to ensure everything works safely and correctly. You want to avoid any surprises like sparks or the lamp not lighting up. Taking time to carefully check your work guarantees your lamp will shine bright and stay safe.
Safety Checks
Before plugging in the lamp, inspect all your connections closely. Make sure no wires are exposed or frayed, and that all terminals are tightly secured.
Use a multimeter to check for continuity in the wiring. This helps confirm there are no breaks or shorts in the circuit.
Have you noticed any unusual smells or visible damage around the socket or plug? If yes, address those issues before moving forward.
Powering On The Lamp
Start by plugging the lamp into a power outlet with a circuit breaker or a surge protector. This extra layer protects you if something goes wrong.
Turn the lamp switch on slowly and observe carefully. If the bulb lights immediately and there are no flickers or odd noises, your wiring is likely solid.
If the lamp doesn’t light or you see sparks, unplug it right away. Double-check your wiring and connections before trying again.
Final Assembly And Maintenance Tips
After rewiring your Tansor desk lamp vintage, the last part is putting it back together and caring for it. Proper assembly ensures the lamp works safely and looks good. Regular maintenance keeps it shining and prevents wiring issues.
Reassembling The Lamp
Start by carefully placing the new wiring inside the lamp base. Align all parts as they were before disassembly. Tighten screws just enough to hold parts firmly without cracking the lamp. Reattach the lampshade, making sure it fits well and sits straight.
Check the switch and socket connections. Make sure no wires are loose or exposed. Test the lamp by plugging it in and turning it on before final tightening. This avoids having to open it again if something is wrong.
Keeping Your Lamp Safe And Functional
Keep the lamp away from water and damp areas. Dust it regularly with a soft cloth to avoid dirt buildup. Replace the bulb with the right wattage to prevent overheating. Avoid bending or twisting the cord too much to protect the wiring inside.
Unplug the lamp before cleaning or changing bulbs. Inspect the cord and plug for damage every few months. Fix small problems early to avoid bigger electrical hazards. Proper care extends the life of your vintage lamp and keeps it safe to use.
Frequently Asked Questions
How Do I Safely Replace Wiring On A Tansor Desk Lamp?
First, unplug the lamp and remove the old wiring carefully. Use insulated tools and follow proper wiring diagrams. Always check for power before starting. Use wire connectors and secure the new wiring firmly to avoid hazards.
What Tools Are Needed To Rewire A Vintage Tansor Lamp?
You need wire strippers, screwdrivers, electrical tape, a voltage tester, and replacement wire. A wire cutter and pliers are also helpful. Having all tools ready ensures a smooth and safe rewiring process.
Can I Use Modern Wiring For A Vintage Tansor Lamp?
Yes, modern wiring is compatible and safer for vintage lamps. Use wire rated for the lamp’s voltage and current. This upgrade improves durability and electrical safety while preserving the lamp’s vintage look.
How To Identify The Correct Wiring For Tansor Desk Lamp?
Check the lamp’s original wiring color codes and gauge size. Consult the manufacturer’s manual or vintage lamp forums for exact specifications. Using the correct wire ensures proper function and safety.
Conclusion
Replacing wiring on a Tansor desk lamp vintage can feel tricky. Take your time and follow each step carefully. Always ensure the lamp is unplugged before starting work. Use the right tools to avoid damage or injury. Double-check connections to keep the lamp safe and working well.
With patience, your vintage lamp will shine like new again. Enjoy the warm light and classic style it brings back to your space. Simple repairs can save old lamps and add charm to your room.


