

If you have a vintage Tansor desk lamp that’s lost its glow, rewiring it can bring it back to life. Imagine turning on your lamp and seeing that warm, classic light shining brightly again.
But maybe you’re worried about safety or don’t know where to start. Don’t worry—you can do this yourself with the right steps. In this guide, you’ll learn exactly how to rewire your vintage Tansor desk lamp safely and easily. Keep reading, and soon your lamp will be lighting up your space like new.

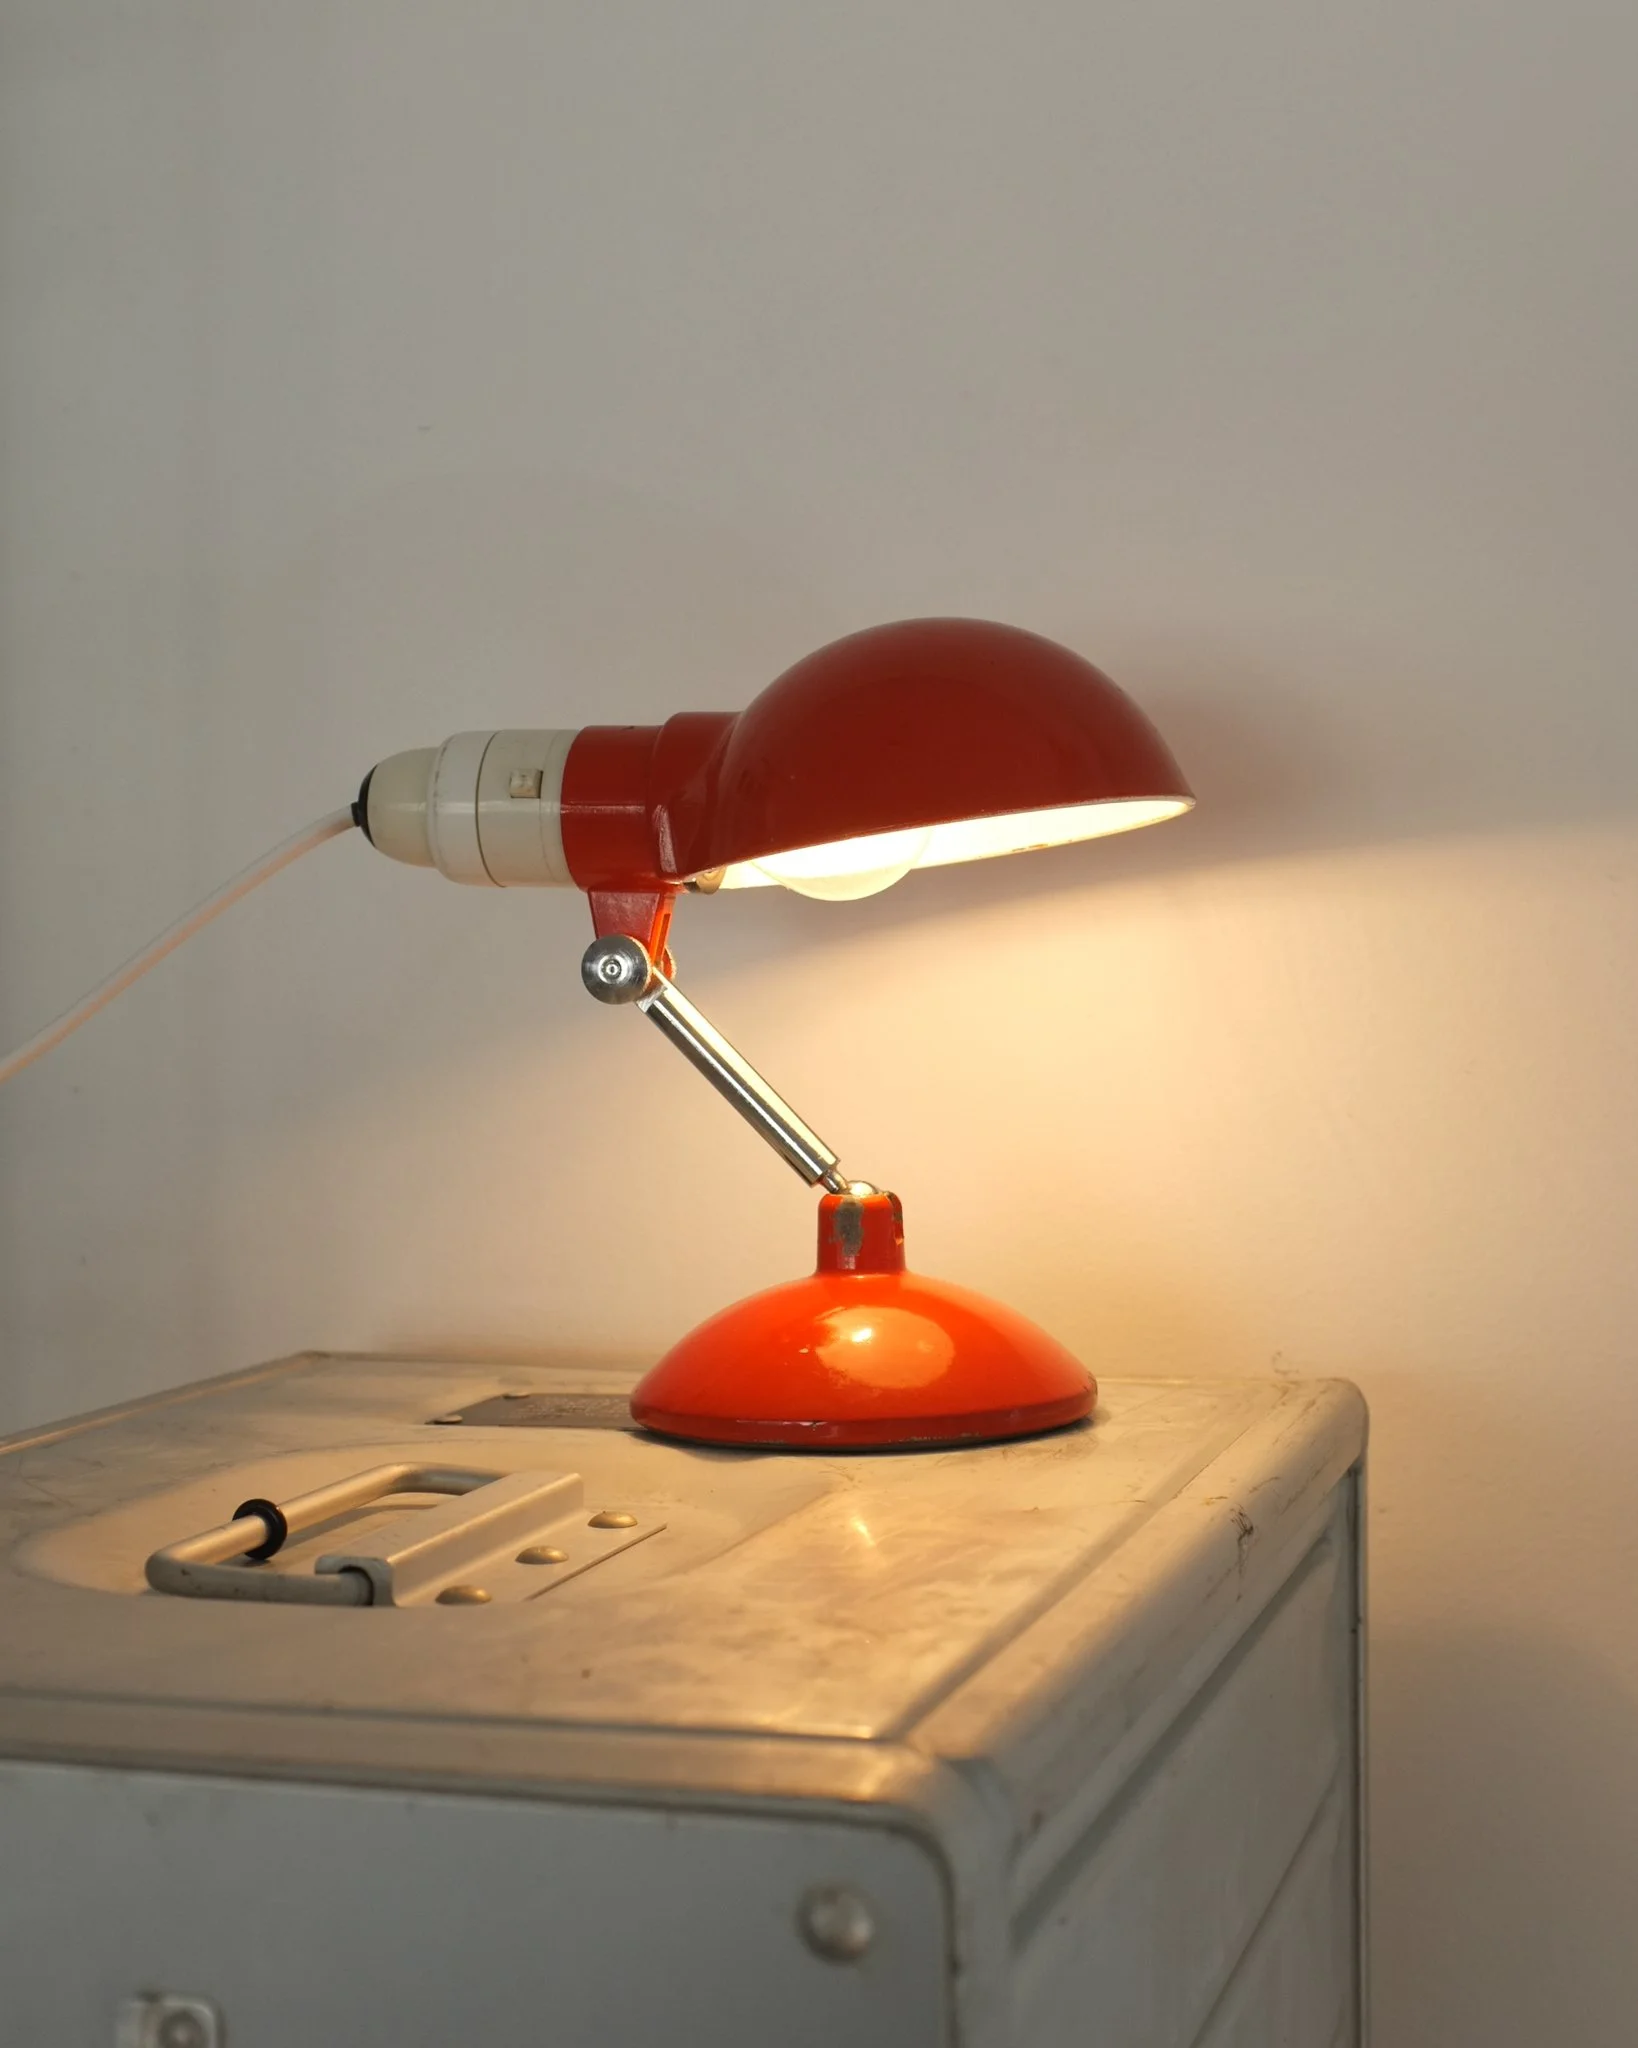
Credit: www.etsy.com
Tools And Materials Needed
Before you dive into rewiring your vintage Tansor desk lamp, gathering the right tools and materials is essential. Having everything ready keeps your workflow smooth and prevents frustrating interruptions. It also ensures you maintain the lamp’s integrity and safety throughout the process.
Essential Tools
- Screwdrivers:A set of both flathead and Phillips screwdrivers helps you open the lamp casing and handle small screws.
- Wire Strippers:These allow you to remove insulation cleanly without damaging the wire inside.
- Needle-Nose Pliers:Perfect for bending wires and holding small parts securely while you work.
- Multimeter:Use this to check for electrical continuity and ensure your wiring is correct before reassembly.
- Soldering Iron (optional):If your lamp’s wires require soldering, a basic soldering kit will be necessary.
Replacement Parts
- New Cord Set:A durable, properly rated power cord with a plug compatible with your outlet is a must.
- Socket:Vintage sockets may be worn out; replacing them ensures better contact and safety.
- Switch:Check if the original switch works; if not, have a suitable replacement on hand.
- Wire Connectors:Twist-on wire nuts or crimp connectors help secure wire connections safely.
Safety Gear
- Insulated Gloves:Protect your hands from accidental shocks and sharp edges inside the lamp.
- Safety Glasses:Shield your eyes from tiny debris or solder splashes during the repair.
- Fire-Resistant Mat:Place your workspace on a surface that won’t catch fire if sparks occur.
Do you have all these items ready? Missing even one can turn a straightforward rewire into a risky job. Preparing well means you’ll enjoy the satisfying moment when your vintage lamp lights up again, glowing safely and beautifully on your desk.
Preparing The Lamp
Preparing your vintage Tansor desk lamp for rewiring is a crucial first step that sets the tone for a smooth and safe project. It involves careful unplugging, cleaning, and inspection to ensure you understand the lamp’s current condition. Taking the time now can save you from surprises later and help you preserve the lamp’s charm while updating its electrical parts.
Unplugging And Cleaning
Always start by unplugging the lamp from any power source. This simple action protects you from electric shock and prevents damage to the lamp’s components.
Next, clean the lamp gently using a soft cloth. Dust and grime often hide small screws or damage, so removing them reveals what you’re really working with. Avoid harsh chemicals—mild soap and water usually do the job without harming the finish.
Removing The Old Wiring
Carefully remove the lamp shade and any covers that protect the wiring. Use a screwdriver to loosen screws, but keep them safe—you’ll need them later.
Pay close attention to how the old wires connect to the socket and plug. Taking pictures or notes helps you replicate the wiring accurately. Slowly disconnect each wire, checking for any signs of wear or damage that might have caused previous issues.
Inspecting The Lamp Components
Look closely at every part of the lamp, including the socket, switch, and cord. Are there cracks, rust, or loose parts? Identifying these issues now helps you decide if you need replacements beyond just the wiring.
Think about the lamp’s age and how it has been used. Does the socket feel stable, or is it wobbly? Could the switch handle modern bulbs safely? These questions guide your next steps and ensure your rewiring project results in a lamp that’s both beautiful and safe to use.
Wiring Basics
Rewiring a vintage Tansor desk lamp can be a rewarding task. It brings a classic piece back to life. This guide will help you understand the basics of wiring. Follow each step carefully for a successful rewiring.
Identifying Wire Types
Before starting, know the different wire types. Lamps usually have two main wires: live and neutral. The live wire carries current from the power source. The neutral wire returns it to the source. Often, the live wire is brown or black. The neutral wire is blue or white. Check your lamp’s wiring colors carefully. Sometimes, older lamps have different color codes.
Understanding Wire Connections
Correct wire connections ensure the lamp works safely. Connect the live wire to the lamp’s switch. Then, connect it to the bulb holder. The neutral wire connects directly to the bulb holder. Make sure connections are tight. Loose connections can cause short circuits. Use a screwdriver to secure the wire ends firmly. This prevents them from slipping out.
Safety Precautions
Safety is crucial when working with electrical components. Always unplug the lamp before starting. Double-check that the power source is off. Wear rubber gloves to protect against electric shocks. Use tools with insulated handles. This reduces the risk of accidental shocks. Work in a dry area. Wet conditions increase the risk of electrocution. Keep a fire extinguisher nearby. It’s a good precaution in case of electrical fires.

Credit: www.ebay.ca
Rewiring The Lamp
Rewiring the vintage Tansor desk lamp is a key part of restoring its function and safety. Old wiring can become brittle and unsafe over time. Replacing it with new wiring ensures the lamp works well and meets modern standards.
This process involves careful work with electrical components. Safety must come first. Use proper tools and disconnect the lamp from power before starting. Follow each step to give your lamp a fresh, reliable electrical life.
Stripping And Preparing Wires
Begin by cutting the new wire to the correct length. Use wire strippers to remove about half an inch of insulation from each wire end. Be gentle to avoid damaging the copper inside. Twist the exposed copper strands tightly to keep them neat.
Inspect the wires for any damage or fraying. Smooth, clean wires make better connections and reduce risks. Keep the wire ends ready for the next step.
Connecting The New Wiring
Match the new wires with the lamp’s terminals. Usually, black or brown wires connect to the live terminal. White or blue wires go to the neutral terminal. Green or bare wires connect to the ground terminal if present.
Wrap the wire ends securely around the correct screws or insert them into push-in connectors. Tighten screws firmly but avoid over-tightening, which can break the wire. Double-check each connection for stability.
Securing Wire Connections
Use electrical tape or wire nuts to cover exposed wire ends. This prevents short circuits and protects against electric shocks. Make sure no copper is visible after covering the wires.
Arrange the wires neatly inside the lamp base. Avoid sharp bends or pinching. Secure wires with cable ties or clips if needed. Proper organization keeps the wiring safe and extends the lamp’s lifespan.
Testing The Lamp
Testing the rewired vintage Tansor desk lamp ensures safety and functionality. This step confirms the electrical connections work correctly. It helps catch mistakes before using the lamp regularly. Take care during testing to avoid shocks or damage.
Initial Power Test
Plug the lamp into a power outlet with the bulb removed. Turn the lamp switch on and off to check the wiring. Use a voltage tester to verify current reaches the socket. Insert a working bulb and switch on the lamp. The bulb should light up without flickering or dimming. If the lamp works well, wiring is likely correct.
Troubleshooting Common Issues
If the lamp does not turn on, check the bulb first. Replace it with a new one to rule out a faulty bulb. Inspect all wire connections for loose or incorrect contacts. Make sure the socket is clean and free of corrosion. Test the power cord for any breaks or cuts. Confirm the switch functions properly with a multimeter. Tighten any loose screws and reconnect wires securely. Repeat the initial power test after adjustments.
Final Assembly
The final assembly of your vintage Tansor desk lamp brings everything together. This phase requires care and patience to ensure all parts fit perfectly. Proper reassembly guarantees the lamp works safely and looks great. Follow each task closely for the best results.
Reattaching Lamp Components
Start by placing the rewired socket back into the lamp head. Secure it with screws or clips as needed. Connect the switch and ensure it fits snugly in its slot. Carefully thread the wiring through the lamp arm without pinching. Attach the lampshade or diffuser, aligning it properly. Tighten all screws evenly to avoid wobbling. Check the lamp’s stability by gently moving it.
Cleaning And Polishing
Wipe all lamp surfaces with a soft, dry cloth first. Use a mild cleaner suitable for metal or painted parts. Avoid harsh chemicals that can damage finishes. Polish brass or chrome parts with a specialized polish for shine. Use a microfiber cloth to buff gently. Clean the lampshade with a damp cloth or mild soap if needed. Allow all parts to dry completely before use.
Maintenance Tips
Maintaining your vintage Tansor desk lamp keeps it safe and working well. Regular care helps avoid electrical problems and extends the lamp’s life. Simple steps make a big difference in performance and safety. Focus on checking parts and using the lamp properly.
Regular Inspection
Look over the lamp’s wiring and plug often. Check for cracks, frayed cords, or loose connections. Inspect the switch to ensure it works smoothly. Clean dust and dirt from the lamp body and socket. Use a dry cloth and avoid water near electrical parts. Replace any worn or damaged parts quickly. Regular checks help spot problems before they grow.
Safe Usage Practices
Always plug the lamp into a proper outlet. Avoid overloading the socket with too many devices. Turn off the lamp when not in use or before rewiring. Use the correct bulb wattage as recommended by the lamp. Keep the lamp away from water and wet areas. Avoid moving the lamp by pulling the cord. Handle the lamp gently to protect fragile parts. These practices keep your vintage lamp safe and long-lasting.
Credit: www.kiosk-store.com
Frequently Asked Questions
How Do I Safely Rewire A Vintage Tansor Desk Lamp?
First, unplug the lamp and remove the old wiring carefully. Use insulated tools and replace wires with identical gauge. Follow the wiring diagram to connect correctly. Test the lamp before full assembly to ensure safety and functionality.
What Tools Are Needed To Rewire This Vintage Lamp?
You will need wire cutters, wire strippers, a screwdriver, electrical tape, and a multimeter. These tools help you safely remove old wires, strip insulation, and check electrical connections during rewiring.
Can I Use Modern Wiring For A Vintage Tansor Lamp?
Yes, you can use modern wiring that matches the original wire gauge. Modern wires offer better insulation and safety while preserving the lamp’s vintage look and function.
How Do I Identify The Correct Wire Connections?
Check the lamp’s wiring diagram or original wire colors. Typically, black or brown is live, white or blue is neutral, and green or bare wire is ground. Confirm with a multimeter for accuracy.
Conclusion
Rewiring a vintage Tansor desk lamp can bring it back to life. It saves money and keeps the lamp’s charm. Follow safety steps carefully to avoid any risks. Take your time and enjoy the process. Soon, you will have a beautiful, working lamp again.
This simple task can add a special touch to your home. Try it yourself and see the difference it makes.


