
Is your chandelier hanging too low or just not fitting your space the way you want? Learning how to shorten the chain on a chandelier can solve this problem quickly and safely.
You don’t need to call a professional or spend a fortune. With a few simple steps, you can adjust your chandelier to the perfect height and transform the look of your room. Keep reading to discover easy tips that will help you take control of your lighting and make your space shine exactly how you imagine.

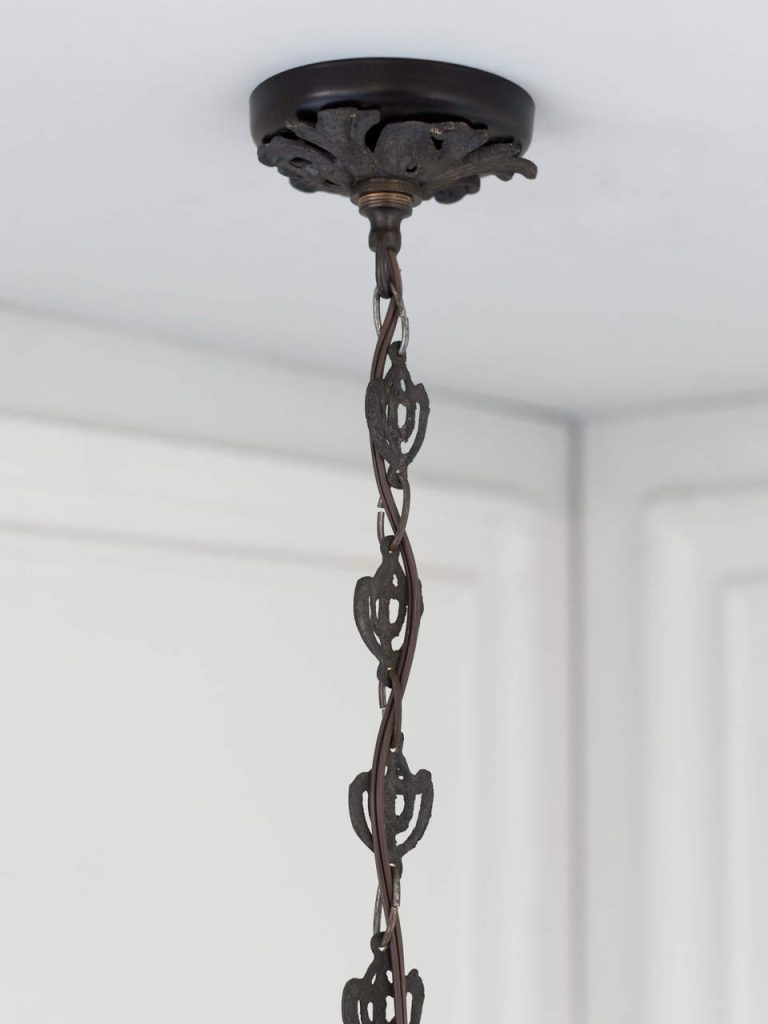
Credit: www.homedepot.com
Tools And Materials Needed
Shortening the chain on a chandelier requires specific tools and materials. Having the right items ensures a smooth and safe process. Prepare everything before starting to avoid interruptions. This section lists all necessary tools and materials clearly.
Essential Tools
- Wire cutters for cutting the chain links
- Needle-nose pliers to open and close chain links
- Screwdriver set for removing and attaching fixtures
- Voltage tester to ensure power is off
- Measuring tape to measure the desired chain length
- Step ladder to reach the chandelier safely
- Work gloves to protect your hands
Materials Checklist
- Replacement chain links if needed
- Chain connectors or quick links for secure joining
- Electrical tape for insulating wires
- Wire nuts for safe electrical connections
- Drop cloth to protect the floor from debris
Safety Precautions
Handling electrical fixtures like chandeliers requires careful attention to safety. Shortening the chain may seem simple, but skipping basic precautions can lead to accidents or damage. Protect yourself and your home by preparing properly before you start.
Turning Off Power
Always switch off the power at the circuit breaker before touching any part of your chandelier. Don’t just rely on the wall switch, as it might not cut the electricity completely.
Use a voltage tester to double-check that the power is off. This small step can save you from electric shocks and serious injury.
Have you ever underestimated this step? It’s easy to do, but think about the risks before you begin.
Using Protective Gear
Wear safety goggles to protect your eyes from dust, metal fragments, or unexpected sparks. Gloves can also help prevent cuts from sharp chain links or tools.
If you’re standing on a ladder, make sure it’s stable and placed on a flat surface. Consider using a helper to hold the ladder steady while you work.
Investing in these simple protections turns a risky task into a manageable one. What gear do you usually overlook when working on home projects?
Preparing The Chandelier
Begin by turning off the power to ensure safety. Measure the desired length before detaching the chain links carefully. Use pliers to open and remove the excess chain for a perfect fit.
Preparing a chandelier for chain shortening involves careful planning. Safety should be your top priority. Before you begin, gather all necessary tools. A sturdy ladder, pliers, and a voltage tester are essential. Ensure you have a clean and spacious work area. This will help prevent accidents. Turn off the power to the chandelier. Use a voltage tester to double-check this step. It’s crucial for your safety.Removing The Chandelier
First, ensure the power is off at the main switch. Carefully remove the chandelier from its mount. A second person can help stabilize it. Support the chandelier as you detach it. This prevents any damage. Unscrew the canopy to access the wiring. Note the wiring connections for reinstallation. Gently disconnect the wires. Use pliers if needed. Lower the chandelier to a safe surface.Inspecting The Chain
Examine the chain for wear or damage. Look for rust or weak links. A sturdy chain is necessary for safety. Measure the chain’s current length. Decide how much shorter it should be. Keep in mind the room’s height. This ensures the chandelier hangs correctly. Use pliers to open the chain link. Remove the desired number of links. Reattach the chain securely. Double-check for a firm connection.
Credit: www.amazon.com
Shortening The Chain
Shortening the chain on a chandelier helps adjust its height perfectly. This task improves the room’s look and ensures the light hangs at a safe level. The process involves measuring, opening chain links, and reattaching the chain securely.
Measuring Desired Length
Start by deciding how low the chandelier should hang. Use a tape measure to check from the ceiling to the desired point. Mark the measurement on the chain. Always allow a little extra length for attaching hardware. This step ensures the chandelier fits your space well.
Opening And Removing Links
Use pliers to open the chain links carefully. Grip one side of the link and twist it open sideways. Avoid pulling the links apart, which can weaken the metal. Remove the extra links until you reach the marked length. Keep the opened links safe for reusing later.
Reattaching The Chain
Attach the chain back to the chandelier and ceiling hook. Use pliers to close the opened link tightly. Check that all links are secure and hold the chandelier’s weight. Test the fixture by gently pulling on the chain. A firm hold means the chain is properly shortened.
Reinstalling The Chandelier
Reinstalling your chandelier after shortening the chain is a crucial step that ensures both safety and style. It’s not just about hanging it back up; you need to secure the fixture properly and restore power carefully. This process will help your chandelier look stunning and function flawlessly.
Securing The Fixture
Start by lifting the chandelier carefully and aligning it with the ceiling mount. Make sure the mounting bracket is firmly attached to the ceiling box before you proceed. If the fixture feels loose or wobbly, tighten the screws gently until it’s stable but avoid over-tightening to prevent damage.
Check that the chain and wiring aren’t twisted or pinched during installation. It’s easy to overlook this, but any tension on the wires could cause future problems. You want the chandelier to hang straight and secure, so take a moment to adjust the chain length evenly.
Restoring Power
Once the chandelier is secured, it’s time to restore power. Before flipping the switch, double-check your wire connections are tight and covered with wire nuts. Loose connections can cause flickering lights or worse, electrical hazards.
Turn the circuit breaker back on and test your chandelier. Does the light come on smoothly? If it doesn’t, don’t force it—turn off the power again and re-inspect your wiring. Safety is more important than rushing through the process.
Have you ever installed a fixture and realized you missed a step only after turning on the power? Take your time now to avoid that frustration. Your patience here pays off with a beautiful, safe lighting centerpiece.

Credit: www.ebay.com
Troubleshooting Tips
Troubles may arise while shortening a chandelier chain. Knowing common issues helps you fix them quickly. This section offers simple tips to solve typical problems. Stay calm and follow easy steps to keep your chandelier safe and secure.
Handling Stubborn Links
Some chain links can be hard to open. Rust or paint might cause stiffness. Use pliers with a gentle grip to avoid damage. Twist links slowly back and forth until they loosen. Apply a small amount of lubricant like WD-40 to stuck areas. Wait a few minutes and try again. Avoid forcing links to prevent breaking or bending.
Ensuring Stability
After shortening, check if the chandelier hangs straight. Uneven chains cause tilting and unsafe fixtures. Use a level tool to test balance. Securely close all links to avoid slipping. Tighten screws and hooks that hold the chain. Consider adding a safety cable for extra support. Regularly inspect the chain for wear and tear to keep it stable over time.
Frequently Asked Questions
How Do I Measure The Right Chain Length For A Chandelier?
Measure from the ceiling to the desired chandelier height. Consider room size and ceiling height for perfect placement. Adjust the chain length accordingly to ensure balanced lighting and aesthetics.
What Tools Are Needed To Shorten A Chandelier Chain?
You will need pliers, a screwdriver, and wire cutters. These tools help remove links and adjust the chain safely. Ensure power is off before starting any electrical work.
Can I Shorten The Chain Without Professional Help?
Yes, with proper tools and safety precautions, you can do it. Turn off electricity and carefully remove links. If unsure, consult a professional electrician for safety.
How To Safely Disconnect The Chandelier From The Ceiling?
Turn off the power at the circuit breaker first. Use a ladder to reach the fixture safely. Unscrew mounting hardware and gently detach wiring connectors.
Conclusion
Shortening a chandelier chain is easier than it seems. Just follow the steps carefully. Measure the length before you cut the chain. Use the right tools to keep it safe. Take your time to avoid mistakes. A well-adjusted chandelier brightens your room perfectly.
Enjoy your new lighting look every day. Simple changes can make a big difference. Now, you can fix your chandelier chain yourself. No need to wait for help. Try it and see how good it feels.


