
Are you looking to brighten up your space with beautiful butterfly stickers but aren’t sure how to make them stay perfectly on your wall? You’re not alone.
It can be frustrating when stickers peel off or don’t look quite right. Imagine transforming your room effortlessly, with vibrant butterflies adding charm and personality to your walls. In this guide, you’ll discover simple, effective steps to stick butterfly stickers securely and beautifully.
By the end, you’ll have the confidence to create that stunning look you want—without any hassle or damage to your walls. Ready to get started? Let’s dive in!
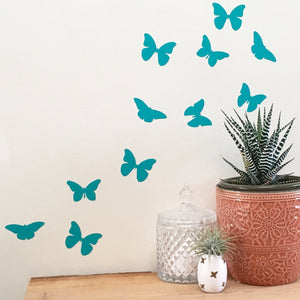
Credit: mejmej.com
Choose The Right Wall
Choosing the right wall is the first and most important step to make sure your butterfly stickers stay put and look beautiful. Not every wall is equally suitable for stickers, and picking the wrong one can lead to peeling, bubbling, or damage to your paint. Think about the wall’s condition and environment before you start sticking.
Check Surface Texture
Look closely at your wall’s surface. Smooth walls like painted drywall or wood are usually perfect for stickers because they provide a flat surface for the adhesive to grip.
Rough or textured walls, such as brick, stucco, or heavily textured paint, make it harder for stickers to stick firmly. If your wall has bumps or grooves, the sticker might peel off quickly or not stick at all.
Have you ever tried sticking something on wallpaper? It often doesn’t work well because the paper can lift off, taking the wallpaper with it. So, avoid walls covered in wallpaper or consider testing a small area first.
Avoid Moisture And Dust
Moisture is a sticker’s enemy. Even if the wall looks dry, areas near windows, bathrooms, or kitchens might have hidden humidity that weakens the glue.
Dust and dirt act like tiny barriers between the wall and your sticker. Before sticking, wipe the wall with a clean, dry cloth to remove any dust particles. If the wall is greasy, use a mild soap solution, then dry thoroughly.
Ask yourself: Is the wall in a place that stays dry and clean most of the time? If not, consider choosing another spot to keep your butterfly stickers looking fresh longer.
Prepare The Wall Surface
Preparing the wall surface is a crucial step before sticking butterfly stickers. A clean and dry wall ensures that the stickers stick well and last longer without peeling off. Taking the time to prepare properly saves you from frustration later on.
Clean The Wall
Start by wiping the wall with a damp cloth to remove dust and dirt. You can use mild soap mixed with water for stubborn spots, but avoid harsh chemicals that might damage the paint. Pay special attention to corners and edges where dust tends to gather.
Have you ever noticed how a small speck of dust can cause a sticker to lift? That’s why a thorough cleaning is key. Clean surfaces give stickers a better grip and help maintain their vibrant look.
Dry Completely
After cleaning, let the wall dry completely before applying the stickers. Moisture can weaken the adhesive and cause the sticker to fall off quickly. You can speed up drying by using a dry cloth or a fan.
Imagine sticking a butterfly on a damp surface—it won’t stay long. Ensuring the wall is fully dry means your decorations will stay put, keeping your room looking perfect for weeks or even months.
Select Quality Butterfly Stickers
Selecting the right butterfly stickers is the first step to creating a beautiful wall display that lasts. Quality matters not just for appearance but also for how well the stickers stick and how easy they are to remove later. Choosing wisely can save you time and keep your walls looking fresh.
Material Matters
The material of the butterfly stickers affects both their look and durability. Vinyl stickers tend to be waterproof and long-lasting, perfect if you want something that won’t peel off easily. Paper-based stickers might look great initially but can wrinkle or fade faster, especially in humid rooms.
Think about where you’ll place the stickers. Are they near a window with direct sunlight? Vinyl resists fading better than paper. Or will they be in a kid’s room where they might get touched often? Durable materials hold up better over time.
Size And Design Options
Choosing the right size is key to making your wall look balanced and inviting. Small butterflies can create a subtle pattern, while larger ones become bold focal points. Mixing sizes adds depth, but be careful not to overcrowd your space.
Designs range from realistic to cartoonish, and the style you pick should match your room’s vibe. Do you want soft pastel colors for a calming effect or bright, vivid hues that energize the space? Your choice can change the room’s mood completely.

Credit: www.amazon.in
Plan Your Sticker Layout
Planning your sticker layout saves time and avoids mistakes. It helps create a beautiful, balanced look on your wall. Taking time to arrange your butterfly stickers carefully improves the final result.
Create A Design Template
Start by sketching your wall area on paper. Mark the space where you want to place the stickers. Draw the butterfly shapes roughly to see how they fit.
This step shows how much space the stickers need. It helps avoid crowding or empty spots. You can move the stickers around on your sketch until the design feels right.
Use Painter’s Tape For Guidance
Painter’s tape helps mark where each sticker goes. Place small pieces on the wall to outline the design. The tape lines act as a guide for sticker placement.
This tool keeps everything straight and evenly spaced. It also lets you step back and check the layout before sticking. Remove the tape gently after all stickers are on the wall.
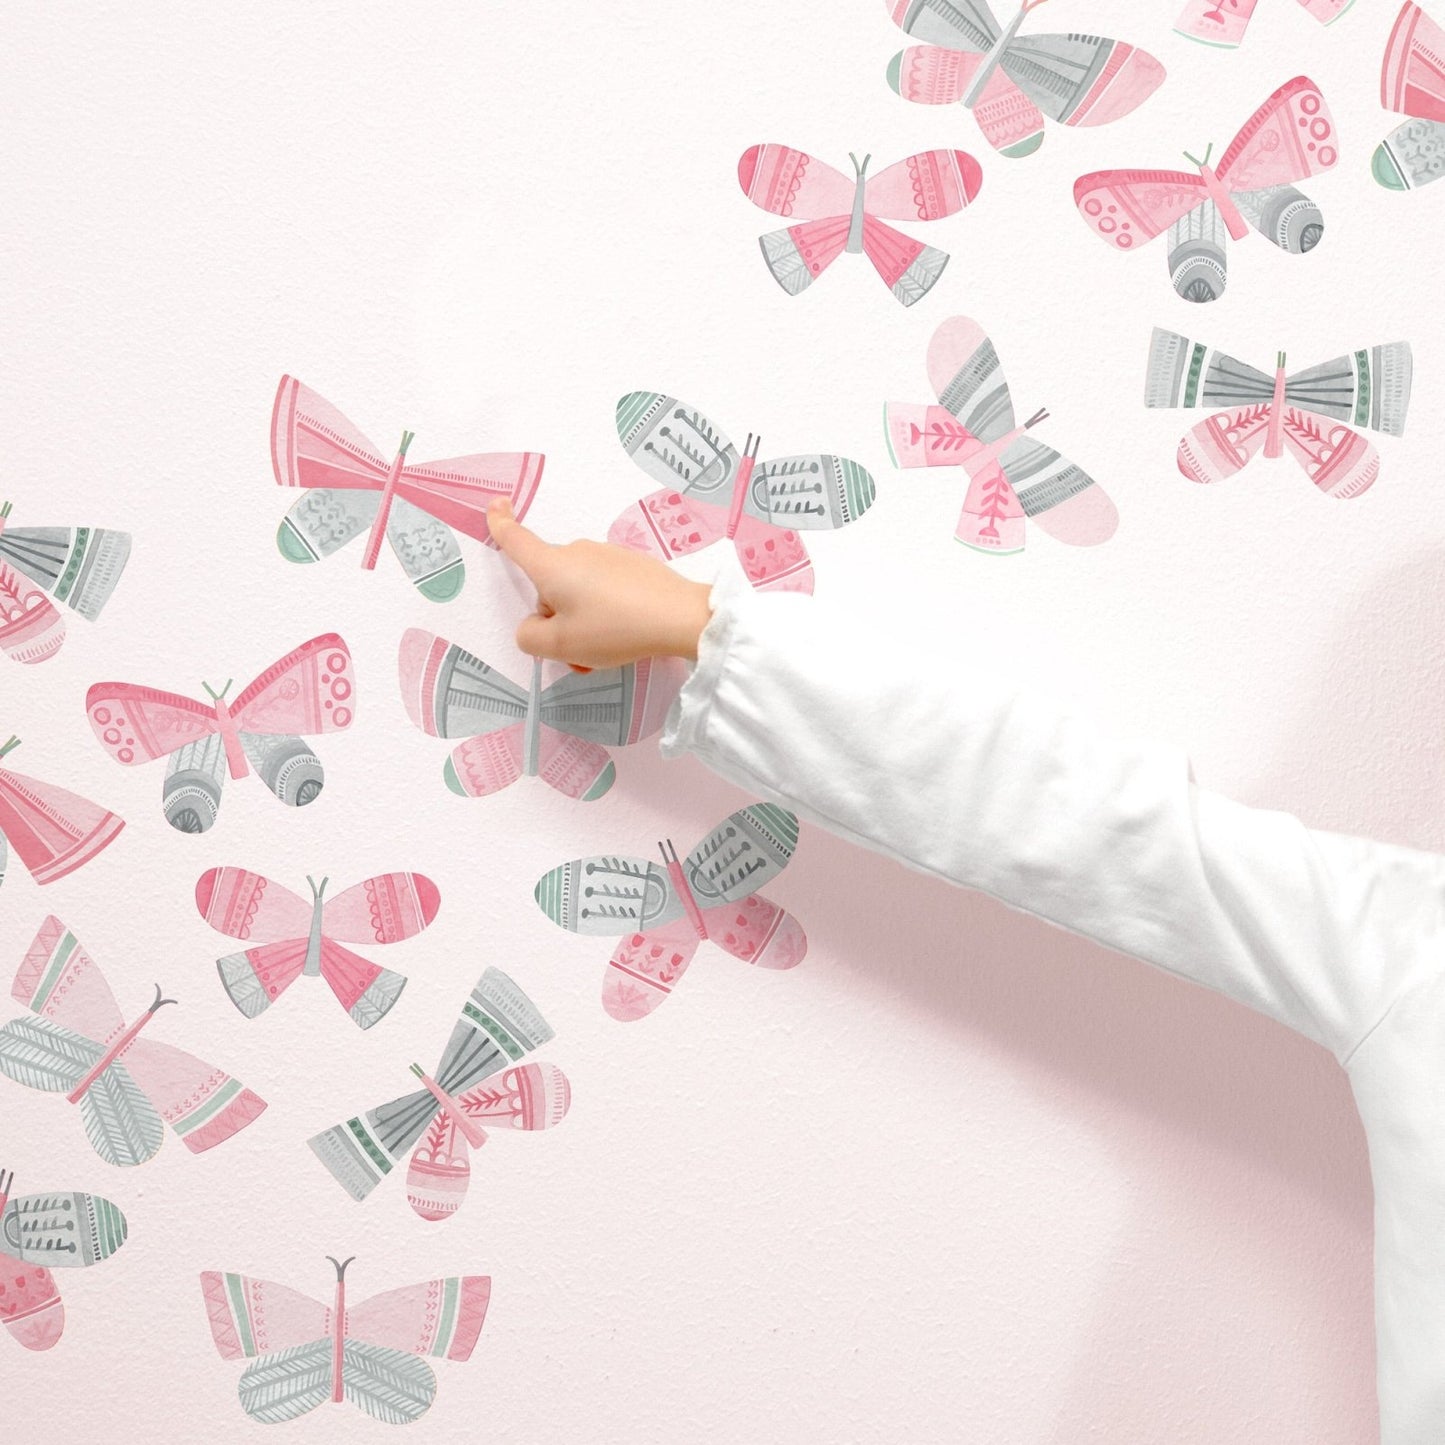
Apply The Stickers Carefully
Peel the butterfly sticker slowly to avoid tearing. Press it gently on the wall, smoothing out any air bubbles. Take your time to place each sticker exactly where you want it.
Applying butterfly stickers to your wall can transform any room into a whimsical haven. However, achieving a flawless look requires a careful approach. The key is to take your time during the application process, ensuring each sticker is placed perfectly. Below are some detailed steps to help you apply the stickers carefully, resulting in a beautifully adorned wall.Peel Backing Slowly
Peeling the backing of a sticker can seem straightforward, but rushing this step can lead to unwanted wrinkles or tears. Start at one corner and gently pull back the adhesive paper. Feel the anticipation as the vibrant butterfly design is revealed, ready to make its debut on your wall. Imagine you’re unwrapping a delicate gift. This careful attention prevents the sticker from folding over on itself or sticking prematurely to the wall.Smooth Out Air Bubbles
Once the sticker is on the wall, smoothing out air bubbles is crucial for a seamless appearance. Use a soft cloth or a credit card to gently press from the center of the sticker outward. This method ensures the edges adhere well and the design looks crisp. Think of it as giving the sticker a gentle massage. You might find it surprisingly satisfying as you watch the bubbles disappear, leaving a smooth finish behind. By following these steps, you ensure that your butterfly stickers not only stick well but also enhance your space beautifully. Have you ever noticed how a slight imperfection can draw the eye? Taking these extra moments helps you avoid that distraction, allowing the beauty of your new wall art to truly stand out.
Credit: www.amazon.in
Secure The Stickers
Securing butterfly stickers on your wall is key to making sure they stay put and look beautiful over time. It’s not just about sticking them on; it’s about making the bond strong and smooth. Taking a few extra moments to properly secure the stickers can save you from frustration later when they start peeling off.
Press Firmly
Once you position the butterfly sticker where you want it, press it down firmly with your fingers. Focus on the edges first, as these are the spots that tend to lift over time. Applying steady pressure helps the adhesive make full contact with the wall’s surface.
Think about the last time you tried to stick something lightly and it fell off quickly—pressing firmly is the difference between a temporary decoration and a lasting one. Don’t rush this step; spend 20 to 30 seconds pressing to ensure good adhesion.
Use A Soft Cloth For Finishing
After pressing, take a soft cloth—like microfiber or cotton—and gently rub over the sticker. This smooths out any air bubbles and pushes the adhesive deeper into the wall’s texture. It also gives the sticker a polished look, making it appear as if it’s part of the wall rather than just stuck on.
If you notice any wrinkles or bubbles, use the cloth to push them toward the edges carefully. This step helps the sticker last longer and keeps your wall looking neat. Have you tried pressing stickers with something hard before? A soft cloth actually protects the sticker surface while securing it better.
Maintain Your Wall Decor
Maintaining your butterfly sticker wall decor keeps your space fresh and lively. Proper care helps stickers stay bright and attached longer. Simple habits protect your walls and decorations. Follow these tips to enjoy your wall art without damage or fading.
Avoid Excessive Cleaning
Too much cleaning can loosen stickers from the wall. Use a soft, dry cloth to dust gently. Avoid scrubbing the stickers directly. Keep water and harsh chemicals away. Clean the wall around the stickers carefully to prevent damage. Light, careful cleaning preserves the sticker’s colors and shape.
Handle With Care
Touch stickers as little as possible to keep them intact. Avoid pushing or pulling on the edges. Be gentle when moving furniture or objects nearby. Keep sharp items away to prevent scratches. Handle with care to maintain the sticker’s adhesive and appearance for a long time.
Frequently Asked Questions
How Do I Prepare The Wall For Butterfly Stickers?
Clean the wall with a damp cloth to remove dust and dirt. Ensure the surface is dry and smooth for better sticker adhesion. Avoid textured or uneven walls as stickers may not stick properly.
Can Butterfly Stickers Damage My Wall Paint?
No, high-quality butterfly stickers are usually removable and won’t damage paint. However, removing old stickers carefully is important to avoid peeling paint. Test a small area first if unsure about your wall type.
What Is The Best Position To Place Butterfly Stickers?
Place butterfly stickers at eye level for the best visual effect. Group them in clusters or patterns to create a natural, fluttering look. Avoid placing stickers near heat sources or moisture areas.
How Long Do Butterfly Stickers Usually Last On Walls?
Butterfly stickers can last several months to years if applied correctly. Their durability depends on wall texture, climate, and sticker quality. Keep walls clean and avoid frequent touching to extend sticker life.
Conclusion
Sticking butterfly stickers on your wall is simple and fun. Clean the wall first to help stickers stick well. Peel the stickers slowly to avoid damage. Press them gently but firmly for best results. Arrange stickers in patterns you like.
Change or remove them easily without leaving marks. Enjoy your beautiful wall decoration every day. This small project can brighten any room quickly. Give it a try and see the difference yourself!


