

Are you ready to remove that wall mirror but unsure where to start? Taking down a mirror might seem tricky or risky, but with the right steps, you can do it safely and easily.
Whether you want to replace it, move it, or just clear up space, this guide will help you avoid damage and frustration. Keep reading, and you’ll learn simple tips that save your time and protect your walls—making the whole process smooth from start to finish.
Tools Needed
Taking down a wall mirror requires the right tools to make the job safe and easy. Having the correct items ready helps avoid damage to the mirror and the wall. It also protects you from injury. Below are the essential tools and safety gear you need before starting.
Basic Tools
- Screwdriver – to remove screws holding the mirror frame or brackets
- Putty knife – to gently pry off glued or stuck parts
- Utility knife – to cut through caulk or adhesive around the mirror edges
- Measuring tape – to check mirror size and placement before removal
- Stud finder – to locate wall studs that support the mirror
- Step stool or ladder – to reach high mirrors safely
Safety Gear
- Gloves – protect your hands from sharp edges or broken glass
- Safety glasses – shield your eyes from glass shards or dust
- Dust mask – prevents inhaling dust or particles
- Long sleeves – protect arms from scratches and cuts
- Drop cloth – covers floor to catch debris and protect surfaces
Credit: bfymirror.com
Prepare The Area
Preparing the area before taking down a wall mirror is crucial to avoid damage and ensure safety. A well-organized space gives you room to work and protects your belongings. Let’s look at how to get your area ready for this task.
Clear The Space
Start by moving any furniture or objects near the mirror. This frees up space and prevents accidental bumps or breakage. If you leave items nearby, you risk damaging them or the mirror itself.
Think about the path you’ll take to carry the mirror once it’s off the wall. Is it clear enough? If not, shift or remove obstacles so you can move smoothly. Clearing the space also helps you focus on the task without distractions.
Protect The Floor And Walls
Place a soft blanket or thick towel on the floor beneath the mirror. This cushion will catch the mirror if it slips, preventing cracks or chips. Using a drop cloth can also keep dust and debris contained.
Consider taping painter’s tape around the edges of the mirror on the wall. This can stop paint or wall damage if the mirror shifts as you remove it. It’s a small step that saves you from touch-up work later.
Have you checked your tools and safety gear yet? Gloves and safety glasses add protection, especially if the mirror is large or heavy. Preparing your area thoughtfully makes the whole process safer and easier.
Inspect The Mirror
Before you reach for a screwdriver or pry bar, take a moment to inspect the mirror closely. Understanding its condition and how it’s mounted can save you from unexpected damage or injury. A careful inspection helps you plan the safest and most effective way to remove it.
Check Mounting Type
Look closely at how the mirror is attached to the wall. Is it hanging on hooks, glued, or screwed directly into the wall? Different mounting types require different removal techniques.
For instance, mirrors hung on hooks can often be lifted off gently, while glued mirrors may need a bit more patience and the right tools to loosen the adhesive without breaking the glass. Screws or brackets will need a screwdriver or drill, but be cautious not to strip the hardware.
Ask yourself: have you seen any signs of mounting hardware around the edges or behind the frame? This can give clues about what tools you’ll need and how much force to apply.
Look For Damage
Inspect the mirror surface and edges for cracks or chips before removing it. A damaged mirror can shatter easily, so knowing its condition helps you prepare and protect yourself.
If you notice any cracks, consider wearing gloves and safety glasses during removal. Also, check if the backing is peeling or if there are any loose fragments that might fall once the mirror is off the wall.
Think about how the mirror’s condition might affect your approach. Would a cracked mirror require a slower, more cautious removal? Spotting damage early can prevent accidents and save you from a bigger mess later.
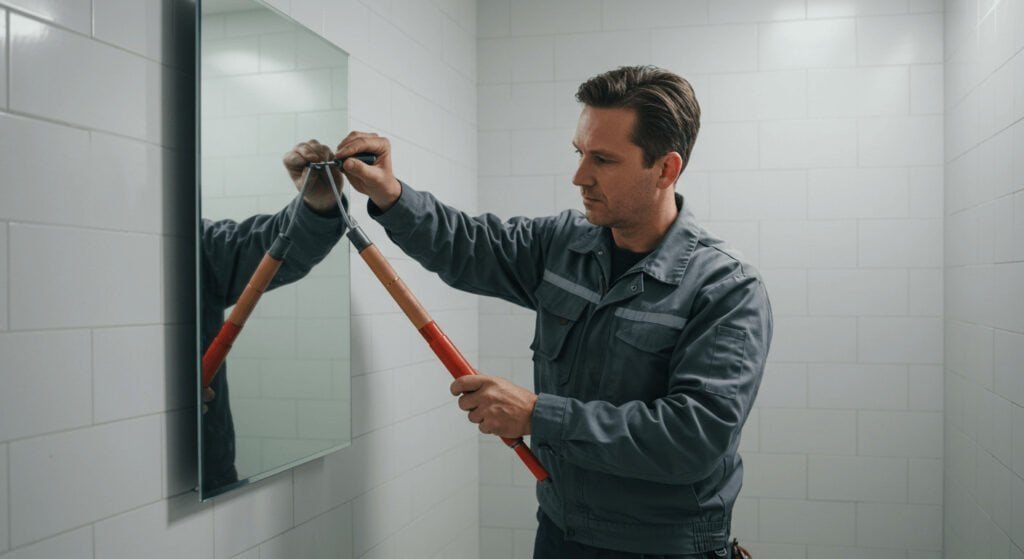
Remove Wall Fasteners
Carefully pry off any caps or covers hiding the fasteners on the wall. Use a screwdriver or pliers to loosen and remove the screws holding the mirror. Gently pull the mirror away once all fasteners are removed.
Removing wall fasteners is a crucial step in taking down a wall mirror. These fasteners are what keep your mirror securely attached to the wall, and they come in various types, from brackets to adhesive strips. Knowing how to correctly handle each type is essential to avoid damaging your wall or the mirror itself. Let’s dive into the specifics of removing different types of fasteners.Unscrew Brackets
Brackets are common fasteners for heavier wall mirrors. To begin, gather a screwdriver that fits the screws on your brackets. Gently unscrew each bracket from the wall, making sure to support the mirror with your other hand. This prevents it from slipping and causing an accident. Once all brackets are removed, carefully lift the mirror away from the wall. If you’re working alone, consider asking someone to help you. It’s always safer to have an extra pair of hands.Detach Adhesive Strips
Adhesive strips are popular for mounting lighter mirrors. They offer a seamless look but can be tricky to remove. Begin by locating the ends of the adhesive strips. Gently peel back one corner, applying steady pressure. Avoid jerking, as this can damage the wall paint or drywall. To make removal easier, use a hairdryer to soften the adhesive. Heat the strips for a few seconds to loosen their grip. Once softened, the strips should peel away more smoothly, leaving your wall intact. When you’re done, inspect the wall for any residue. If there’s any adhesive left behind, a bit of rubbing alcohol on a cloth can help clean it up. Taking down a wall mirror can seem daunting, but with the right approach, it’s entirely manageable. What’s your biggest worry about removing your wall mirror?Handle The Mirror Safely
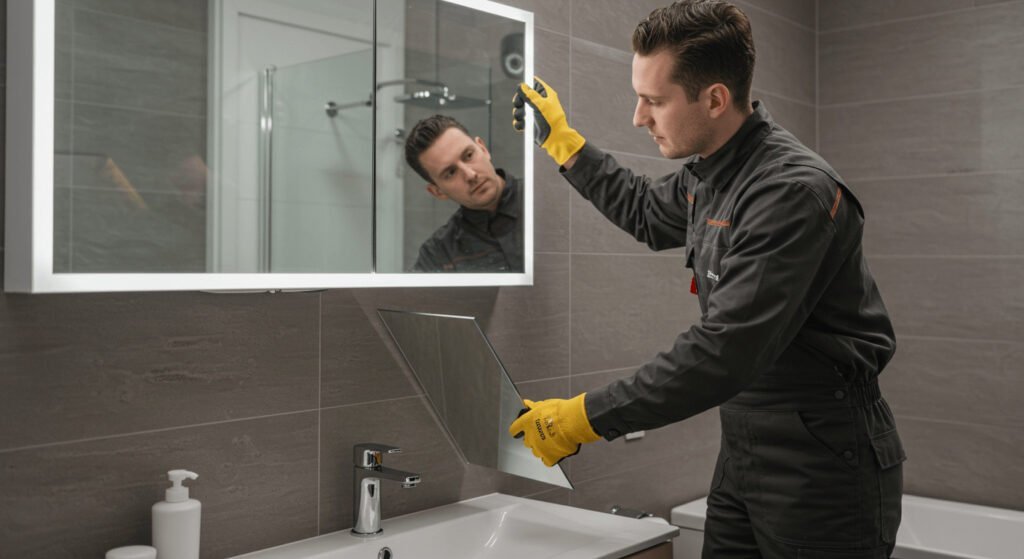
Handling a wall mirror safely is crucial to prevent accidents and damage. Mirrors are fragile and heavy, and a careless move can lead to shattered glass or injury. Taking a moment to focus on safe handling techniques protects both you and your home.
Support The Glass
Always support the mirror glass directly when you start to remove it from the wall. Place one hand firmly on the bottom edge and the other on the top or side. This helps distribute the weight evenly and reduces the risk of cracking.
Have a soft surface like a blanket or foam nearby to set the mirror down immediately once it’s free. Holding the glass without proper support can easily cause it to flex and break.
Use Proper Lifting Techniques
Lift the mirror using your legs, not your back, to avoid strain. Keep the mirror close to your body and maintain a straight back. This approach gives you better control and reduces the chance of dropping it.
Ask for help if the mirror is large or awkward. Two people can manage the weight and size much more safely than one. Have you ever tried moving a heavy mirror alone only to regret it halfway through? Don’t risk it.
Clean Up After Removal
After removing a wall mirror, the clean-up process is essential to restore your space to its best condition. It’s not just about tidying up; it’s about ensuring safety and preparing the wall for whatever comes next. Ignoring this step can lead to damage or even accidents later on.
Dispose Of Debris
Start by gathering all the broken glass and any mounting hardware. Use thick gloves and a broom to carefully sweep up shards—never use your hands directly. Place the debris in a sturdy container or wrap it in several layers of newspaper to prevent injuries during disposal.
Check your local waste guidelines to see if glass disposal has special rules. Some areas require glass to be taken to specific recycling centers rather than regular trash. Have you ever overlooked this step and ended up with a cut or a mess? Taking your time here can save you trouble later.
Repair Wall Surface
Once the debris is cleared, inspect the wall for holes, adhesive residue, or damaged paint. Use spackle or wall filler to patch up holes left by screws or anchors. Sand the area smooth after it dries to create an even surface.
If there’s leftover glue or tape, a gentle scraper or adhesive remover can help clean the wall without causing further damage. Finally, touch up the paint to match your wall color, and your space will look as if the mirror was never there. What project will you tackle next with your freshly repaired wall?
Tips For Heavy Or Large Mirrors
Heavy or large mirrors need extra care when you’re taking them down. Their weight and size make them tricky to handle alone. Without the right approach, you risk damaging the mirror or the wall—and even hurting yourself.
Get Assistance
Never try to remove a big mirror by yourself. Ask a friend or family member to help you hold and support it. Two pairs of hands make the process safer and smoother.
Think about how you’ll move the mirror once it’s off the wall. Having help means you can carefully set it down without rushing or dropping it. This reduces stress and prevents accidents.
Use Specialized Tools
Heavy mirrors often require more than just your hands. Use tools like a pry bar with a thin edge or a putty knife to gently loosen the mirror from the wall. These tools help avoid damage to the wall or frame.
Consider wearing gloves for better grip and protection from sharp edges. If the mirror is mounted with clips or brackets, a screwdriver or drill can make removing those fasteners easier. Have these tools ready before you start to avoid frustrating stops mid-task.

Credit: www.youtube.com
Credit: bfymirror.com
Frequently Asked Questions
How Do I Safely Remove A Wall Mirror?
To safely remove a wall mirror, first wear gloves and protective eyewear. Use a utility knife to cut caulk or adhesive around the edges. Gently pry the mirror off using a putty knife or suction cups. Take your time to avoid breaking the glass.
What Tools Are Needed To Take Down A Wall Mirror?
You will need gloves, safety glasses, a utility knife, putty knife or pry bar, and suction cups. These tools help protect you and make mirror removal easier without damage. Having a helper can also improve safety and control.
How Can I Prevent Damage When Removing A Wall Mirror?
Cut all adhesive or caulk thoroughly before prying. Use suction cups to hold the mirror securely. Pry gently and evenly from multiple points. Work slowly to avoid cracking or shattering the glass during removal.
Should I Hire A Professional To Remove A Large Mirror?
Hiring a professional is recommended for large or heavy mirrors. They have experience, tools, and safety gear to prevent accidents. For small mirrors, you can remove them yourself with care and proper preparation.
Conclusion
Taking down a wall mirror can be safe and simple with the right steps. Always handle the mirror carefully to avoid damage or injury. Use proper tools and work slowly to keep control. Clean the area after removal to prevent mess.
Now, you can change your space or hang a new decoration with ease. Remember, patience and care make the process smooth and stress-free.


