
Are you looking for a simple way to transform your space without much effort? 3D butterfly wall stickers are the perfect solution to add life and charm to any room.
Imagine your walls coming alive with colorful, fluttering butterflies that create depth and beauty instantly. You’ll discover easy steps to use these stickers effectively, making your home feel fresh and inviting. Keep reading to learn how to bring a touch of magic to your walls with minimal time and effort.

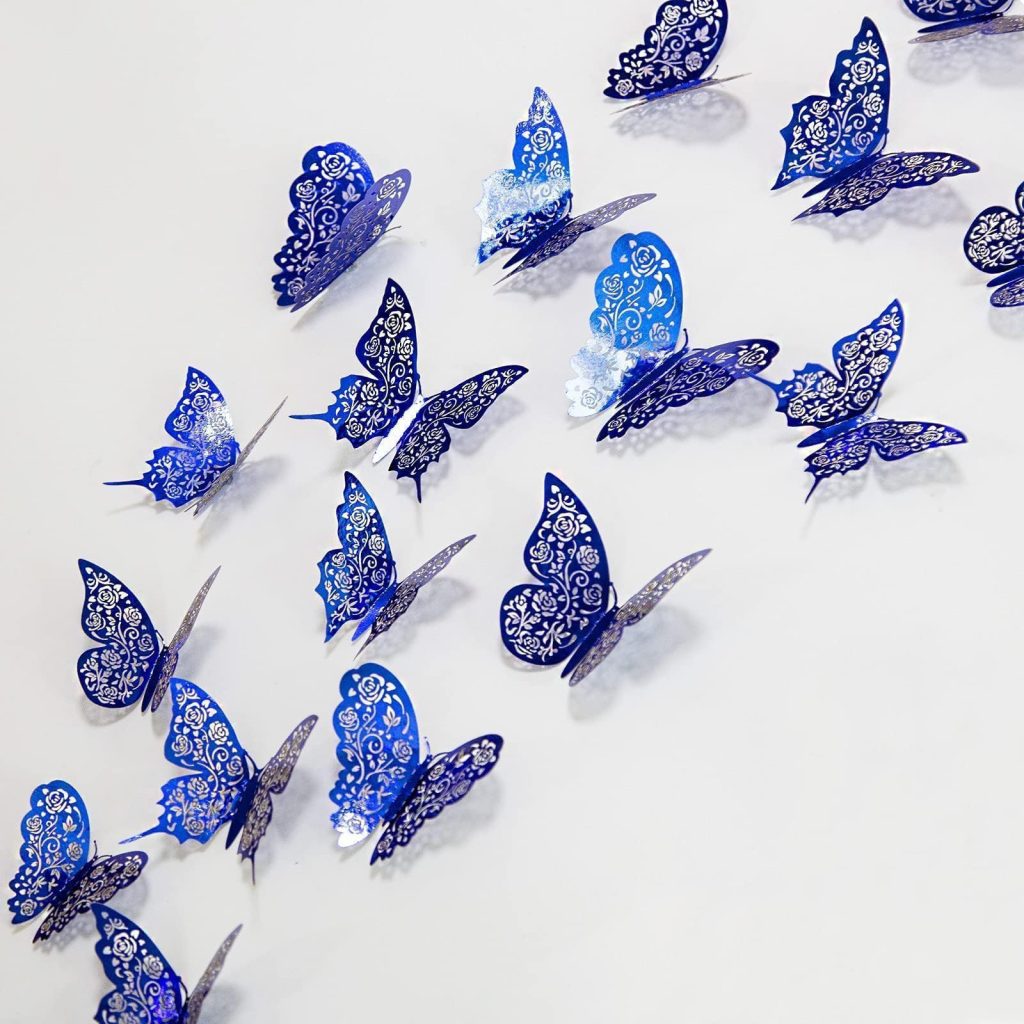
Credit: www.amazon.ca
Choosing The Right 3d Butterfly Stickers
Choosing the right 3D butterfly stickers can transform your space from ordinary to stunning. It’s not just about picking any design but finding the perfect match for your walls, room style, and personal taste. Paying attention to materials, sizes, colors, and themes will help you create a look that truly stands out and lasts.
Materials And Quality
Quality matters more than you might think. Look for stickers made from durable materials like vinyl or thick PVC, which hold their shape and resist peeling over time. Matte finishes reduce glare, making the butterflies look more natural and less like stickers.
Have you ever bought a sticker that started curling after a week? Avoid that by checking reviews or asking for samples. A good material also means easier application and removal without damaging your walls.
Sizes And Colors
Size affects the visual impact. Small butterflies work well for subtle accents, while larger ones create bold statements. You can mix sizes to add depth and movement, which makes your wall come alive.
Color choices should complement your existing decor. Bright, vibrant colors add energy, while pastels create a soft, calming vibe. Think about the room’s lighting; darker colors might fade in bright sunlight, so opt for UV-resistant options if needed.
Themes And Styles
Butterflies come in various styles—from realistic and detailed to abstract and whimsical. Choose a style that fits the room’s mood. For example, realistic butterflies suit a nature-themed bedroom, while colorful, stylized ones might brighten a child’s playroom.
Consider the overall theme of your space before picking stickers. Do you want a minimalist look or something more artistic? Matching your butterfly stickers with other wall art or furniture styles can create a harmonious and balanced environment.

Credit: www.amazon.ca
Preparing Your Wall Surface
Preparing your wall surface is a key step before applying 3D butterfly wall stickers. A clean, smooth surface helps the stickers stick better and last longer. Taking time to prepare ensures a neat, beautiful finish.
Cleaning And Drying
Remove dust, dirt, and grease from the wall using a mild soap and water. Use a soft cloth or sponge to avoid damage. Rinse with clean water and let the wall dry completely. Dry walls prevent the stickers from peeling off quickly.
Smoothing Imperfections
Check the wall for bumps, cracks, or holes. Use spackle or filler to fix imperfections. After drying, sand the area gently to make it smooth. Smooth walls provide a better surface for the stickers to stick properly.
Selecting The Best Wall Type
Choose walls with a flat, non-porous surface like painted drywall or glass. Avoid rough or textured surfaces like brick or wallpaper. Smooth walls offer the best grip for 3D butterfly stickers and show their details clearly.
Planning Your Design Layout
Choose a wall that is smooth and clean for the best sticker hold. Plan your design by arranging butterflies in patterns or random clusters to create depth and interest. Consider spacing to keep the look balanced and eye-catching.
Planning Your Design Layout Transform your space with 3D butterfly wall stickers. Start with a plan. Thoughtful design enhances the beauty of these stickers. Map out your ideas before sticking. A well-thought-out design ensures harmony and balance.Creating Patterns And Arrangements
Decide on patterns that suit your space. Symmetrical designs bring order and neatness. Asymmetrical arrangements add creativity and flair. Group butterflies in clusters for a natural look. Align them in a linear fashion for a modern touch. Experiment with different patterns to find what you love.Using Templates Or Freehand
Templates provide a guide for your design. They help maintain consistency. Trace designs on paper first. This ensures accuracy. Prefer a more personal touch? Go freehand. It allows for unique, creative expressions. Both methods have their charm.Balancing Colors And Spacing
Choose colors that complement your room. Bright colors add vibrancy. Soft hues create a calming effect. Balance is key in spacing. Avoid overcrowding your wall. Ensure each butterfly has room to ‘fly’. This creates a sense of movement and life.Applying The 3d Butterfly Stickers
Applying 3D butterfly wall stickers can instantly transform your space, but getting them on the wall just right takes a bit of care. The process is simple, yet the details make all the difference between a flat, lifeless decoration and one that truly pops with depth and charm. Let’s break down how to apply these stickers so they look stunning and stay put.
Peeling And Positioning
Start by gently peeling the sticker from its backing. Take your time to avoid tearing or stretching the delicate edges. Hold the sticker close to the wall and position it where you want it to go.
Think about the overall layout before sticking it down. Would you prefer a random fluttering effect, or a neat row? Use a soft pencil to lightly mark the spots if you want precise placement.
Securing Edges And Corners
The edges and corners are the trickiest parts that often peel off over time. Press these areas firmly against the wall using your fingers or a soft cloth. Apply even pressure and hold for a few seconds to make sure they stick well.
If you feel the edges are lifting, a tiny bit of extra adhesive can help. Just be cautious not to get glue on the visible parts of the sticker. Have you ever had a sticker curl up after a few days? Securing edges properly can prevent this common annoyance.
Avoiding Air Bubbles
Air bubbles can ruin the smooth look of your butterflies and make them fall off faster. To avoid this, start pressing the sticker from the center outward, pushing air out as you go. Use a flat edge, like a credit card, to smooth out any trapped air gently.
If a bubble appears, poke it lightly with a pin and press down to release the air. Patience here pays off—taking a little extra time now means your butterflies will look flawless and last longer on your wall.
Enhancing Your Decor With Lighting
Lighting can completely change how your 3D butterfly wall stickers look. It highlights their colors and shapes, making them pop off the wall. By using lighting cleverly, you can turn a simple decoration into a captivating focal point in any room.
Using Natural Light
Natural light brings out the true colors of your butterfly stickers. Position them near windows where sunlight can gently fall on them during the day.
Try observing how the light changes throughout the day. Morning light is soft and warm, perfect for creating a cozy feel. Afternoon sunlight is brighter and can make your butterflies look vibrant and lively.
Have you noticed how natural light can reveal hidden details on your wall art? Experiment with placing your stickers in different spots to see where they shine best.
Adding Accent Lights
Accent lights like spotlights or LED strips can draw attention to your butterfly stickers, especially at night. Use small, adjustable lights to focus on specific areas or clusters of butterflies.
Colored LED lights add a playful touch. Try soft pinks or blues to complement the butterfly colors without overpowering them.
Think about using dimmable lights. You can change the mood instantly by adjusting the brightness, making your decor flexible for different occasions.
Creating Shadows And Depth
3D stickers cast natural shadows, which can add depth and interest to your wall. Place lights at an angle to enhance these shadows and create a dynamic look.
Play with light direction—side lighting produces long shadows, while overhead lighting creates subtle outlines. This variation can make your butterflies appear to flutter on the wall.
Have you tried layering lights to produce multiple shadows? It’s a simple trick that adds complexity and makes your decor stand out.
Maintaining And Removing Stickers
Maintaining and removing 3D butterfly wall stickers keeps your walls fresh and beautiful. Proper care helps stickers last longer and stay vibrant. Removing them safely prevents wall damage and makes room for new designs. Follow simple tips for cleaning, safe removal, and reuse.
Cleaning Tips
Keep your stickers dust-free by wiping gently with a soft cloth. Use a damp cloth with mild soap for stubborn dirt. Avoid harsh chemicals that can damage colors or adhesive. Clean around the stickers carefully to protect edges. Regular cleaning maintains the 3D effect and bright colors.
Safe Removal Techniques
Peel stickers slowly from one corner to avoid tears. Warm the sticker slightly with a hairdryer to soften the adhesive. Pull the sticker at a low angle to reduce wall damage. Use adhesive remover or rubbing alcohol for leftover glue. Test removers on a small area first to prevent paint peeling.
Reusing Or Replacing Stickers
Some high-quality stickers can be reused on smooth surfaces. Store removed stickers flat in a dry place to keep their shape. Avoid touching the adhesive side to keep it sticky. Replace old stickers when colors fade or edges curl. Refresh your room’s look by mixing old and new butterfly designs.
Creative Ideas For Different Spaces
3D butterfly wall stickers offer a unique way to breathe life into any room. Their vibrant colors and delicate shapes can turn plain walls into eye-catching features. Let’s look at how you can use them creatively across different spaces to make your environment more inviting and personal.
Living Room Accents
Add 3D butterflies around your main art piece or mirror to draw attention and create a dynamic focal point. Use a cluster of butterflies in varying sizes fluttering across a blank wall to add depth and movement. Think about placing them near light sources; the shadows they cast can add an extra dimension to your decor.
Have you tried mixing butterfly stickers with other wall decals like floral or geometric patterns? This can create a layered effect that keeps your living room lively without overwhelming the space.
Bedroom Transformations
Bring a sense of calm and nature into your bedroom by placing butterfly stickers near your headboard or along the edges of your ceiling. Choose soft pastel colors to maintain a serene atmosphere. You can also arrange them to look like they’re flying towards a window or a favorite reading nook.
Consider how these butterflies might inspire your choice of bedding or curtains. Matching or contrasting colors can tie the whole room together beautifully.
Kids’ Room Fun
Kids love interactive and imaginative decor, and 3D butterfly stickers are perfect for that. Create a story on the wall by placing butterflies in flight paths around favorite toys or bookshelves. Bright colors and playful arrangements can stimulate creativity and joy.
Have you noticed how certain colors or shapes can influence your child’s mood? Use this to your advantage by choosing butterflies that bring energy or calm, depending on the area’s purpose.
Office And Workspace
Inject some life into your office by using butterfly stickers to break the monotony of plain walls. Place a few butterflies near your desk or computer screen to create a refreshing visual break. This small touch can improve your mood and increase productivity.
Try grouping butterflies in an upward flight pattern to symbolize growth and progress, giving your workspace a motivational vibe. Have you thought about how a simple decorative change could inspire new ideas during your workday?

Credit: www.amazon.ca
Frequently Asked Questions
How Do I Apply 3d Butterfly Wall Stickers Correctly?
Clean the wall surface thoroughly before application. Peel the backing carefully and stick the butterfly gently. Press firmly to remove air bubbles. Arrange stickers creatively for a 3D effect. Avoid repositioning multiple times to maintain adhesive strength.
Can 3d Butterfly Wall Stickers Damage My Walls?
No, high-quality 3D butterfly wall stickers are designed to be removable. They leave no residue or damage if peeled off slowly. Always test on a small area before full application to ensure your wall paint or wallpaper remains intact.
What Surfaces Are Best For 3d Butterfly Stickers?
Smooth, clean, and dry surfaces like painted walls, glass, and tiles work best. Avoid rough or textured surfaces, as stickers may not adhere well. Ensure the surface is free of dust and grease for optimal stickiness and longevity.
How Do I Clean 3d Butterfly Wall Stickers?
Gently wipe the stickers with a soft, damp cloth. Avoid using harsh chemicals or abrasive materials that could damage the design. Regular light cleaning keeps stickers vibrant and dust-free without compromising their adhesive quality.
Conclusion
3D butterfly wall stickers add life to any room. They bring color and charm without much effort. You can place them on walls, doors, or furniture. Try different layouts to find what looks best. These stickers are easy to apply and remove.
They brighten spaces instantly and make rooms feel fresh. Small changes like this can create a big impact. Enjoy decorating with these beautiful, simple wall stickers. Your room will look welcoming and cheerful in no time. Give your space a fun, natural touch today.


