
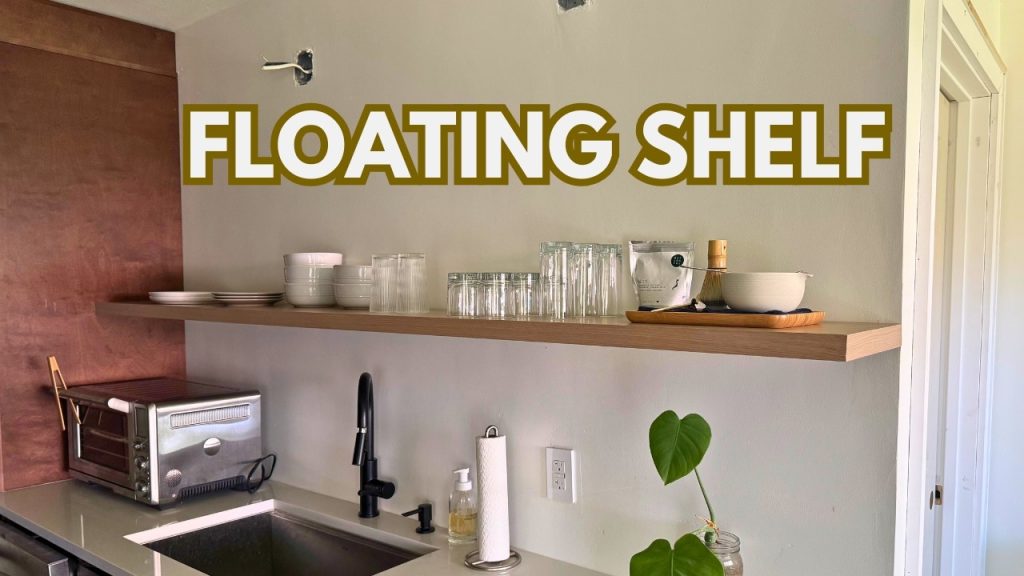
Are you looking to add style and storage to your space without bulky furniture? Building a floating shelf on your wall is a simple way to do just that.
Imagine a sleek, modern shelf that seems to hover effortlessly, holding your favorite books, plants, or decorations. In this guide, you’ll learn easy steps to create a floating shelf that fits your style and needs. By the end, you’ll have the confidence to transform any wall into a beautiful and functional display.
Ready to get started? Let’s dive in!
Choosing The Right Shelf Material
Choosing the right material for your floating shelf can make a huge difference in both its appearance and durability. Your choice affects the shelf’s strength, style, and how well it fits with your room’s decor. Think about where you’ll place the shelf and what it will hold before deciding on the material.
Wood Types And Finishes
Wood is a popular choice because it offers warmth and versatility. Hardwoods like oak, maple, and walnut provide strong support and a natural look that lasts. If you want something budget-friendly, pine is softer but still works well for lighter items.
Finish matters just as much as the wood type. You can keep the natural grain visible with a clear varnish or choose a painted finish for a pop of color. I once made a floating shelf with reclaimed wood and sealed it with matte polyurethane—it held up beautifully and added character to my living room.
- Oak:Durable with a prominent grain, great for rustic or classic decor.
- Maple:Smooth finish, light color, perfect for modern styles.
- Walnut:Rich dark tones, ideal for elegant, high-end looks.
- Pine:Affordable and easy to work with, best for light use.
Metal And Glass Options
If you want a sleek, modern look, metal or glass shelves might be your best bet. Metal shelves offer excellent strength and a minimalist vibe. Steel or aluminum are common choices, and powder-coated finishes can add color and protect against rust.
Glass shelves create an airy feel and work well in small spaces or bathrooms. Tempered glass is essential here for safety and durability. Keep in mind, glass requires more careful maintenance to avoid scratches and fingerprints.
- Steel:Very strong and industrial-looking, supports heavy items.
- Aluminum:Lightweight and rust-resistant, good for humid areas.
- Tempered Glass:Durable and safe, adds elegance but needs gentle care.
What kind of vibe do you want your floating shelf to give off? The right material sets the tone and ensures it meets your needs without hassle.
Gathering Tools And Supplies
Gathering the right tools and supplies is the first step in building a floating shelf. Having everything ready makes the project smooth and efficient. It helps avoid interruptions and ensures safety. Knowing what you need also keeps the budget clear and manageable.
Essential Tools List
- Drill with drill bits
- Level
- Measuring tape
- Screwdriver
- Stud finder
- Pencil for marking
- Sandpaper or sanding block
- Clamps (optional but helpful)
- Safety glasses
- Dust mask
Recommended Hardware
- Floating shelf brackets or hidden shelf supports
- Wood screws (length depends on wall type)
- Wall anchors for drywall installation
- Wood glue (optional for extra strength)
- Finishing nails (optional for trim)
Preparing The Wall
Clear the wall surface and find the studs using a stud finder. Mark the spots to ensure the shelf will hold firmly. Clean the area for better adhesion and easy drilling.
Preparing the Wall is a crucial step in building a floating shelf. It sets the foundation for a sturdy and secure installation. A well-prepared wall ensures your shelf not only looks great but also holds up under the weight of your items.Locating Studs
Finding the wall studs is essential for a strong shelf. Use a stud finder to easily locate them. If you don’t have one, gently tap the wall and listen for a solid sound, or look for electrical outlets, which are usually attached to a stud. Studs provide the support needed for your shelf. Without them, your shelf might not hold up over time. Have you ever hung something only to find it on the floor the next day? That’s the risk of ignoring the studs.Marking Shelf Placement
Once you’ve located the studs, decide where you want your shelf. Use a pencil to mark the spot on the wall. Measure the height from the floor to ensure it’s at the right level. Think about what you’ll place on the shelf. If it’s for books, you might want it lower for easy access. If it’s for decorative items, higher placement could work better. Use a level to ensure your marks are straight. A crooked shelf can be a visual eyesore. Have you ever noticed how a small tilt can ruin a beautifully arranged display? Avoid that by double-checking your marks.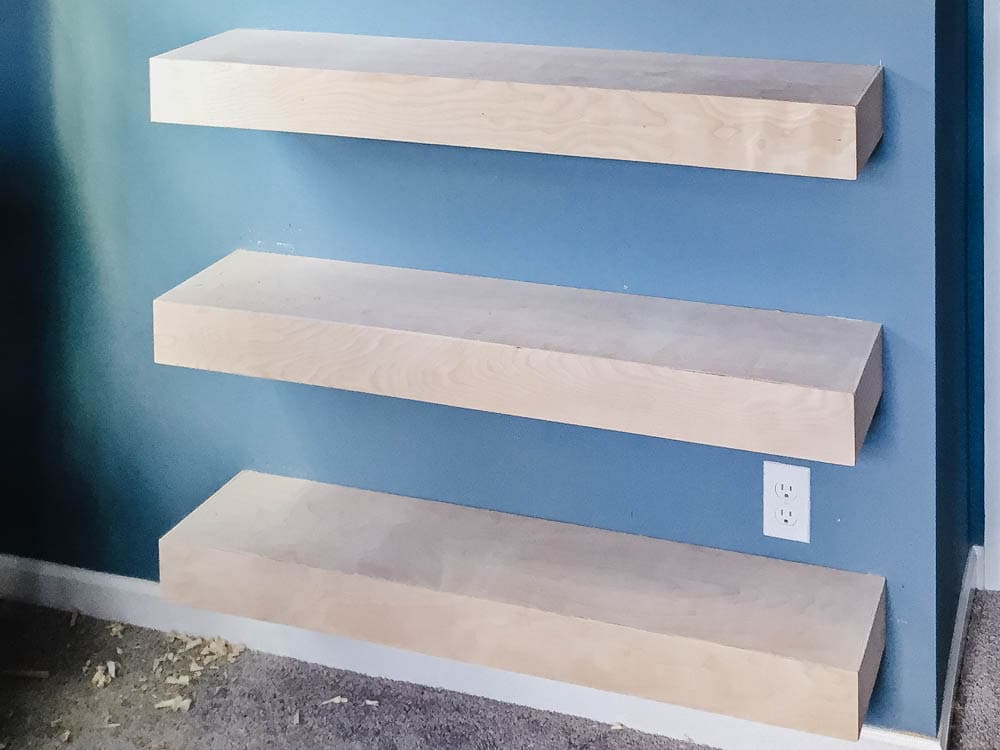
Credit: www.christeneholderhome.com
Cutting And Sanding The Shelf
Cutting and sanding the shelf are crucial steps in crafting a floating shelf that looks polished and fits perfectly. Taking your time here ensures a clean, professional finish that enhances both the shelf’s strength and its visual appeal. Let’s focus on getting the measurements right and smoothing every edge for that flawless look.
Measuring And Cutting To Size
Measure twice, cut once is more than a saying—it’s a rule to avoid costly mistakes. Start by marking your wood with a pencil, using a tape measure and a square to keep lines straight and accurate. Think about where your shelf will hang and double-check the length and depth you need before cutting.
Use a saw appropriate for your wood type—circular saws work well for long straight cuts, while a jigsaw is better for curves or intricate shapes. If you’re unsure about your cutting skills, clamping a straight edge as a guide can help you make cleaner cuts. Have you ever cut a piece too short and had to buy new wood? Avoid that by planning carefully.
Sanding For Smooth Edges
After cutting, the edges will likely be rough or splintered. Sanding smooths these edges, making the shelf safe to handle and giving it a sleek finish. Start with a coarse grit sandpaper (around 80-100 grit) to remove any big splinters or uneven spots.
Then, move to finer grit sandpaper (150-220 grit) to create a soft, even surface ready for painting or staining. Don’t forget to sand the faces of the shelf as well—this makes a big difference in the final look. Running your hand along the edges can reveal rough patches you might miss with your eyes.
Think about the feel you want your shelf to have. Do you prefer a super smooth, almost glass-like finish or a bit of texture? Your sanding technique will shape that experience.
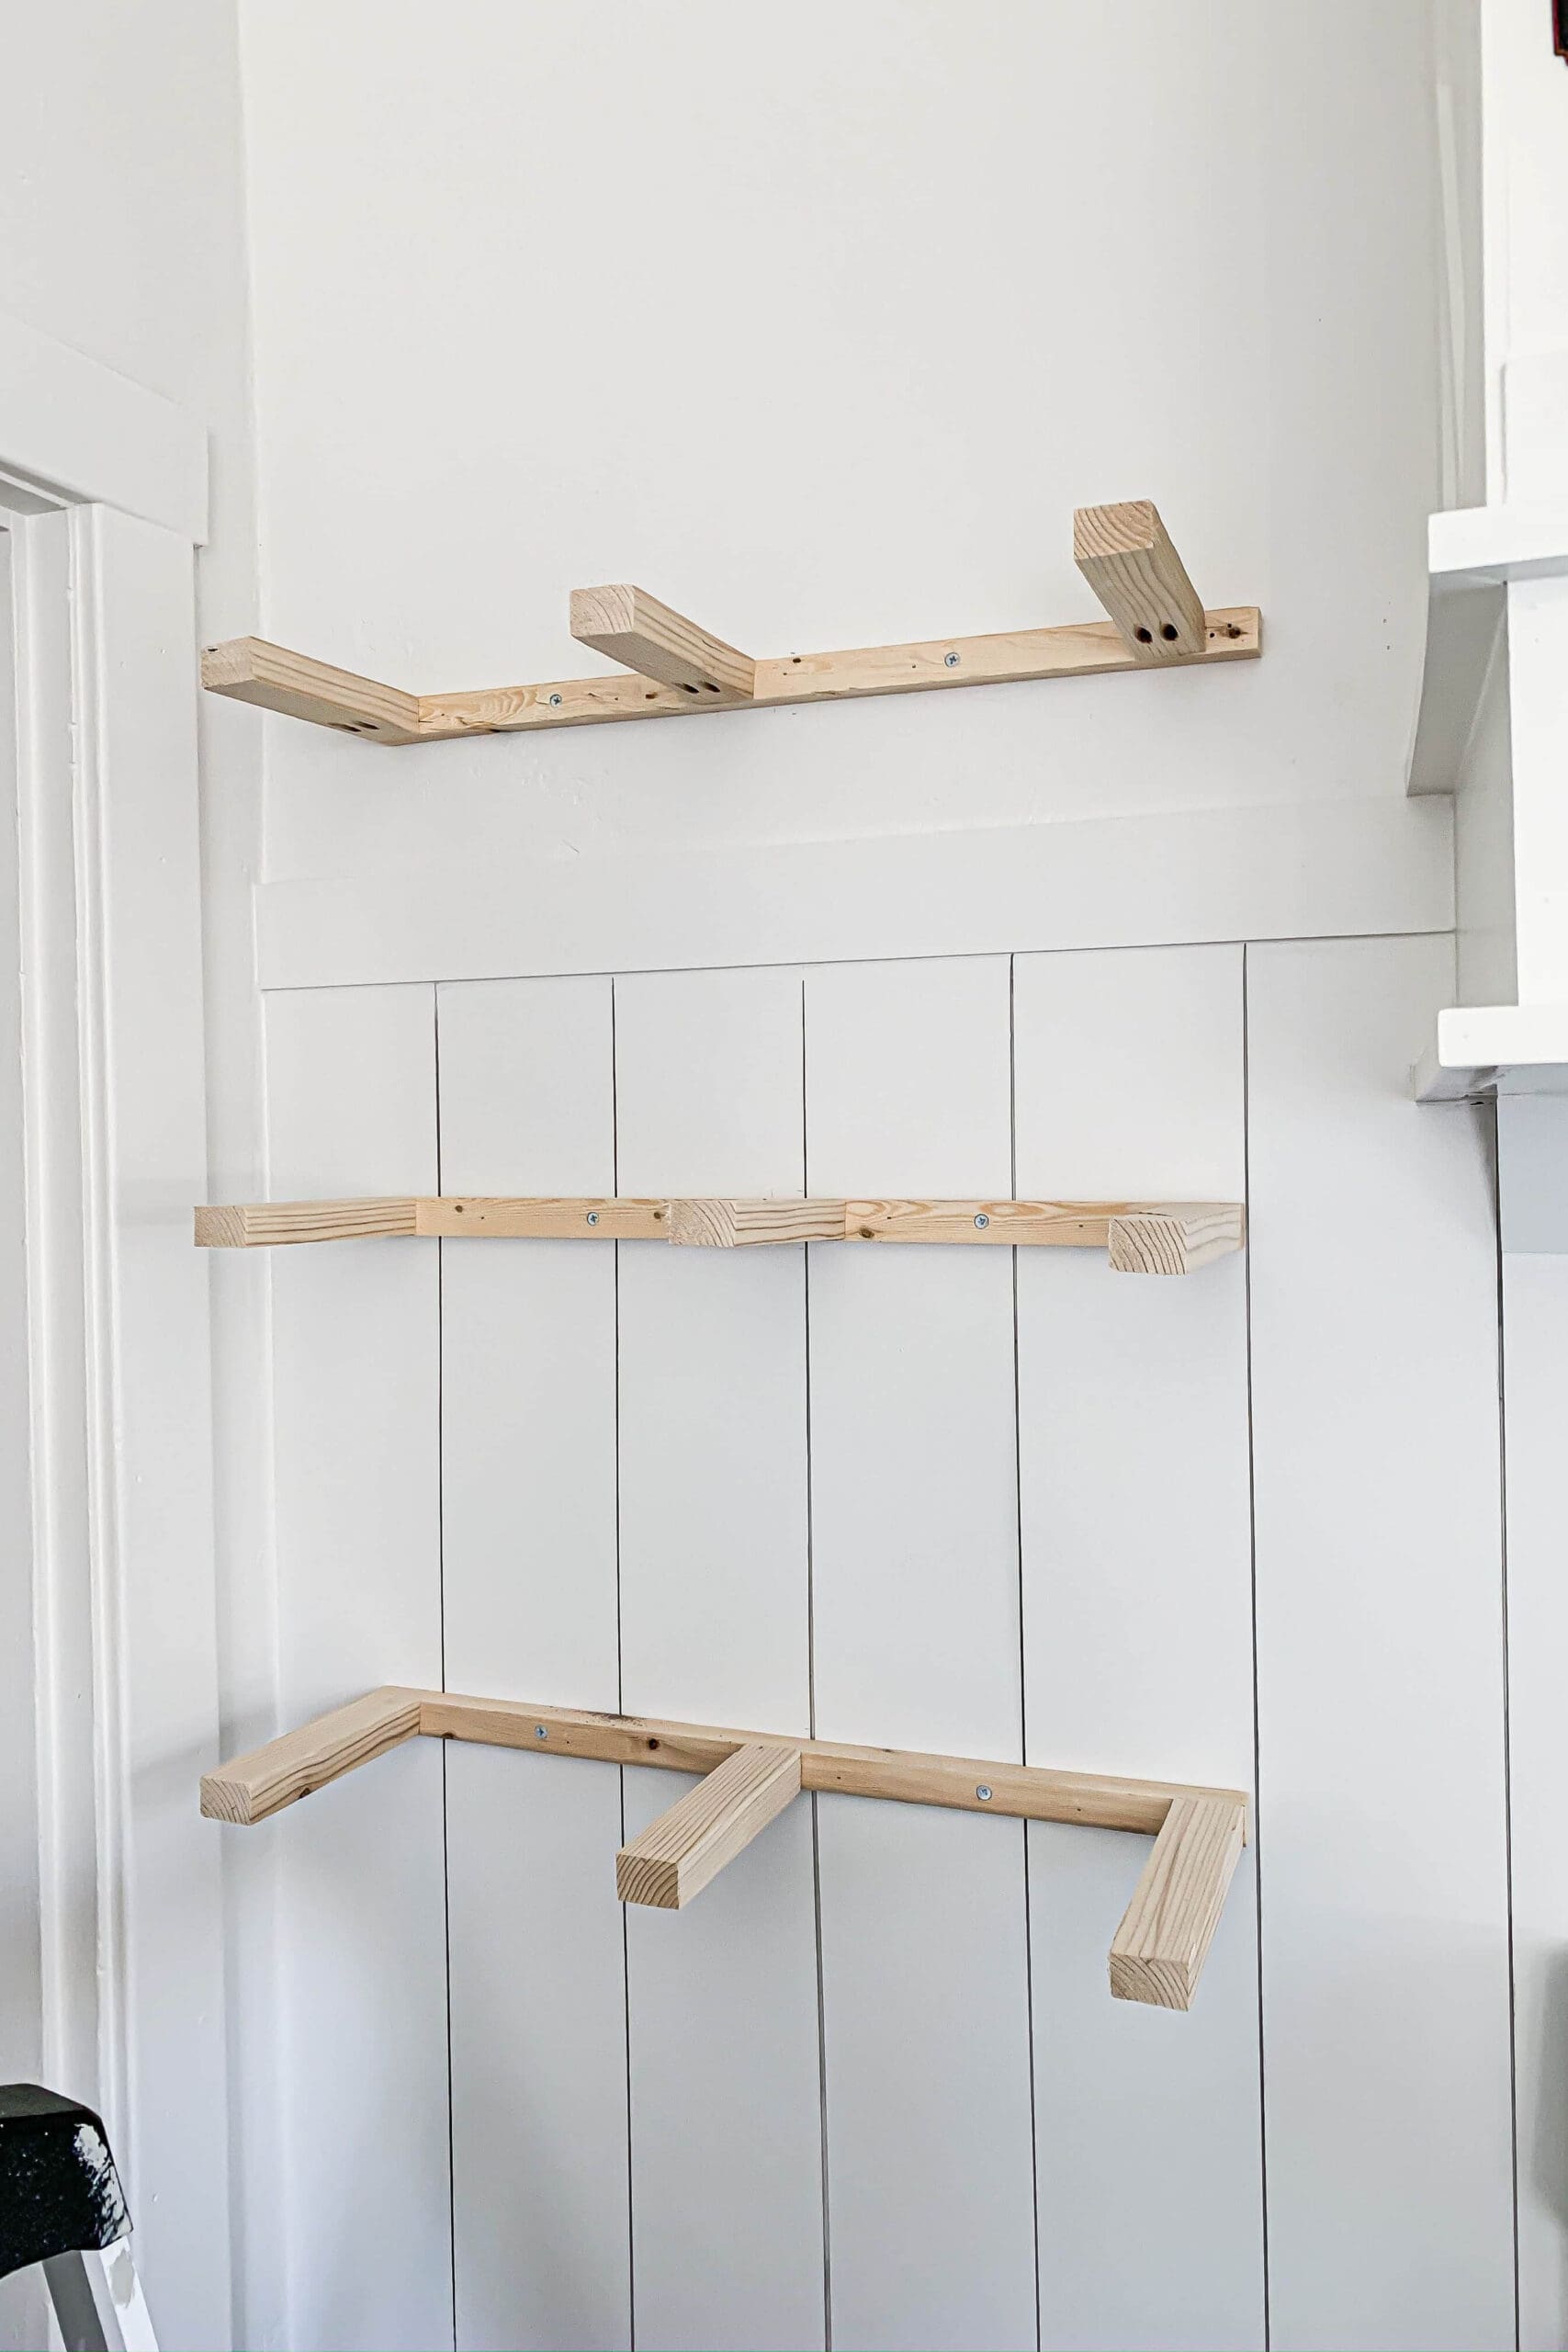
Installing The Mounting Brackets
Installing the mounting brackets is a crucial part of building a floating shelf that holds steady and looks sleek. These brackets are the hidden heroes, supporting the shelf without visible hardware. Getting this step right means your shelf will stay safe and perfectly positioned on your wall.
Securing Brackets To Studs
Mounting brackets must be anchored into wall studs for maximum strength. Drywall alone won’t hold the weight of your shelf and its contents.
Use a stud finder to locate the studs behind your wall. Mark the stud positions clearly with a pencil.
Once you’ve found the studs, hold the bracket up and align the screw holes with your marks. Use a drill to drive screws firmly into the studs. This ensures your shelf won’t pull away from the wall over time.
Ensuring Level Alignment
Even the best-secured bracket won’t look right if it’s not level. Use a spirit level to check the bracket’s alignment before fully tightening the screws.
Place the level on top of the bracket and adjust until the bubble is centered. A small misalignment can make your shelf appear crooked and affect its function.
Double-check both brackets to make sure they are perfectly level with each other. This creates a stable base and prevents your shelf from slanting or items from sliding off.

Credit: www.youtube.com
Attaching The Shelf To Brackets
Attaching the shelf to brackets is the key step to make your floating shelf sturdy and safe. This step ensures the shelf sits properly and can hold weight without wobbling. Precise attachment avoids damage to both the shelf and wall.
Positioning The Shelf
Place the shelf gently on the brackets. Check that it aligns evenly on all sides. Use a level tool to confirm the shelf is perfectly horizontal. Adjust the shelf until it sits flat and balanced.
Make sure the shelf extends slightly beyond the brackets. This gives a clean floating effect. Keep enough space around the shelf for any wall decorations or items.
Fastening The Shelf Securely
Use screws that fit the bracket holes and are strong enough for the shelf. Screw through the brackets into the shelf bottom firmly. Avoid over-tightening to prevent cracking the wood.
Double-check each screw for tightness. The shelf should feel solid without any movement. Test by gently pressing on the shelf surface in different spots.
Finishing Touches
Finishing touches bring your floating shelf to life. They protect the wood and enhance its look. These details make your shelf stand out and fit your room’s style. Small efforts here create a big impact on the final result.
Painting Or Staining
Choose paint or stain to match your room’s decor. Paint offers bright, bold colors and hides imperfections. Stain shows the natural wood grain and adds warmth. Both protect the wood from moisture and scratches.
Use light coats for smooth, even coverage. Let each coat dry fully before adding another. Sand lightly between coats for a polished finish. Seal with a clear topcoat for extra durability.
Adding Decorative Elements
Decorative touches personalize your shelf and make it unique. Add small brackets or metal accents for an industrial look. Use washi tape or decals for a fun, creative style.
Place plants, books, or artwork to show off your shelf. Arrange items in different sizes and heights for visual interest. Keep it balanced and uncluttered to highlight the shelf itself.
Tips For Safety And Maintenance
Building a floating shelf adds style and function to your space, but safety and upkeep are key to keeping it sturdy and attractive. Paying attention to how much weight your shelf can handle and performing routine checks can save you from accidents and costly repairs. Let’s dive into practical tips that help you maintain your shelf’s strength and charm over time.
Weight Limits
Every floating shelf has a maximum weight it can hold safely. Ignoring these limits can cause the shelf to pull away from the wall or even collapse.
Check the type of wall anchors and brackets you used—different materials like drywall, plaster, or brick support different weights. For instance, a shelf mounted on drywall with plastic anchors might hold only 20 pounds, while heavy-duty anchors can support 50 pounds or more.
Ask yourself: what items do you plan to place on the shelf? If you want to display books or plants, choose anchors rated for heavier loads. Overloading your shelf is a common mistake that’s easy to avoid with clear weight guidelines.
Regular Checks And Cleaning
Don’t wait for a shelf to fail before you inspect it. Make it a habit to check your floating shelf every few months.
- Look for signs of looseness or wobbling.
- Inspect screws and wall plugs to ensure they’re tight and undamaged.
- Clean dust and dirt regularly to prevent buildup that might hide damage.
Cleaning is simple—use a soft cloth and mild cleaner. Avoid soaking the shelf to protect the finish and wood integrity. Have you noticed any sagging or cracks? Address these issues immediately before they worsen.
Credit: crystelmontenegrohome.com
Frequently Asked Questions
What Tools Do I Need To Build A Floating Shelf?
You need a drill, level, stud finder, screws, wall anchors, measuring tape, and a pencil. These tools ensure a sturdy, level shelf installation.
How Do I Find Studs For Mounting A Floating Shelf?
Use a stud finder to locate wall studs behind drywall. Mark the stud positions with a pencil for secure shelf mounting.
What Materials Are Best For A Floating Shelf?
Solid wood, plywood, or MDF are ideal. Choose materials that support your shelf’s weight and match your decor style.
How Much Weight Can A Floating Shelf Hold?
Weight depends on the bracket strength and wall type. Properly installed shelves can hold between 20 to 50 pounds safely.
Conclusion
Building a floating shelf is easier than it seems. Follow each step carefully for best results. Choose the right tools and materials for safety. Measure and mark your wall with care. Secure the shelf firmly to hold weight well. A floating shelf adds style and space to any room.
Enjoy your new shelf and the extra room it brings. Try different designs to fit your home’s look. Keep practicing, and your skills will grow quickly.


