

Looking to add a cozy, stylish touch to your home without spending a fortune? Knitting your own pouf is easier than you think—even if you’ve never picked up needles before.
Imagine sinking your feet into a soft, handmade pouf that you crafted with your own hands. This guide will walk you through every simple step, so you can create a beautiful, comfy pouf that’s perfect for your living room or bedroom.
Ready to turn a few stitches into a stunning piece? Let’s get started!
Materials Needed
Gathering the right materials is essential for knitting a pouf. Choosing the proper yarn, needles, and stuffing will make your project easier and more enjoyable. Each material affects the final look and feel of your pouf.
Yarn Types
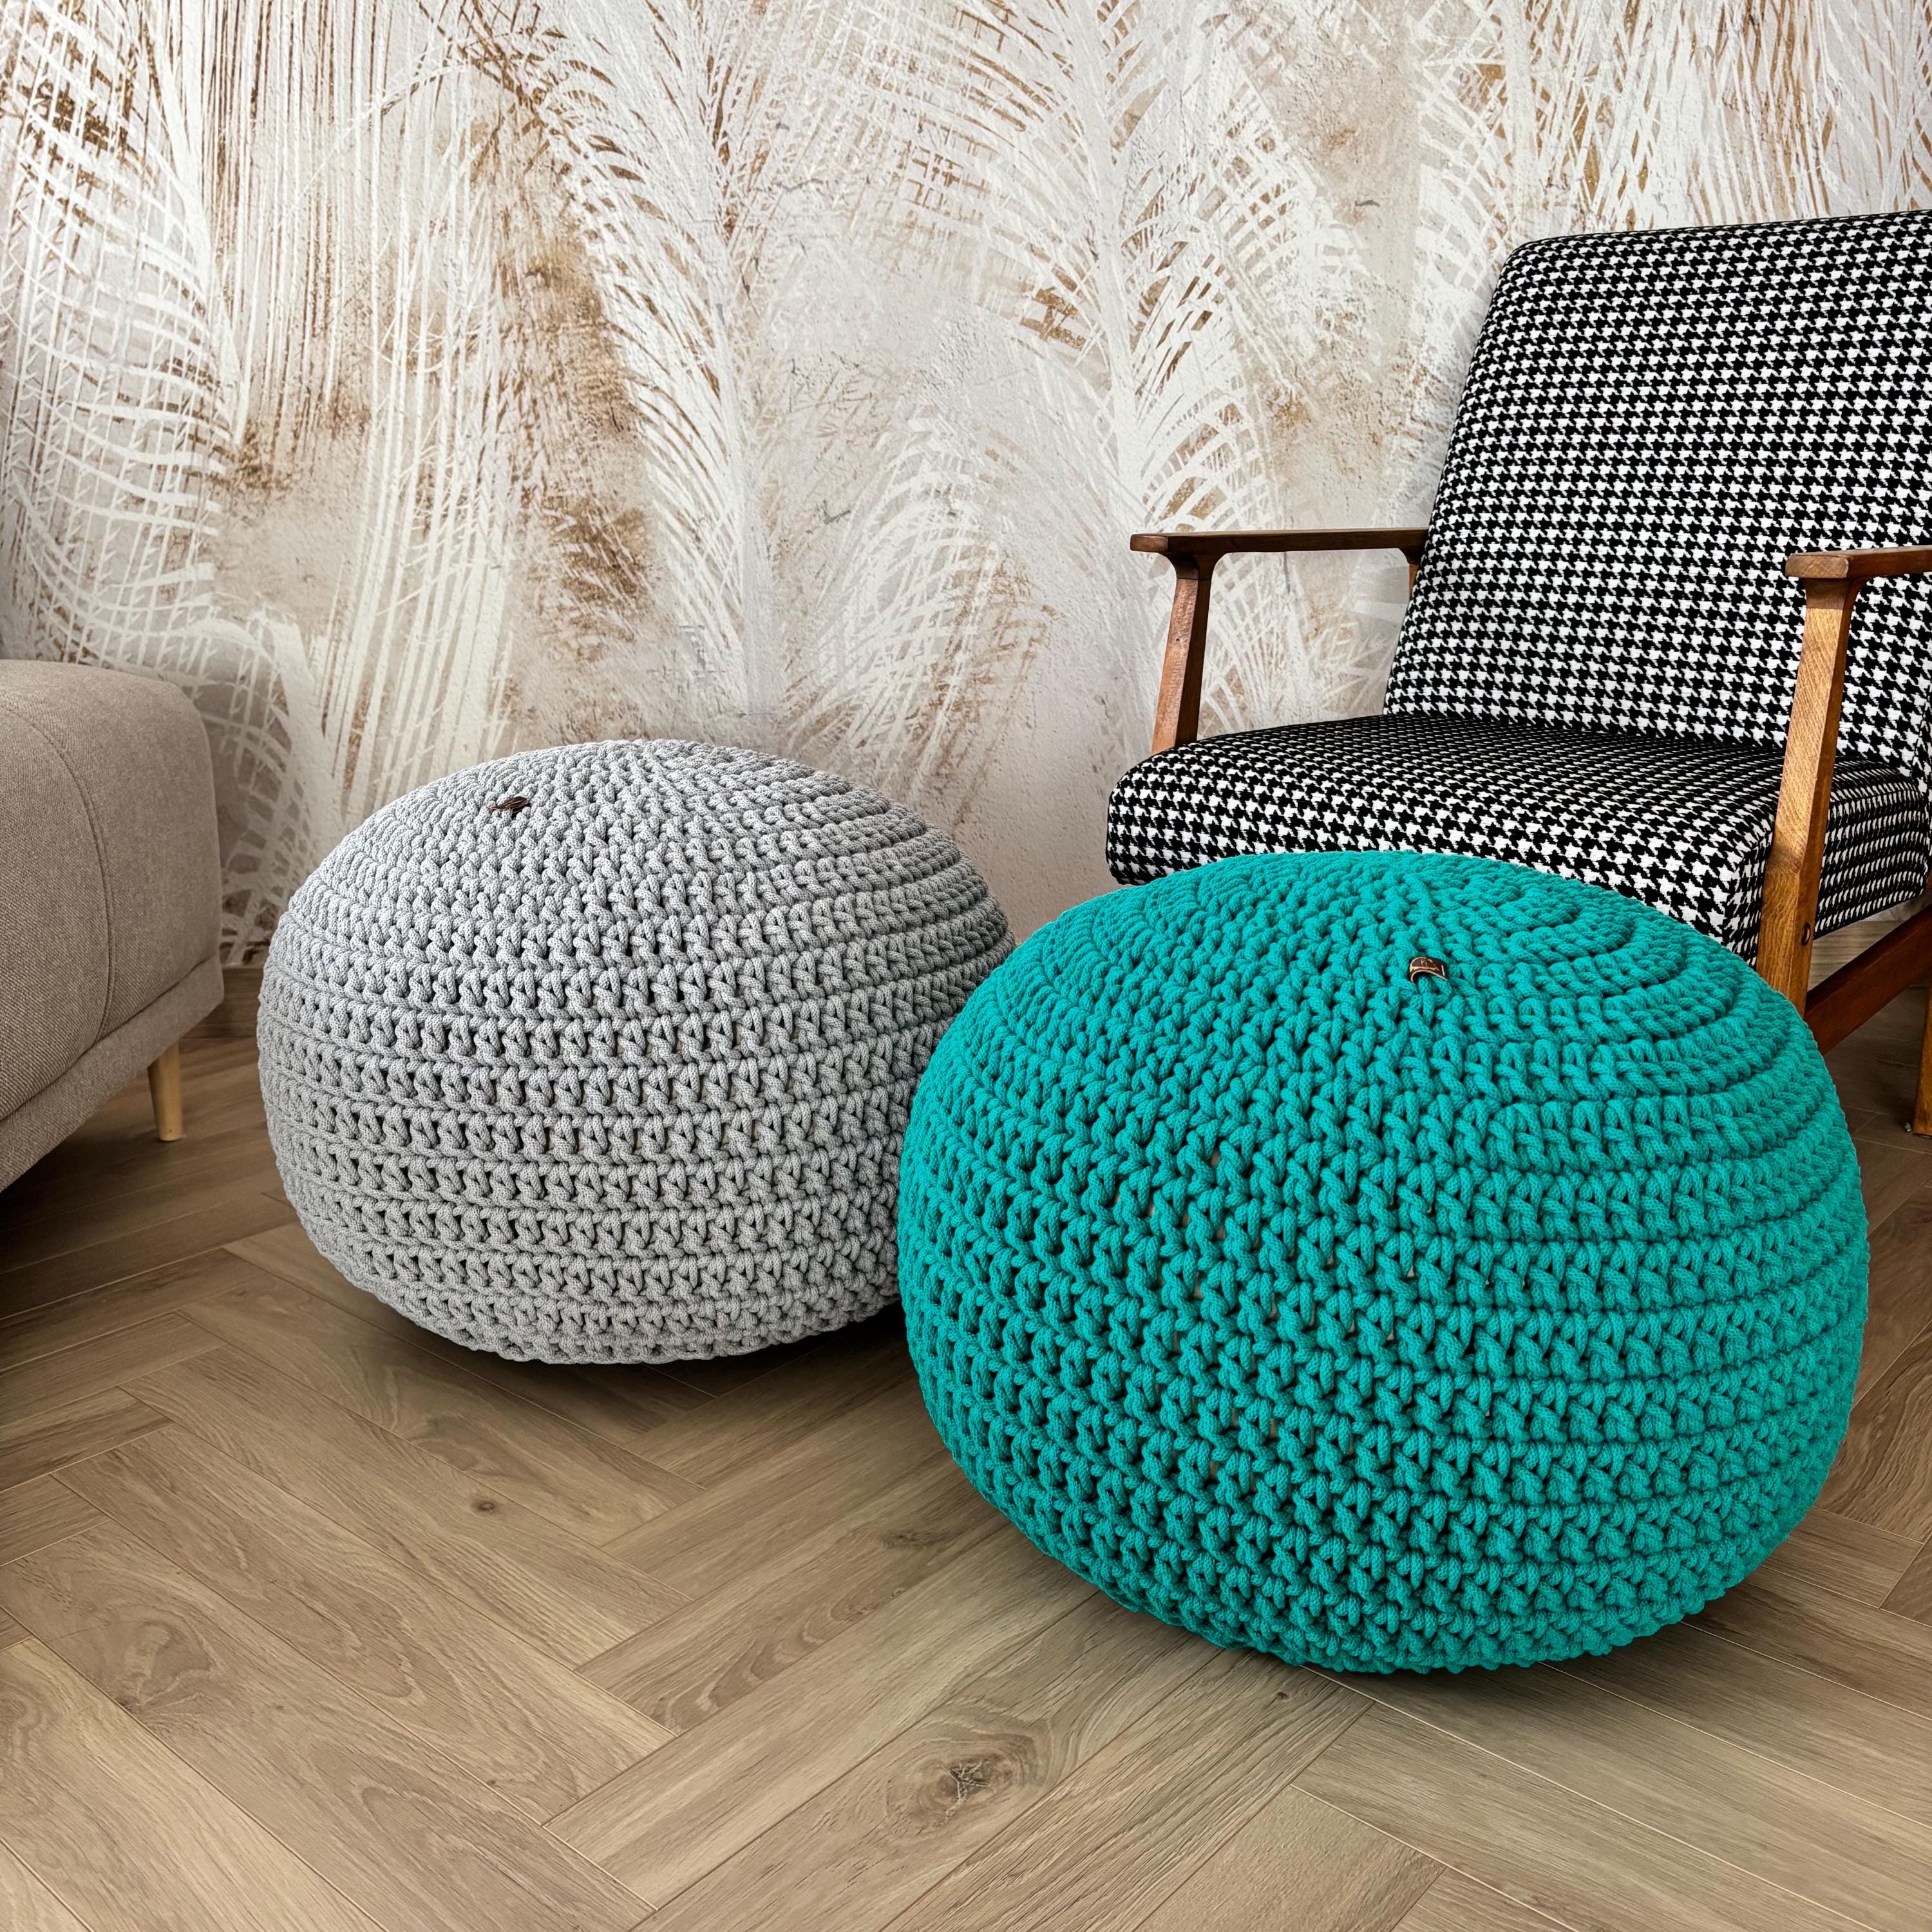
Select a thick, durable yarn for a cozy, sturdy pouf. Bulky or super bulky yarn works best. Cotton and wool blends offer softness and strength. Acrylic yarn is budget-friendly and easy to clean. Choose colors that fit your room style.
Knitting Needles
Use large knitting needles to handle thick yarn smoothly. Needles size 10 mm or bigger are ideal. Circular needles help knit in the round easily. Check needle material; bamboo needles feel warm, metal ones slide faster. Pick what feels comfortable in your hands.
Stuffing Options
Stuffing fills your pouf and gives shape. Polyester fiberfill is soft, lightweight, and affordable. Foam pieces add firmness and support. Old clothes or fabric scraps are eco-friendly choices. Use enough stuffing to avoid sagging but keep it squishy.
Credit: www.etsy.com
Basic Knitting Techniques
Before you start knitting your pouf, mastering the basic knitting techniques is essential. These foundational skills will help you create a neat and durable piece, even if you’re new to knitting. Let’s break down the key techniques that will get you comfortable with your needles and yarn.
Casting On
Casting on is the way you get stitches onto your needle. It’s the starting point for every knitting project. You can try the long-tail cast on, which provides a firm edge and looks tidy.
To make it easier, measure a yarn tail about three times the width of your pouf. Hold the yarn with one hand and use your needle to loop the yarn and create the first stitches. This step sets the foundation, so don’t rush—take your time to get the tension right.
Knit And Purl Stitches
The knit stitch and purl stitch are the heart of all knitting patterns. The knit stitch creates a smooth ‘V’ shape on the fabric’s front, while the purl stitch forms a bumpier texture. Knowing these two lets you follow many patterns, including the classic stockinette and garter stitches.
Practice the knit stitch by inserting your needle from front to back through the first stitch, looping the yarn, and pulling it through. For the purl stitch, bring the yarn to the front, insert the needle from back to front, loop the yarn, and pull it through. Switching between these stitches will become second nature with a bit of practice.
Binding Off
Binding off finishes your project and secures the stitches so they don’t unravel. It might feel tricky at first, but it’s straightforward once you get the hang of it. You’ll want to keep the edge loose enough to stretch but tight enough to hold.
To bind off, knit two stitches, then use your left needle to lift the first stitch over the second and off the right needle. Continue this process across the row until one stitch remains. Cut the yarn and pull it through the last stitch to secure your work.
Choosing The Right Pattern
Choosing the right pattern is one of the most important steps when you decide to knit a pouf. The pattern sets the tone for the entire project, influencing the look, feel, and difficulty level. Picking a pattern that matches your skills and style will keep you motivated and help you finish your pouf with pride.
Simple Pouf Designs
Start with patterns that use basic stitches like garter or stockinette stitch. These are easier to manage and help you focus on the shape rather than complex techniques. Patterns with repetitive rows or rounds reduce the chance of mistakes, making your knitting experience more enjoyable.
Look for pouf patterns labeled as beginner-friendly. They usually come with clear instructions and helpful photos. If you find yourself stuck, you can also find video tutorials for simple designs, which can be a lifesaver.
Adjusting Size
Think about where you want to place your pouf before starting. Do you want a small footrest or a larger seat? Adjusting the size is easier than you might think.
To make your pouf bigger or smaller, change the number of stitches cast on and the number of rows knitted. For example, adding 10 more stitches around the base will increase the circumference, while knitting more rows will add height. This flexibility allows you to customize your pouf to fit your space perfectly.
Have you ever wished your handmade item was just a bit bigger or smaller? Knitting lets you do that with simple math and a little planning. Don’t hesitate to experiment with size adjustments to create a pouf that truly suits your needs.

Credit: www3.designindaba.com
Step-by-step Knitting Process
Begin by choosing thick yarn and large needles for easier handling. Cast on stitches and knit in a simple pattern until the piece reaches the desired size. Finally, sew the edges and stuff the pouf with soft filling to complete your project.
Knitting a pouf can be a rewarding project, especially if you’re a beginner looking to create something functional and stylish. Imagine the satisfaction of placing your handmade pouf in your living room, a testament to your creativity and patience. Let’s dive into the step-by-step knitting process that will guide you through crafting this cozy home accessory.Starting The Base
Begin your pouf by casting on stitches to form a circle, which will serve as the base. Use chunky yarn and large needles to make the process easier and the pouf sturdier. A simple garter stitch works well for beginners, providing a neat texture and structure. Knit in the round, maintaining consistent tension to avoid irregularities. If you’re new to circular knitting, practice a few rounds on a sample piece first. This will build your confidence and ensure a smoother start to your actual pouf.Creating The Sides
Once the base is complete, transition to knitting the sides seamlessly. Continue in the round, and consider using a stitch marker to track your progress and maintain even rounds. This is crucial for ensuring that your pouf retains a uniform shape. Experiment with different stitches if you feel adventurous—perhaps a ribbed pattern for added texture. Remember, mistakes are part of the learning process. Each error is a stepping stone to mastering your craft.Finishing The Top
As you approach the top, gradually decrease your stitches. This will help shape the pouf and close it neatly. A tapestry needle can be your best friend here to weave in the ends and secure your work. Add stuffing before completely closing the top to give your pouf its plush form. Consider using old pillows or fabric scraps as stuffing to make your project eco-friendly. How satisfying would it be to create something beautiful while also being kind to the planet? Embrace the imperfections and celebrate the small victories in your knitting journey. Remember, every stitch you make is a step towards crafting a unique and personal piece for your home.Assembling The Pouf
Assembling your knitted pouf brings your hard work together into a cozy, stylish piece for your home. This stage requires patience and care, but it’s also where your creation truly comes to life. Let’s look closely at how to join the pieces and fill your pouf for the best shape and comfort.
Sewing Pieces Together
Start by laying out all your knitted pieces flat. Check if the edges line up neatly; this makes sewing much easier. Use a yarn needle and a matching yarn color for invisible seams.
Sew the sides first, using a whip stitch or mattress stitch for a clean finish. Take your time—rushing here might cause uneven seams that affect the pouf’s shape. If you want extra strength, double the yarn before stitching.
Remember, you don’t have to sew all the way closed right away. Leave one side partially open to add stuffing later. Have you tried pinning the pieces before sewing? It helps keep everything aligned perfectly.
Filling With Stuffing
Choosing the right stuffing affects your pouf’s feel and durability. Polyester fiberfill is light and fluffy, while foam pieces add firmness. You might want to mix both for balanced support.
Fill the pouf evenly by adding stuffing in small amounts. Press down gently after each addition to avoid lumps. Don’t overfill—it should be soft but maintain its shape when you sit or rest your feet on it.
Once you’re happy with the fullness, sew the final seam carefully. Test the pouf’s firmness by pressing around the edges and center. Is it comfortable enough? Adjust stuffing if needed before sealing it completely.

Credit: www3.designindaba.com
Care Tips For Your Pouf
Taking good care of your knitted pouf will keep it looking fresh and cozy for years. A pouf is not just a decorative piece; it’s also a functional item that endures daily use. Knowing how to clean it properly and maintain its shape can save you from common mishaps and extend its life significantly.
Cleaning Instructions
Spot cleaning is usually enough to handle small stains on your pouf. Use a damp cloth with mild soap and gently dab the affected area without rubbing aggressively. This prevents the yarn from stretching or pilling.
If your pouf cover is removable, check the yarn label for washing instructions before tossing it in the machine. Most knitted pouf covers prefer a gentle hand wash or a delicate cycle with cold water. Avoid harsh detergents and never use bleach, as these can damage the fibers.
Dry your pouf flat on a clean towel to keep its shape intact. Hanging it while wet may cause stretching or distortion. Have you noticed how fast some knitted items lose their shape when hung? The same applies here.
Maintaining Shape
Keeping your pouf fluffy and round requires a bit of regular attention. Fluff it up by kneading and rotating it every few days to prevent the filling from settling unevenly. This simple habit keeps your pouf comfortable and visually appealing.
Be mindful of where you place your pouf. Avoid sitting on it with sharp objects in pockets or using it in high-traffic areas that might cause excessive wear. Think about how often you use your pouf and adjust your care routine accordingly.
If your pouf starts to lose its form, add extra stuffing inside. Polyester fiberfill or foam beads work well and are easy to find. Would you rather have a pouf that feels firm or one that’s soft and squishy? Adjust the filling to suit your comfort.
Frequently Asked Questions
What Materials Do I Need To Knit A Pouf?
You need chunky yarn, large knitting needles, and a stuffing material like foam or old cushions. Choose soft, durable yarn for comfort and longevity. These basics ensure your pouf is sturdy and cozy, perfect for beginners.
How Long Does It Take To Knit A Pouf?
Knitting a pouf typically takes 6 to 12 hours depending on skill level. Beginners may take longer but it’s a manageable weekend project. Consistent, simple stitches speed up the process while ensuring quality.
What Knitting Techniques Are Best For Beginners?
Basic knit and purl stitches work best for beginners. These simple stitches create a strong, stretchy fabric ideal for poufs. Avoid complex patterns until comfortable with these basics for a smooth knitting experience.
How Do I Stuff A Knitted Pouf Properly?
Stuff your pouf evenly with foam or recycled cushions to maintain shape. Fill it firmly but leave some softness for comfort. Proper stuffing prevents lumps and keeps your pouf looking neat and inviting.
Conclusion
Knitting a pouf can be a fun and relaxing project. Start with simple stitches and work step by step. You will see your pouf take shape as you knit. Enjoy the process and be patient with yourself. This project helps build your knitting skills and confidence.
Soon, you will have a cozy, handmade pouf to use or gift. Keep practicing, and you will get better every time. Happy knitting!


