

Are you looking for a simple way to add style and storage to your space? Building a wall shelf out of wood might be exactly what you need.
Imagine having a custom shelf that fits perfectly in your room, holds your favorite items, and shows off your personal touch. You don’t need to be a woodworking expert to create one. With just a few tools and clear steps, you can make a beautiful, sturdy shelf that transforms your wall.
Keep reading, and you’ll discover how easy and rewarding this project can be for you.

Credit: www.create-enjoy.com
Choosing The Right Wood
Choosing the right wood is key to building a strong, beautiful wall shelf. The wood affects the shelf’s look, strength, and lifespan. Picking wood that fits your needs helps create a shelf that holds your items safely and looks great in your space.
Types Of Wood For Shelves
Different woods offer different styles and strengths. Common choices include:
- Pine:Soft, affordable, and easy to work with.
- Oak:Hard, durable, with a classic grain.
- Maple:Smooth texture and strong support.
- Cherry:Rich color that deepens over time.
- Walnut:Dark, elegant, and very sturdy.
Choose wood that matches your design and load needs.
Wood Quality And Durability
Good quality wood lasts longer and holds weight better. Look for wood without cracks or knots. Solid hardwoods resist dents and scratches. Avoid warped or soft wood that may bend under pressure.
Properly dried wood prevents warping and cracking after installation. Check for smooth surfaces to reduce sanding time.
Sustainable Wood Options
Eco-friendly wood choices help protect the environment. Look for woods certified by organizations like FSC. Bamboo is a fast-growing, strong alternative. Reclaimed wood adds character and reduces waste.
Choosing sustainable wood supports forests and future projects.
Gathering Tools And Materials
Before you start building your wooden wall shelf, gathering the right tools and materials sets the foundation for success. Having everything ready helps you work smoothly and avoid frustrating interruptions. Plus, the right equipment makes your project safer and more enjoyable.
Essential Tools List
Some tools are absolutely necessary to get your shelf built correctly. A power drill is key for making precise holes and driving screws quickly. You’ll also need a saw—either a handsaw or a circular saw—to cut your wood pieces to the exact sizes you want.
Other must-haves include a tape measure for accurate measurements and a level to make sure your shelf sits perfectly straight. Don’t forget a screwdriver, clamps to hold wood steady, and sandpaper or a sanding block to smooth rough edges. Having these tools on hand prevents last-minute runs to the store.
Additional Supplies
Besides tools, certain supplies will help your shelf look professional and last longer. Choose quality wood, such as pine or oak, depending on your budget and style preference. You’ll also need wood screws or brackets to secure your shelf to the wall firmly.
Consider wood stain or paint to match your home décor and a clear sealant to protect the wood from wear. Sometimes small extras like wood filler and painter’s tape make a big difference in the finish. Think about what details matter most to you before buying.
Safety Gear
Safety should never be an afterthought when working with wood and power tools. Eye protection, like safety goggles, guards against dust and flying debris. Hearing protection helps prevent damage from loud saws and drills.
Don’t forget gloves to protect your hands from splinters and cuts, and a dust mask if you’re sanding or cutting indoors. Wearing the right gear not only keeps you safe but also helps you feel more confident as you work.
Planning Your Shelf Design
Choose a simple design that fits your space and needs. Measure the wall area carefully to ensure a perfect fit. Select wood types that match your style and durability preferences.
Planning your shelf design is a crucial step in building a wooden wall shelf. A well-thought-out plan ensures your shelf fits perfectly and serves its purpose. This section will guide you through the essential steps of planning.Measuring Wall Space
Start by measuring the wall space where you want the shelf. Use a tape measure for accuracy. Note the width and height available. Consider any obstacles like light switches or wall art. This helps determine the size limits for your shelf.Deciding Shelf Dimensions
Next, decide on the dimensions of your shelf. Think about what you’ll store on it. Will it hold books, plants, or decorative items? The size of these items affects the shelf depth and length. Ensure the shelf can support the weight of your items.Sketching The Layout
Now, sketch the layout of your shelf. Use graph paper for straight lines and scale. Draw a simple rectangle representing your shelf. Include measurements for length, width, and depth. Visualize where it will sit on the wall. This sketch helps during the cutting and assembly process.
Credit: tailorwoodhaven.com
Cutting The Wood Pieces
Cutting the wood pieces is a key part of building your wall shelf. It sets the size and shape of each shelf component. Accurate cuts make the shelf strong and neat. Take your time to prepare and measure well before cutting.
Marking Cut Lines
Start by measuring the wood carefully. Use a pencil to draw clear lines where you will cut. Double-check each measurement before marking. Use a ruler or straight edge to keep lines straight. Clear marks help you cut precisely and avoid mistakes.
Using A Saw Safely
Choose the right saw for your wood type and thickness. Hold the saw firmly and keep your fingers away from the blade. Cut slowly along the marked line to stay accurate. Wear safety glasses to protect your eyes. Keep your work area clean to avoid accidents.
Sanding Edges
After cutting, the wood edges may be rough or splintered. Use sandpaper to smooth the edges gently. Sand with the grain of the wood for the best finish. Smooth edges prevent splinters and give a polished look. Check each piece and sand until it feels smooth to touch.
Assembling The Shelf
Assembling the shelf is where your project truly takes shape. This phase brings together all your carefully cut pieces into a functional unit. Precision and patience here will save you from headaches later, especially when your shelf has to hold weight securely.
Joining Techniques
You have several options to join the wood pieces, each affecting the shelf’s strength and appearance. Butt joints are the simplest but rely heavily on screws or nails for stability. If you want a cleaner look, consider dowel joints or biscuits, which require some extra tools but create a seamless connection.
Think about the tools you have and how strong you want the shelf to be. A quick joint might work for lightweight shelves, but a more secure technique pays off for heavier items. Have you tried combining multiple techniques to get the best of both worlds?
Using Screws And Nails
Screws provide a strong hold and are less likely to loosen over time compared to nails. Pre-drilling holes before screwing prevents the wood from splitting, which is a common rookie mistake. Use screws with a length that goes deep enough into the wood to ensure firmness but not so long that they poke through the other side.
Nails are faster to use but don’t offer the same grip as screws. If you prefer nails, try finishing nails and a nail set to countersink them for a cleaner finish. Remember, the right fastener depends on the shelf’s use and the wood type you’ve chosen.
Ensuring Stability
Stability is key for a wall shelf to safely hold your items without sagging or falling. Use corner brackets or metal braces if the shelf will carry heavy loads. Attaching the shelf securely to wall studs rather than just drywall is critical for safety.
Check your shelf’s level during assembly and after installation to avoid uneven weight distribution. Have you thought about how the weight of your items will be spread? Even small adjustments here can prevent future damage.
Credit: crystelmontenegrohome.com
Finishing Touches
Finishing touches make a huge difference in your wall shelf project. They not only enhance its look but also protect the wood, ensuring your shelf lasts longer. Paying attention to these final steps can turn a simple wooden board into a stylish and durable piece.
Sanding For Smoothness
Sanding is key to removing rough spots and splinters. Use medium-grit sandpaper first to smooth out any uneven areas. Then switch to fine-grit sandpaper for a silky finish that feels great to the touch.
Don’t rush this step. Take your time sanding along the grain of the wood. You’ll notice how much nicer the surface looks and feels, making it ready for staining or painting.
Applying Stain Or Paint
Choosing between stain and paint depends on your style and the wood type. Stain highlights the natural grain, adding warmth and depth. Paint offers a pop of color and can match your room’s decor perfectly.
Apply your stain or paint in thin, even coats. Let each coat dry fully before adding another. This approach prevents drips and gives you a smooth, professional finish.
Sealing The Wood
Sealing locks in the stain or paint and protects your shelf from moisture and wear. Polyurethane is a popular choice for a durable, clear finish. You can pick from matte, satin, or glossy finishes based on the look you want.
Apply the sealer with a clean brush, keeping strokes long and even. Allow it to dry completely and consider adding a second coat for extra protection. This step ensures your shelf stays beautiful and strong over time.
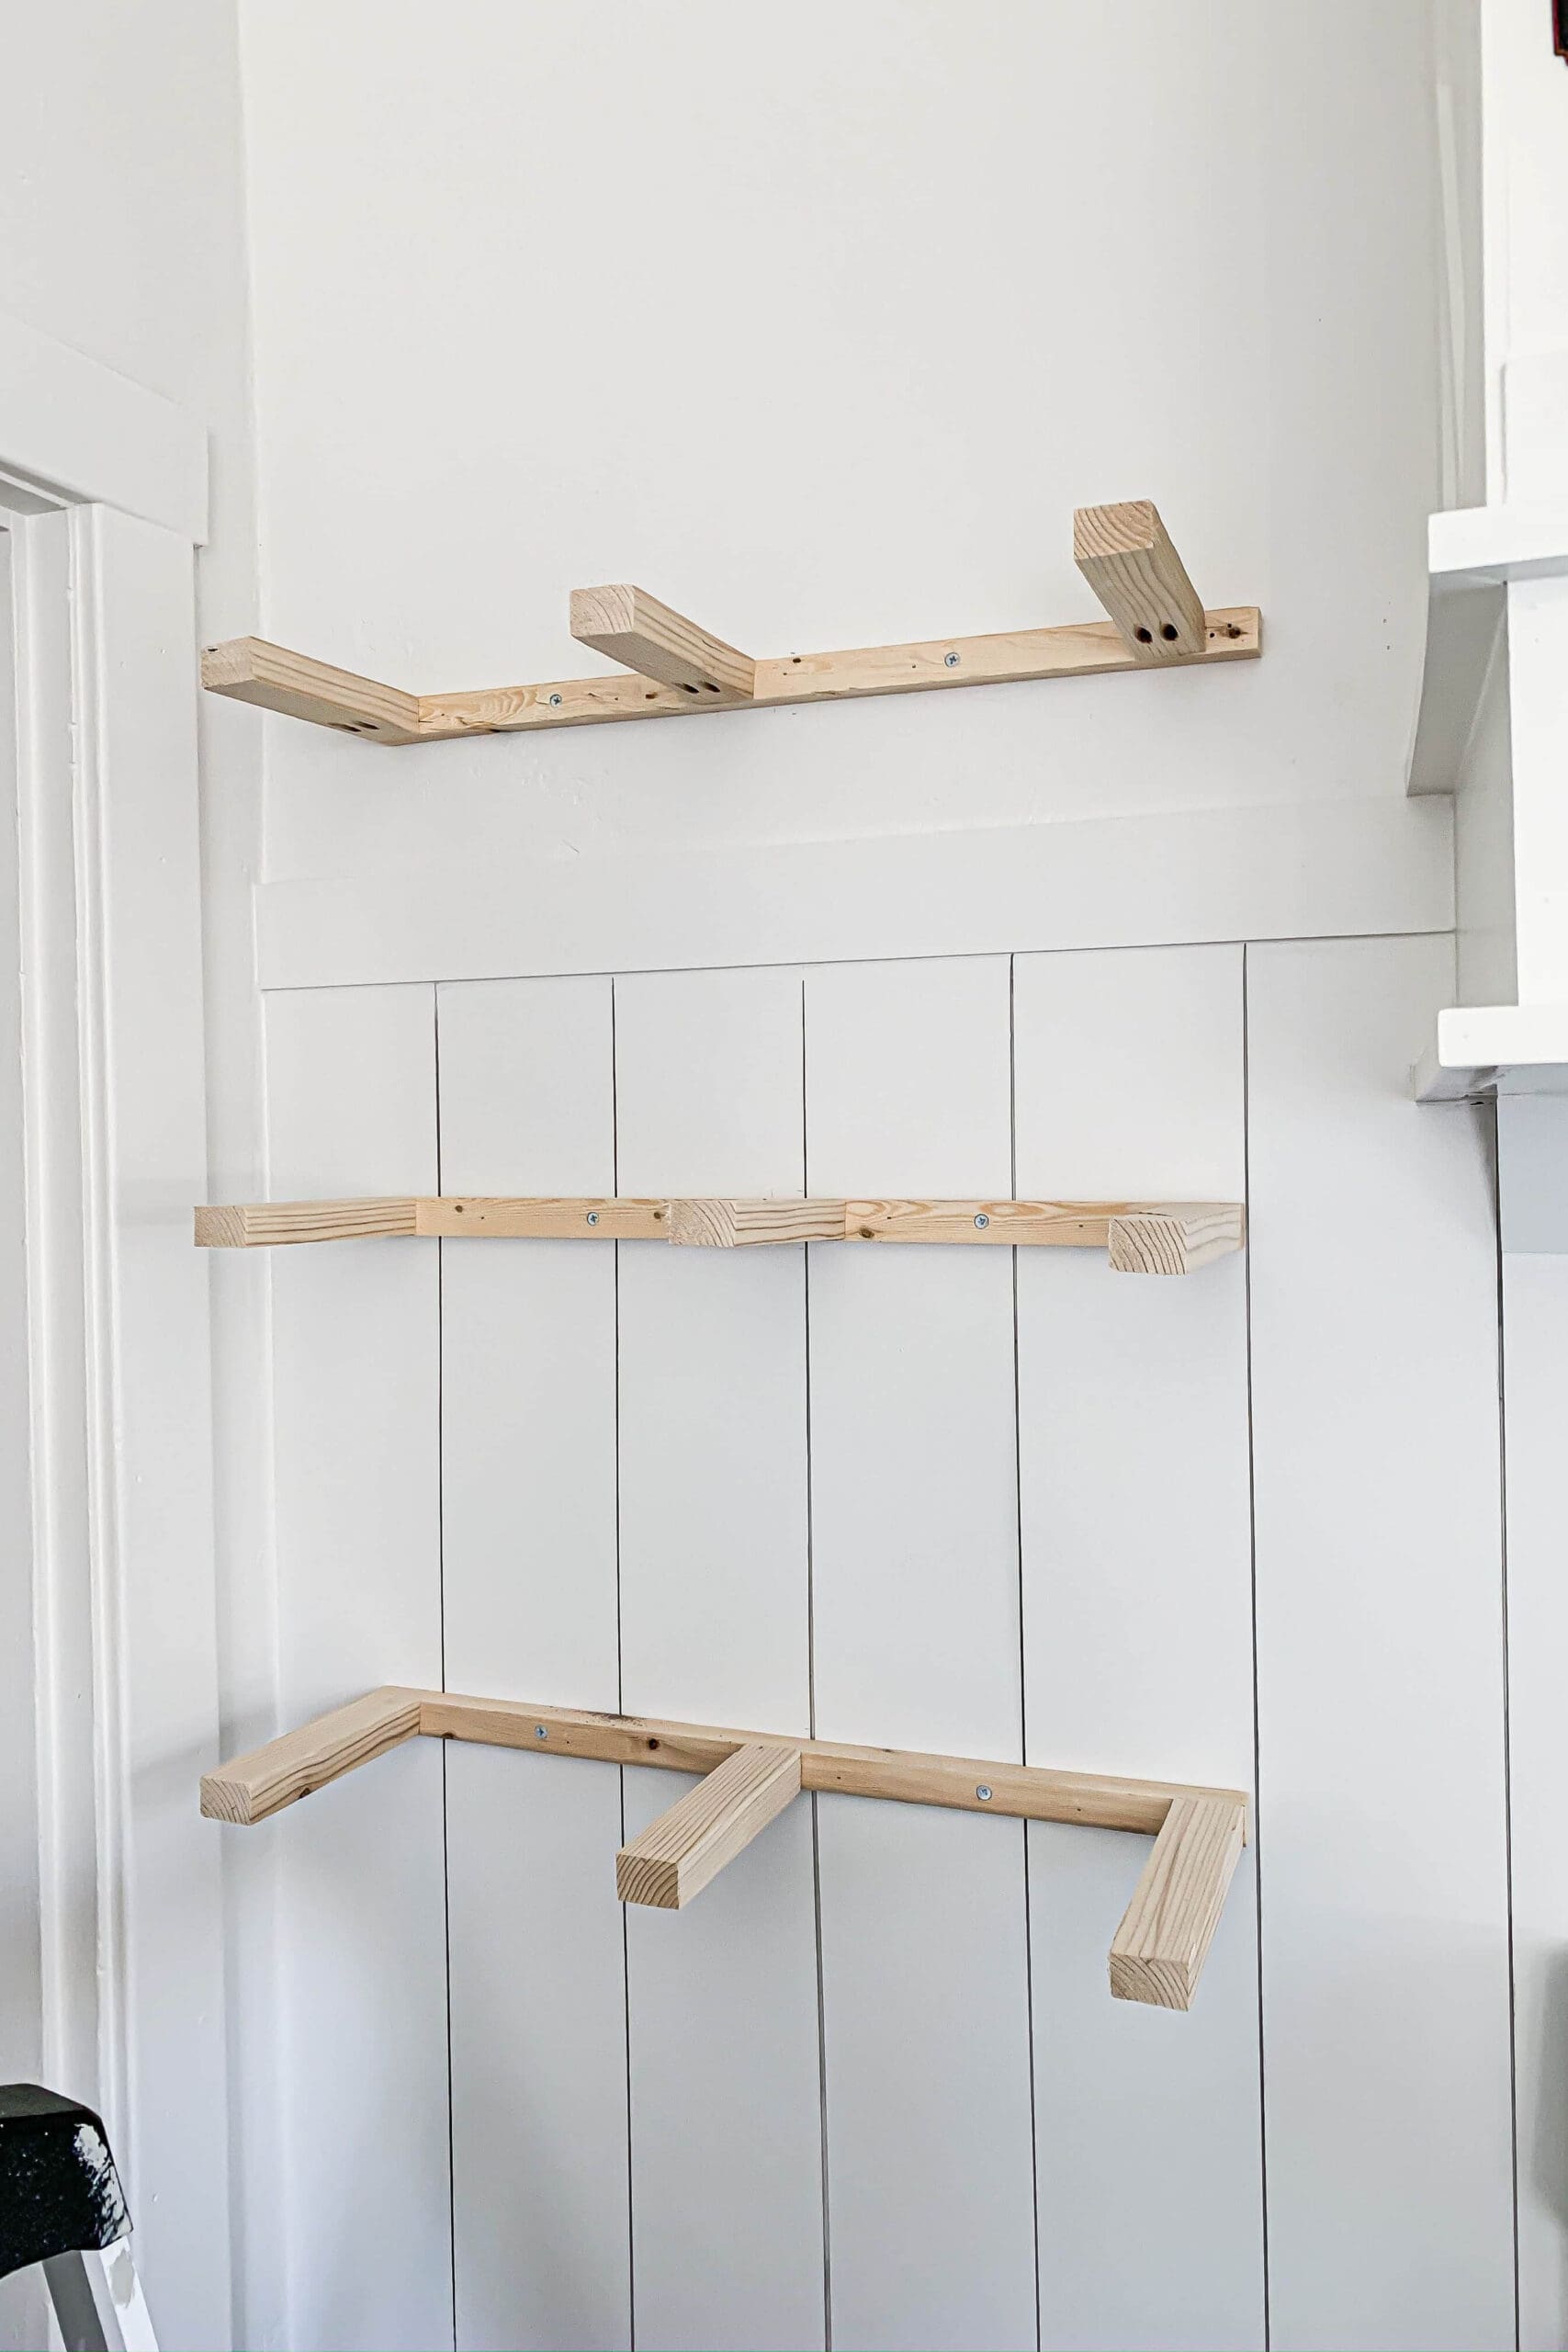
Mounting The Shelf On The Wall
Mounting the shelf on the wall is a crucial step in your wood shelf project. It ensures the shelf stays strong and holds your items safely. Proper mounting prevents damage to the wall and keeps the shelf level. Follow simple steps to make sure your shelf is secure and looks great.
Finding Wall Studs
Wall studs provide the best support for your shelf. Use a stud finder to locate them behind the drywall. Move the stud finder slowly across the wall until it signals a stud. Mark the stud locations with a pencil. Studs are usually 16 or 24 inches apart. Avoid mounting the shelf only on drywall; it may not hold weight well.
Choosing The Right Anchors
Anchors help secure the shelf if you can’t mount directly on studs. Choose anchors based on the wall type and shelf weight. For drywall, use toggle bolts or molly bolts for strong support. Plastic anchors work for light loads but avoid heavy items. Always check the anchor’s weight rating before installation.
Leveling And Securing
Use a level to make sure the shelf is straight before securing it. Hold the shelf against the wall at marked points. Adjust it until the bubble in the level is centered. Drill pilot holes for screws to prevent wood from splitting. Tighten screws firmly but avoid over-tightening, which can damage the wall or shelf.
Tips For Maintenance
Maintaining your wooden wall shelf is key to keeping it looking great and lasting longer. Regular care prevents small issues from turning into big repairs. Here are some practical tips to help you take care of your shelf every day.
Cleaning The Shelf
Dust your shelf regularly using a soft, dry cloth to avoid scratches. For sticky spots, slightly dampen the cloth with water or a gentle wood cleaner. Avoid harsh chemicals that can strip the finish or damage the wood.
Have you ever noticed how a quick wipe can brighten up a shelf instantly? Keeping your shelf clean not only improves its appearance but also protects the wood from dirt buildup that can cause wear over time.
Avoiding Damage
Be mindful of what you place on the shelf. Heavy or sharp objects can cause dents or cracks. Use felt pads under decorative items to prevent scratches.
Avoid exposing the shelf to direct sunlight or moisture. Sunlight can fade the wood, and moisture can cause warping or mold. Think about where you install your shelf to minimize these risks.
Periodic Checks
Inspect your shelf every few months for loose screws or signs of wear. Tighten any hardware that feels wobbly to keep the shelf stable. Look for cracks or chips and address them before they worsen.
Have you checked your shelf’s stability lately? Small issues are easier to fix early on, saving you time and money. Regular checks ensure your shelf stays safe and reliable for years.
Frequently Asked Questions
What Tools Do I Need To Build A Wooden Wall Shelf?
You need a saw, drill, screws, level, measuring tape, sandpaper, and wood glue. These tools ensure precise cuts and secure assembly for a sturdy shelf.
How Do I Choose The Right Wood For A Wall Shelf?
Select hardwood like oak or maple for durability. Softwoods like pine are budget-friendly but less durable. Choose based on your style and weight needs.
How Can I Securely Mount A Wooden Wall Shelf?
Use wall anchors or studs for strong support. Drill pilot holes and use screws to fix the shelf brackets firmly to the wall.
What Finishes Protect A Wooden Wall Shelf Best?
Apply polyurethane or varnish for a durable, water-resistant finish. These finishes protect wood from scratches and moisture while enhancing its natural beauty.
Conclusion
Building a wooden wall shelf is easier than it seems. You only need simple tools and basic steps. Measure carefully, cut the wood, and secure it to the wall. Choose the right wood for strength and style. Personalize your shelf with paint or stain.
A sturdy shelf adds both function and charm to any room. Try this project to create storage space and decorate your home. Enjoy the satisfaction of making something useful with your own hands.


