
Looking to add a personal touch to your walls without spending a fortune? Creating wall stickers at home is easier than you think.
Imagine turning your favorite designs, quotes, or patterns into custom decorations that brighten up any room. In this guide, you’ll discover simple steps to make your own wall stickers quickly and affordably. By the end, you’ll have everything you need to transform your space with unique, eye-catching art that reflects your style.
Ready to unleash your creativity? Let’s get started!

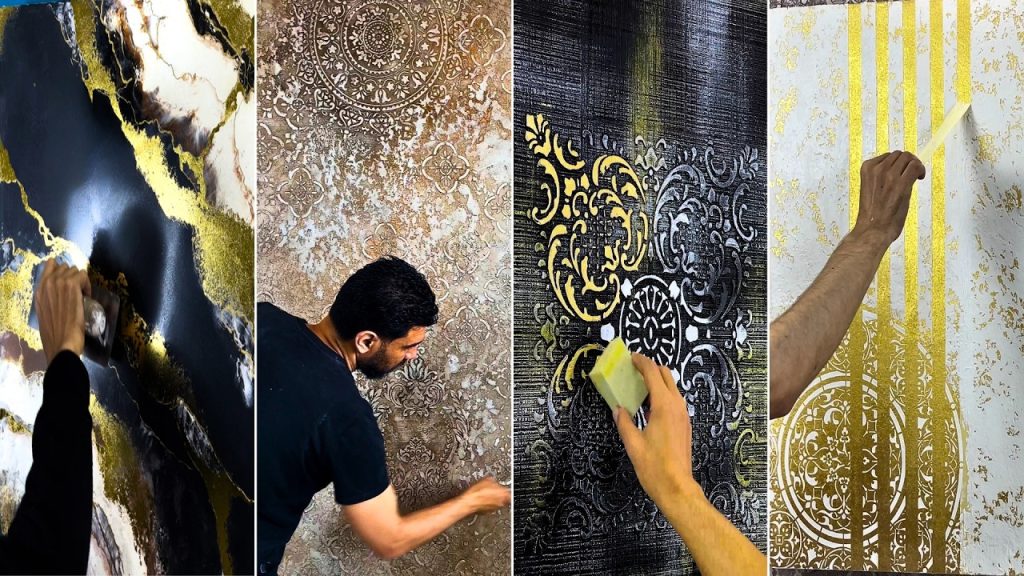
Credit: www.designcafe.com
Materials Needed
Creating your own wall stickers at home is easier than you might think. The key is gathering the right materials before you start. Having everything ready helps your project go smoothly and gives you a professional-looking result.
Types Of Paper And Vinyl
Choosing the right surface for your stickers matters a lot. Vinyl sheets are popular because they’re durable and waterproof, making them perfect for walls. You can find both glossy and matte vinyl, depending on the finish you want.
If vinyl feels too tricky or expensive, try sticker paper instead. It’s simpler to work with but less durable, so it’s best for temporary decorations. Also, consider clear or white sticker paper for different effects on your wall.
Essential Tools
You don’t need a fancy setup to make your own wall stickers. A good quality printer is a must, especially one that handles vinyl or sticker paper well. Scissors or a craft knife help you cut out your designs precisely.
Other handy tools include a ruler for straight edges and a cutting mat to protect your surfaces. If you want to add extra detail, colored markers or paint pens can personalize your stickers. Have a squeegee or credit card ready to smooth out bubbles when applying your stickers.
Choosing The Right Adhesive
The adhesive you pick determines how well your sticker sticks and how easy it is to remove. Permanent adhesives are strong but can damage walls when removed, so use them carefully. Removable adhesives are great if you want to change your design often or avoid wall damage.
Double-sided tape can work for lightweight stickers but might not last on rough surfaces. Some people add a layer of clear contact paper on top of their sticker to protect the design and improve stickiness. What kind of wall do you have, and how long do you want your stickers to stay?

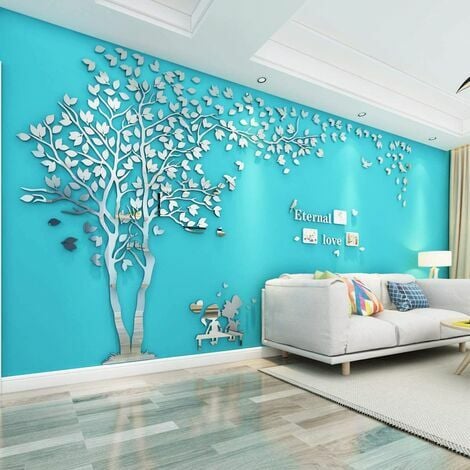
Credit: www.designcafe.com
Design Ideas
Creating wall stickers at home gives you a chance to express your creativity and add a personal touch to your space. Choosing the right design can transform a plain wall into a focal point that reflects your style. Here are some design ideas that are easy to create and look stunning on any wall.
Simple Patterns
Simple patterns are perfect if you want a clean and modern look. Think about geometric shapes like triangles, circles, or stripes. You can cut these shapes from colored vinyl or adhesive paper and arrange them in repetitive or random layouts.
Try mixing different sizes and colors to add depth without overwhelming the room. Simple patterns work well in living rooms, kitchens, or even bathrooms where a subtle yet stylish touch is needed. Have you noticed how a few well-placed shapes can completely change the vibe of a room?
Personalized Quotes
Adding your favorite quotes as wall stickers is a great way to make your space feel more inspiring. Choose a meaningful phrase that motivates or calms you, then play with fonts to match your room’s personality.
You can print the quote on adhesive paper or cut the letters out individually for a layered effect. This approach turns your walls into a daily reminder of what matters most to you. What words do you want to see every day?
Nature-inspired Themes
Bringing nature indoors with wall stickers can create a fresh and calming atmosphere. Leaves, flowers, trees, or even animal silhouettes are easy to design and cut at home.
Try using green shades or earthy tones to keep the look natural and soothing. You could also create a small garden scene or a flock of birds flying across the wall. How would adding a touch of nature change the feel of your room?
Creating Your Design
Choose simple shapes or drawings for your wall stickers. Trace them onto adhesive paper, then cut carefully along the lines. Peel and stick your custom design to brighten any room.
Creating your own wall stickers at home begins with a creative vision. The design phase is where your personality shines through, and the possibilities are endless. Whether you’re digitally inclined or prefer a more tactile approach, the design process can be as exciting as the final product.Using Software Tools
Digital tools like Adobe Illustrator or Canva can be your best friends. These platforms provide pre-made templates and a variety of design elements to play with. If you’re new to these tools, start by experimenting with basic shapes and colors, gradually building complexity as you gain confidence. Consider the mood you want your room to convey. Is it a playful vibe for a child’s room or a calming aesthetic for your workspace? Software tools allow you to easily switch between designs, helping you visualize different styles before making a decision.Hand-drawing Techniques
If digital isn’t your style, grab a pencil and some paper. Sketching by hand allows for a more organic and personal touch. Your hand-drawn designs can then be scanned and digitized, giving you the best of both worlds. Think about incorporating textures and patterns that are unique to your artistic style. Even simple line drawings can have a powerful impact when scaled up on a wall. This approach not only showcases your creativity but also adds a personal story to your space.Tips For Scaling And Sizing
Once you have your design, consider the size of your wall. A small sticker might get lost on a large wall, while an oversized one could overwhelm a small space. Measure your wall and play around with different sizes to see what feels right. Pay attention to the resolution of your design when scaling. A high-resolution image ensures that your sticker looks sharp and professional, even when enlarged. Use tools like vector graphics to maintain quality at any size. By focusing on these design elements, you can create wall stickers that not only enhance your space but also reflect your unique style. What story do you want your walls to tell?Cutting And Preparing Stickers
Cutting and preparing your wall stickers is where your design truly begins to take shape. This stage demands precision and patience to ensure clean edges and easy application. Whether you choose to cut by hand or use a machine, preparing your stickers properly sets you up for a smooth decorating experience.
Manual Cutting Methods
Using scissors or a craft knife gives you full control over the shape and size of your stickers. Start by printing your design on adhesive vinyl or sticker paper. Then, carefully cut along the edges with sharp scissors or a precision blade.
Keep your hand steady and work slowly to avoid jagged edges. If your design has intricate details, try using a craft knife with a cutting mat underneath. This helps you get sharp corners and delicate curves without tearing the material.
Have you noticed how much easier cutting becomes when your tools are sharp? Dull blades cause frustration and messy cuts, so always keep your scissors and knives in good condition.
Using Cutting Machines
Cutting machines like Cricut or Silhouette can save you a lot of time and deliver professional results. Upload your design file and let the machine handle precise cuts, especially for complex patterns or multiple copies.
These machines work best with vinyl sheets designed for cutting. Make sure to calibrate your machine settings according to the material thickness to avoid incomplete cuts or damage.
One tip I learned is to perform a test cut on a small piece before running the full design. This simple step prevents wasted materials and ensures your settings are just right.
Peeling And Layering
After cutting, peeling your stickers off the backing paper requires patience. Start by gently lifting a corner and slowly pulling the sticker away to avoid stretching or tearing.
Layering stickers can add depth and creativity to your walls. For multi-colored or multi-part designs, peel and apply each layer carefully, aligning edges perfectly.
Try using transfer tape to move intricate designs from the backing paper to the wall. This tool keeps your stickers intact and makes positioning much easier, especially on textured surfaces.
Applying Wall Stickers
Applying wall stickers at home can transform your space instantly. The key to a smooth, lasting finish lies in how you prepare and apply them. With a little care, you can avoid common pitfalls like peeling edges or air bubbles that ruin the look.
Surface Preparation
Before you stick anything, make sure your wall is clean and dry. Dirt, dust, or moisture can prevent the sticker from adhering properly. Wipe the surface with a damp cloth and let it dry completely.
If your wall has a rough texture, consider sanding it lightly for a smoother finish. This extra step helped me get a flawless look on my bedroom wall. A smooth surface gives the sticker something firm to hold on to.
Positioning Tips
Think about the best spot before peeling off the backing. You can use painter’s tape to hold the sticker in place temporarily and step back to check the alignment. This small step saved me from repositioning multiple times.
Use a level or ruler to keep your design straight, especially for larger stickers. If you’re applying a pattern or multiple stickers, lay them out on the floor first to visualize the final look. Planning saves frustration later.
Removing Air Bubbles
After placing the sticker on the wall, smooth it out gently using a plastic card or your fingers. Start from the center and move outward to push any trapped air toward the edges.
If bubbles persist, prick them lightly with a pin and press the air out. It might seem delicate, but this technique prevents ugly bumps and keeps the sticker flat. Have you ever noticed tiny bubbles ruining a perfect sticker job? This trick can stop that from happening.
Maintaining Your Stickers
Keeping your wall stickers looking fresh and vibrant takes some attention, but it’s not hard. Proper maintenance can extend their life and keep your walls looking great. Let’s talk about some simple ways you can care for your stickers, avoid damage, and remove them without hassle.
Cleaning And Care
Dust and dirt can dull your stickers over time. Use a soft, dry cloth or a slightly damp microfiber cloth to gently wipe the surface. Avoid harsh chemicals or abrasive materials, as they can wear down the sticker’s design.
If you notice any stubborn marks, try a mild soap diluted in water. Test it on a small, hidden area first to make sure it doesn’t affect the color. Regularly cleaning your stickers keeps them vibrant and prevents buildup.
Avoiding Damage
Have you ever accidentally scratched a sticker? It’s frustrating, but easily avoidable. Keep sharp objects and rough materials away from your stickers to prevent tears and scratches.
Also, avoid placing stickers in direct sunlight or near heat sources. Excessive heat can cause peeling or fading. Position your stickers thoughtfully to protect them and keep their colors bright longer.
Removing Stickers Safely
When you’re ready to remove a sticker, patience is key. Peel slowly from one corner, pulling gently at a low angle. If it resists, apply a little heat from a hairdryer to soften the adhesive.
Got sticky residue left behind? Use a mixture of warm water and mild dish soap on a cloth to rub it away gently. Have you tried this method before? It works wonders without damaging your wall’s paint.
Creative Variations
Adding creative variations to your wall stickers makes your space truly unique. It’s not just about sticking shapes on the wall; it’s about experimenting with materials, colors, and themes to reflect your personality. These ideas will inspire you to think beyond the usual and create wall art that surprises both you and your guests.
Using Glow-in-the-dark Materials
Glow-in-the-dark wall stickers add a magical touch to any room, especially bedrooms or play areas. You can buy glow paint or adhesive sheets that charge in daylight and softly illuminate when the lights go off.
Try creating star or moon shapes with these materials to create a calming night sky effect. Have you ever noticed how a little light in the dark changes the whole mood of a room?
Mixing Textures And Colors
Combining different textures like matte, glossy, or even fabric stickers adds depth to your wall design. Don’t hesitate to mix bold colors with softer pastels; this contrast will make your stickers pop.
For example, pairing smooth vinyl cutouts with felt shapes can create a tactile experience. How could this play of textures change the way you feel about a plain wall?
Seasonal And Themed Decor
Changing your wall stickers based on seasons or holidays keeps your space fresh and exciting. You might create autumn leaves for fall or snowflakes for winter using simple stencil patterns and removable adhesive.
Think about a themed wall for a birthday or a special event—this can be a fun project to personalize celebrations. What theme would you choose to brighten up your walls right now?
Credit: www.manomano.co.uk
Frequently Asked Questions
How Do I Make Wall Stickers At Home?
To make wall stickers at home, use printable vinyl or adhesive paper. Design your sticker digitally, print it, then cut and peel. Finally, apply the sticker smoothly to a clean, dry wall surface for best results.
What Materials Are Needed For Diy Wall Stickers?
You need printable adhesive vinyl or sticker paper, a printer, scissors or a craft cutter, and a design file. Optionally, use transfer tape for easier application and a squeegee to avoid bubbles.
Can I Create Custom Wall Stickers Without A Printer?
Yes, you can hand-paint or draw designs on adhesive paper. Cut the designs carefully and apply them like regular stickers. This method is slower but allows full creativity without a printer.
How To Ensure Wall Stickers Stick Properly?
Clean your wall thoroughly to remove dust and grease. Apply stickers on smooth, dry surfaces at room temperature. Press firmly and smooth out bubbles for a secure, long-lasting hold.
Conclusion
Creating wall stickers at home brings fun and creativity together. You choose colors, shapes, and designs that fit your style. It saves money and adds a personal touch to your space. The process is simple and needs only basic tools.
Try it step by step, and enjoy making your walls unique. Small changes can make a big difference in any room. Start today and see how easy it is to brighten your home. Your walls will thank you.


