
Are your 3D wall panels starting to show signs of wear or damage? Don’t worry—you don’t have to replace the entire wall to fix them.
Whether it’s cracks, loose panels, or chips, you can restore your walls to their original beauty with a few simple steps. In this guide, you’ll discover easy, effective ways to repair your 3D wall panels quickly and confidently. Keep reading to learn how to bring your walls back to life without stress or extra costs.

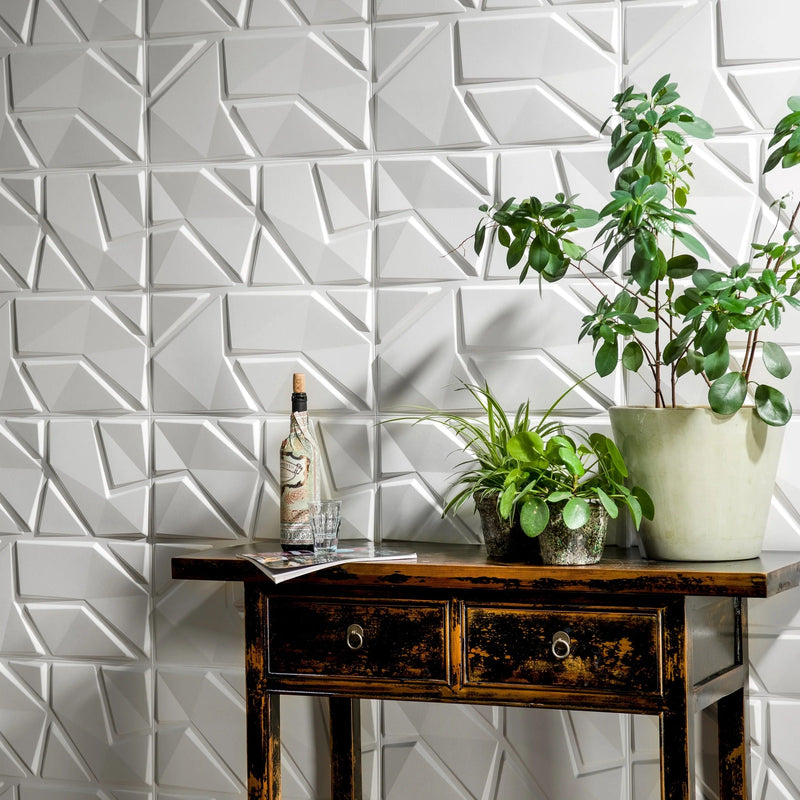
Credit: dundeedeco.com
Choosing The Right 3d Wall Panels
Choosing the right 3D wall panels sets the foundation for a stunning wall design. It helps ensure durability, style, and ease of installation. The perfect panels match your room’s theme and meet your budget needs. Knowing key factors before buying saves time and effort.
Materials And Styles
3D wall panels come in various materials. Popular options include PVC, wood, gypsum, and MDF. PVC panels resist moisture and are easy to clean. Wood panels add warmth and natural texture. Gypsum panels offer detailed designs and fire resistance. MDF panels provide smooth finishes and are budget-friendly.
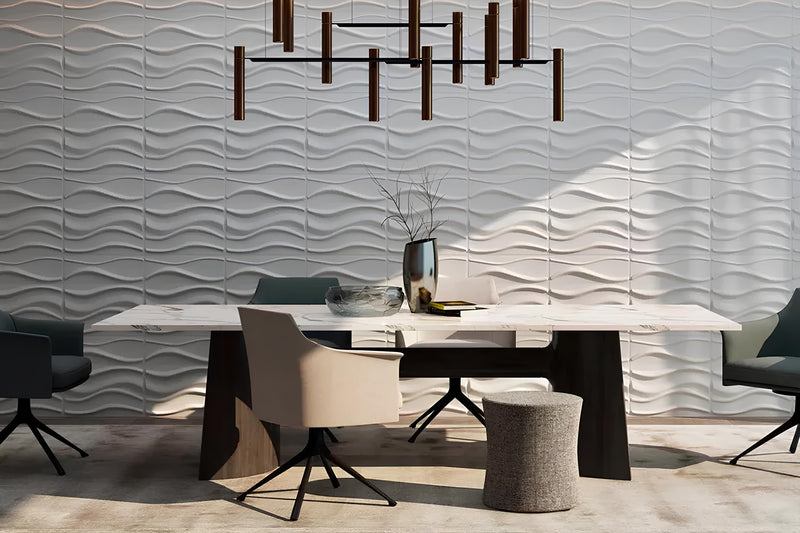
Styles range from geometric shapes to organic waves. Some panels have sharp angles for a modern look. Others feature soft curves for a cozy feel. Choose styles that enhance your room’s mood. Consider color and texture too.
Measuring Your Wall
Accurate wall measurement is crucial. Measure the height and width of the wall space. Multiply these numbers to find the total square footage. Subtract areas for windows and doors.
Buy slightly more panels than needed. This accounts for cutting errors and future repairs. Label your measurements to avoid confusion during installation.
Tools You’ll Need
- Measuring tape for precise dimensions
- Level to keep panels straight
- Adhesive suitable for the panel material
- Utility knife or saw for cutting panels
- Sandpaper for smoothing edges
- Protective gloves and goggles
Having the right tools makes installation smooth. Prepare your workspace and gather everything before starting.
Preparing The Wall Surface
Getting your wall ready before installing 3D wall panels is key to achieving a clean, lasting finish. Skipping preparation can lead to panels peeling off or uneven surfaces that ruin the look. Taking time to properly prepare ensures your panels stick well and look stunning.
Cleaning And Smoothing
Start by removing any dust, dirt, or grease from the wall. Use a mild detergent mixed with water and a sponge to wipe the surface thoroughly.
After cleaning, check for rough spots or peeling paint. Sand these areas lightly with fine-grit sandpaper to create a smooth base. A smooth wall helps the adhesive grip better, so don’t rush this step.
Repairing Imperfections
Look closely for cracks, holes, or dents that could affect panel installation. Fill these imperfections with spackling compound or wall filler using a putty knife.
Once dry, sand the patches flush with the wall surface to avoid bumps. A perfectly flat wall means your 3D panels will lay flat without gaps or bulges.
Priming The Wall
Apply a coat of primer suitable for your wall type, especially if you have drywall or porous surfaces. Primer helps seal the wall and improves the adhesive’s effectiveness.
Choose a primer that dries quickly to speed up your project. You’ll notice the difference when your panels stick firmly and stay in place over time.
Cutting And Arranging Panels
Cut panels carefully with a sharp knife or saw to fit your wall space precisely. Arrange panels evenly, aligning edges for a clean, seamless look. Proper cutting and arranging ensure a smooth and attractive 3D wall panel installation.
Cutting and arranging 3D wall panels requires precision and creativity. Properly cut panels enhance visual appeal and ensure a smooth installation. Arranging them thoughtfully brings out the best in your wall design. Let’s dive into key steps to achieve a perfect fit and stunning layout.Measuring For Cuts
Accurate measurements are crucial. Begin by measuring the height and width of your wall. Use a tape measure for precise dimensions. Mark these measurements on the panels with a pencil. Double-check your marks before cutting. This ensures each piece fits perfectly.Using The Right Cutting Tools
Choose tools suitable for your panel material. For wood, use a saw. Plastic panels may require a utility knife. Ensure tools are sharp and well-maintained. This prevents jagged edges and ensures clean cuts. Always follow safety guidelines when using cutting tools.Planning The Layout
Lay out your panels on the floor first. This helps visualize the final look. Arrange panels in different patterns to find the best design. Consider symmetry and balance in your layout. Mark the wall to guide installation. This step ensures an organized and efficient process.Attaching The Panels Securely
Attaching 3D wall panels securely ensures they stay in place and look great. Proper attachment prevents panels from falling or shifting over time. Focus on the right adhesive, even application, and firm pressing.
Choosing Adhesives
Select adhesives made for wall panels and the surface type. Common options include construction adhesive, panel glue, or heavy-duty double-sided tape. Avoid weak glues that can fail under weight or humidity. Read product labels for compatibility with your wall material. Strong, fast-drying adhesives work best for a secure hold.
Applying Adhesive Evenly
Apply adhesive in a consistent pattern to cover the panel back. Use a notched trowel or glue gun for even spreading. Avoid too much glue to prevent mess and waste. Too little glue weakens the bond. Focus on edges and center for full coverage. This prevents gaps and ensures strong adhesion.
Pressing Panels In Place
Press the panel firmly against the wall after applying glue. Hold it in place for a few minutes to allow initial bonding. Use a level to keep panels straight and aligned. Apply pressure evenly across the panel surface. For large panels, use temporary supports or clamps until dry. This step secures the panels and prevents air pockets.
Sealing And Finishing Touches
Sealing and finishing touches are crucial to achieve a flawless look with your 3D wall panels. These final steps not only enhance the appearance but also protect the panels from damage and wear. Paying attention to these details ensures your wall becomes a standout feature that lasts.
Filling Gaps And Seams
Gaps and seams between panels can distract from the overall design. Use a high-quality filler or caulk that matches your panel material to fill these spaces. Apply it smoothly with a putty knife, then wipe away any excess before it dries to keep the surface even.
Have you noticed how small gaps can catch dust and dirt over time? Sealing them properly prevents this and makes cleaning easier.
Sanding For Smoothness
After filling gaps, sanding the surface is key to a seamless finish. Use fine-grit sandpaper to gently smooth out any rough areas or excess filler. This step helps the panels look professionally installed and prepares the surface for painting or coating.
Don’t rush sanding—take your time to feel the surface with your hand. If it feels uneven, sand a little more. A smooth finish makes a huge difference in the final look.
Painting Or Coating Panels
Painting or coating your 3D panels adds personality and protects them from moisture and wear. Choose a paint suitable for the panel material—latex or acrylic paints work well for most types. Use a roller for large flat areas and a brush for detailed sections to avoid drips and uneven coverage.
Consider whether you want a matte, satin, or glossy finish. Each option changes how light interacts with the panels, affecting your room’s atmosphere. What mood do you want your walls to set?
Credit: www.thepanelhub.com
Troubleshooting Common Issues
3D wall panels add texture and depth to any room. Sometimes, issues arise that affect their look and stability. Troubleshooting common problems can keep your walls fresh and attractive. Knowing how to fix these issues saves time and money.
Fixing Loose Panels
Loose panels can fall or create gaps. Check the adhesive or nails holding them. Remove the loose panel carefully. Clean the wall and panel surface from dust. Apply a strong adhesive suitable for your panel type. Press the panel firmly against the wall. Use painter’s tape to hold it in place while drying. Avoid heavy pressure that might damage the panel.
Addressing Uneven Surfaces
Uneven walls cause panels to look crooked or bumpy. Use a level tool to find problem areas. Fill small holes or cracks with wall filler. Sand the surface smooth after it dries. For large bumps, consider using a drywall compound. Let the surface dry completely. Install panels only after the wall is even and clean.
Dealing With Damage
Panels can crack, chip, or scratch over time. Small cracks may be fixed with wood filler or putty. Match the filler color to the panel’s shade. Sand lightly after the filler dries. For large damage, replace the affected panel. Keep extra panels from the original installation for this purpose. Paint or finish the repaired area to blend with the rest.

Credit: www.thepanelhub.com
Frequently Asked Questions
How Do You Fix Loose 3d Wall Panels?
To fix loose 3D wall panels, clean the surface first. Use strong adhesive or construction glue. Press the panel firmly and hold until it sets. For extra support, use finishing nails or screws carefully.
What Tools Are Needed To Install 3d Wall Panels?
You need adhesive or construction glue, a level, measuring tape, utility knife, and finishing nails. A rubber mallet and caulk gun can also help for precise installation and secure fitting.
Can 3d Wall Panels Be Repaired If Damaged?
Yes, small damages can be fixed with filler or putty. Sand the area smoothly, then repaint or refinish. For large damages, consider replacing the affected panel for a seamless look.
How Long Does It Take To Fix 3d Wall Panels?
Fixing loose panels usually takes 30 to 60 minutes. Repairing damaged areas might take longer depending on damage size. Always allow adhesive or filler to dry fully before finishing.
Conclusion
Fixing 3D wall panels is easier than it seems. Follow the steps carefully for best results. Use the right tools and materials to avoid damage. Take your time to ensure panels stick well. Small repairs keep your walls looking fresh and new.
Regular checks help catch problems early. Enjoy your beautiful walls for years to come. Simple care makes a big difference. You can do this!


