
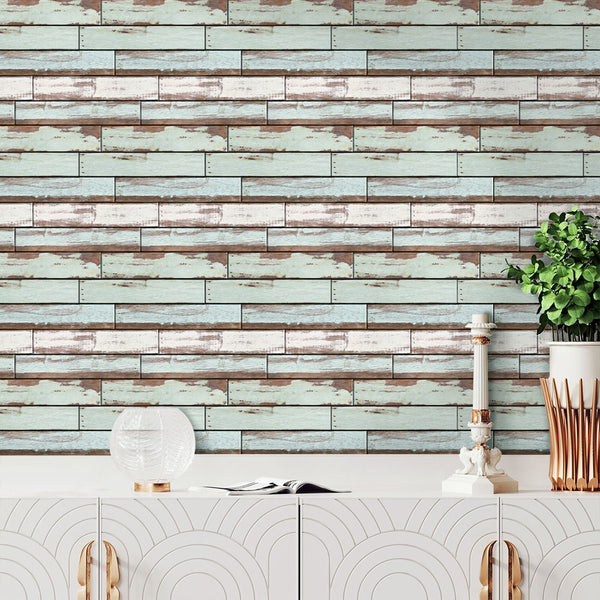
Are you struggling to get wall stickers to stick to your textured walls? You’re not alone.
Textured surfaces can make decorating tricky, leaving your favorite stickers peeling off or falling down. But don’t worry—there are simple, effective ways to make your wall stickers stay put and look great. You’ll discover easy tricks and practical tips that will transform your walls without the frustration.
Keep reading, and soon your textured walls will become the perfect canvas for your creativity.

Credit: commomy.com
Choose The Right Stickers
Choosing the right wall stickers is key when you’re dealing with textured walls. Not all stickers are made to grip uneven surfaces, so picking the right material can save you time and frustration. Let’s look at which types of stickers will hold up best and which ones to skip.
Materials That Work Best
Vinyl stickers are a strong choice for textured walls. Their flexible nature allows them to mold slightly to bumps and grooves, helping them stick better. Additionally, look for stickers with a strong adhesive backing designed for rough surfaces.
Fabric-based stickers can also work well, especially those with a peel-and-stick feature. They tend to have more give and grip compared to paper stickers. If you want something removable, try static cling decals—they don’t rely on adhesive and can hold on textured walls without damage.
Avoiding Low-quality Options
Cheap paper stickers usually fail on textured walls. Their thin material and weak adhesive can’t handle the uneven surface, leading to peeling or falling off quickly. You might save a few dollars upfront, but you’ll likely end up frustrated and reapplying them.
Beware of stickers that don’t specify their surface compatibility. If the packaging doesn’t mention textured or rough surfaces, it’s a red flag. You want to avoid wasting money on stickers that won’t stick properly and ruin your wall’s appearance.
Have you ever tried slapping a sticker on and watched it curl or peel within hours? That’s a sign you didn’t pick the right type for your wall’s texture. Choosing quality materials designed for your surface makes all the difference in how long your wall stickers will last.
Prepare The Wall Surface
Getting wall stickers to stick well on textured walls starts with preparing the surface properly. A textured wall isn’t as smooth as a plain one, so you need to give it some extra attention before applying your stickers. Taking the time to clean and smooth the wall can make the difference between a sticker that peels off quickly and one that stays put for months.
Cleaning Techniques
Start by removing any dust, dirt, or grease from your textured wall. Use a soft brush or vacuum cleaner to get rid of loose particles stuck in the crevices. Then, wipe the wall gently with a damp cloth and a mild detergent solution to clean off any grime.
Avoid soaking the wall too much because excess moisture can damage the texture or paint. Let the surface dry completely before moving on. Have you ever tried sticking something on a dusty wall and noticed it just wouldn’t hold? That’s why this step is crucial.
Smoothing Rough Spots
Textured walls often have rough patches or bumps that can make stickers peel off early. Check your wall closely for any loose or crumbling areas. Use fine-grit sandpaper to gently smooth these spots without damaging the texture.
For deeper texture, consider applying a thin layer of primer or a wall sealer to create a more even surface. This helps the adhesive stick better. You don’t need to make the wall perfectly flat — just reduce the roughness enough to improve adhesion.
Have you noticed how small imperfections can ruin the look of a sticker? Taking these simple steps to prepare your wall can save you from frustration and make your stickers last longer.
Use Adhesion Boosters
Getting wall stickers to stick to textured walls can be tricky. Textured surfaces often resist adhesives, making it difficult for decals to stay put. Using adhesion boosters can solve this problem. These products enhance the stickiness of your wall stickers. This ensures they adhere properly to uneven surfaces. Here’s how you can use different adhesion boosters to achieve this.
Primers And Sealants
Primers and sealants create a smooth layer over textured walls. Apply a primer to fill in grooves and bumps. This provides an even surface for stickers. Sealants can protect and hold the adhesive in place. Choose a product suitable for your wall texture. Apply it evenly and let it dry completely. This step prepares your wall for better adhesion.
Double-sided Tapes
Double-sided tapes offer extra sticking power. These tapes have adhesive on both sides. They can help secure stickers on textured surfaces. Cut small pieces of tape and apply them to the back of the sticker. Press the sticker firmly onto the wall. This method can prevent peeling and ensure a lasting hold.

Credit: commomy.com
Apply Stickers Properly
Applying wall stickers properly on textured walls can be tricky, but mastering this step ensures your decorations stay put and look fantastic. The key is to handle the sticker with care and precision from the start. Let’s focus on the right way to position your sticker and how to smooth out any air bubbles that may appear.
Positioning Tips
Before peeling off the backing, hold your sticker up against the wall to find the perfect spot. Step back and check from different angles to make sure it’s straight and centered. If you have a level, use it to avoid crooked placement—nothing ruins a room’s look faster than a tilted sticker.
Mark light pencil dots or use painter’s tape as temporary guides. These small markers help you align the sticker without sticking it down prematurely. Remember, once the adhesive touches the wall, repositioning can be difficult, especially on textured surfaces.
Smoothing Out Air Bubbles
After applying the sticker, air bubbles are almost inevitable on textured walls. Use a soft cloth or a plastic squeegee to gently press the sticker from the center outward. This pushes trapped air toward the edges where it can escape.
If you find stubborn bubbles, try pricking them lightly with a pin and then smooth again. Patience here pays off—the more carefully you work, the cleaner the finish. Have you ever ignored a tiny bubble only to watch it grow over time? Taking a few extra minutes now saves frustration later.
Maintain Sticker Longevity
Maintaining the longevity of wall stickers on textured walls requires extra care. Textured surfaces can challenge the adhesive, so ongoing attention helps keep stickers fresh and secure. Small habits can make a big difference over time.
Avoiding Moisture And Heat
Moisture weakens the adhesive and causes stickers to peel. Keep stickers away from damp areas like bathrooms or kitchens. Avoid placing them where water splashes or condensation forms.
Heat softens the glue and can cause curling. Avoid direct sunlight or heat sources like heaters and lamps. Keep the room temperature stable to protect the sticker’s hold.
Regular Touch-ups
Check stickers regularly for edges lifting or bubbles forming. Gently press down any loose corners with a soft cloth or your fingers. If a sticker starts to peel, apply a small amount of adhesive to secure it again.
Cleaning around the stickers helps them stick longer. Use a dry or slightly damp cloth to remove dust and dirt. Avoid harsh chemicals that can damage the sticker or weaken the glue.

Credit: shop.projectnursery.com
Alternative Options For Textured Walls
Textured walls can be tricky for wall stickers. Regular decals may not stick well or peel off quickly. Alternative options help you decorate without damage or frustration. These choices work better on uneven surfaces and keep your walls looking great.
Wall Decals With Frames
Frames add support to wall stickers on textured walls. They hold the sticker flat and keep it from peeling. You can choose simple or decorative frames to match your style. Framed decals create a polished look and protect edges from lifting.
These frames can be hung like pictures. No sticky backing needed on the wall itself. This method works well for delicate or expensive stickers. It also makes changing designs easy and mess-free.
Custom-made Stickers
Custom stickers fit your wall’s exact texture and shape. They use stronger adhesives designed for rough surfaces. You can order sizes and designs that suit your room perfectly.
These stickers last longer and stay smooth on bumpy walls. Choose materials that resist peeling and fading. Custom-made options give a clean and professional finish.
Frequently Asked Questions
How Do I Prepare Textured Walls For Wall Stickers?
Clean the wall thoroughly to remove dust and grease. Use a mild soap solution and dry completely. Lightly sand the surface to smooth bumps, improving sticker adhesion.
Which Wall Stickers Work Best On Textured Surfaces?
Vinyl or fabric-based stickers with strong adhesive perform best. Look for stickers labeled as suitable for textured or uneven walls. Avoid paper-based stickers, as they may peel off easily.
Can I Use Heat To Improve Sticker Adhesion On Textured Walls?
Yes, gently heating the sticker with a hairdryer softens the adhesive. This allows the sticker to better conform to the wall’s texture. Apply heat evenly and press the sticker firmly afterward.
How Long Will Wall Stickers Last On Textured Walls?
With proper preparation, stickers can last several months to years. Longevity depends on wall texture, adhesive quality, and environmental conditions. Regularly check edges and press down any lifting areas.
Conclusion
Getting wall stickers to stick on textured walls can be simple. Clean the wall well and dry it completely. Use a primer or a special adhesive for better hold. Press the sticker firmly and smooth out air bubbles. Patience matters—let the sticker set for a few hours.
These small steps help your stickers stay longer and look great. Now, your walls can have a fresh, new look without damage. Enjoy decorating with confidence and ease.