
Are you looking to add a personal touch to your walls without spending a fortune? Making vinyl wall stickers at home is easier than you think, and it gives you full control over the design and style.
Imagine turning your ideas into beautiful, custom decals that brighten up any room. In this guide, you’ll discover simple steps and insider tips to create stunning vinyl stickers right in your own space. Ready to transform your walls and impress everyone who walks in?
Keep reading, because your DIY project starts here.

Credit: www.etsy.com
Materials Needed
Creating vinyl wall stickers at home requires gathering the right materials. Having the correct supplies ensures a smooth crafting process and better results. Here is a list of what you need to start your project.
Types Of Vinyl Sheets
- Adhesive vinyl: Easy to stick on walls, perfect for stickers.
- Heat transfer vinyl: Used for fabrics, not ideal for walls.
- Removable vinyl: Great for temporary designs without damage.
- Permanent vinyl: Best for long-lasting wall decorations.
- Glossy or matte finish: Choose based on your style preference.
Essential Tools
- Cutting machine or craft knife: For precise shapes and letters.
- Cutting mat: Protects surfaces and helps with cutting accuracy.
- Weeding tool: Removes excess vinyl from designs easily.
- Transfer tape: Moves your sticker from backing to wall smoothly.
- Ruler and pencil: For measuring and marking designs.
Optional Supplies
- Scraper tool: Helps to apply stickers without bubbles.
- Scissors: Useful for trimming small pieces of vinyl.
- Lint roller: Cleans wall surfaces before applying stickers.
- Masking tape: Holds vinyl in place during positioning.
- Design software: Creates custom sticker patterns on your computer.
Design Preparation
Preparing your design is the first step to making vinyl wall stickers at home. This phase sets the foundation for a smooth cutting and application process. Focus on clear, simple designs that suit your space and purpose. Proper preparation ensures your final sticker looks sharp and professional.
Choosing A Design
Select a design that fits your room style and size. Simple shapes and bold lines work best for vinyl cutting. Avoid intricate details that might be hard to cut or weed. Think about the message or image you want to display. Use symbols, quotes, or patterns that inspire you.
Using Design Software
Use design software to create or edit your sticker image. Programs like Adobe Illustrator, Inkscape, or Cricut Design Space are popular choices. These tools let you work with vector graphics for clean edges. Save your design in formats like SVG or PNG for cutting machines. Make sure the design is clear and contrasts well against the wall color.
Sizing And Layout Tips
Measure the wall space before setting your design size. Keep the sticker large enough to be visible but not overpower the room. Use grids or guides in your software to align elements neatly. Test print your design on paper to check the size and layout. Plan the placement carefully to avoid cutting errors and uneven application.
Cutting The Vinyl
Cutting vinyl requires a sharp blade and steady hands for clean edges. Use a cutting mat to protect surfaces and follow your design carefully. Small, precise cuts make your wall stickers look neat and professional.
Cutting the vinyl is a crucial step in creating wall stickers. This process transforms your design into a tangible piece. Precision is key for a professional look. Whether you use manual tools or a cutting machine, each method offers unique benefits. Let’s explore how you can cut vinyl effectively at home.Manual Cutting Techniques
Manual cutting involves using simple tools. Scissors and craft knives work well. Trace your design onto the vinyl’s backing. Cut carefully along the lines. Ensure the blade is sharp for clean edges. Pay attention to intricate details. Take your time to avoid mistakes.Using A Cutting Machine
A cutting machine offers precision and speed. Popular choices include Cricut and Silhouette. Load your design into the machine’s software. Adjust the settings based on vinyl thickness. Place the vinyl onto the cutting mat. Let the machine handle the rest. It’s efficient for complex designs.Weeding Excess Vinyl
Weeding involves removing unwanted vinyl. Use a weeding tool or a pin. Carefully lift excess vinyl away. Focus on letters and small details. This step requires patience. Ensure only the design remains on the backing. Check for any missed pieces. Your sticker is now ready to transfer.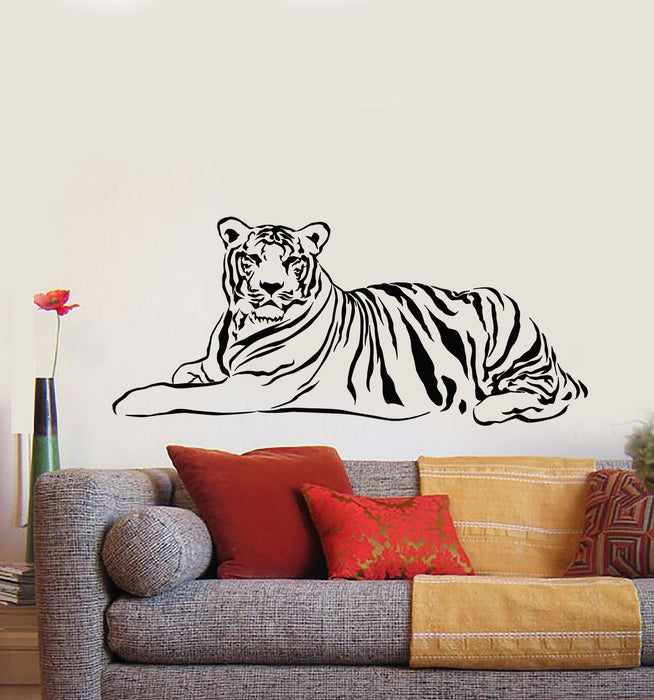
Credit: wallstickers4you.com
Applying Transfer Tape
Applying transfer tape is a crucial step in making vinyl wall stickers at home. It helps you move your design from the backing paper to the wall without losing shape or detail. Getting this right can save you time and frustration, so pay close attention to the tape you choose and how you apply it.
Selecting The Right Tape
Not all transfer tapes are created equal. You want a tape that is sticky enough to hold your vinyl but not so strong that it tears or leaves residue. Look for tapes labeled as “low tack” or “medium tack” for most wall sticker projects.
Clear transfer tape is usually the best choice because it allows you to see your design clearly. If your sticker has intricate details, a tape with grid lines can help you align it perfectly on the wall. Have you ever struggled to line up a design? The right tape can prevent that headache.
Applying Tape Smoothly
Start by cutting a piece of transfer tape slightly larger than your vinyl design. Peel the backing off carefully and lay the tape flat over your sticker. It helps to begin from one edge and slowly press down to avoid wrinkles.
Use a squeegee or a credit card to firmly smooth the tape onto the vinyl. Apply even pressure as you go across the entire surface. This step is key to making sure every part of your design sticks to the tape for easy transfer.
Removing Air Bubbles
Air bubbles can ruin the look of your wall sticker and make it difficult to apply. After placing the tape, check for bubbles by running your fingers or a squeegee over the surface. Gently push any trapped air toward the edges.
If bubbles persist, try lifting the tape slightly and reapplying it while smoothing out the air pockets. This quick fix can save you from having to start over entirely. What’s your trick for dealing with stubborn bubbles?
Installing Stickers On Walls
Installing vinyl wall stickers requires care and precision. Proper application ensures the sticker stays smooth and lasts longer. Follow these simple steps to get the best results on your walls.
Preparing The Wall Surface
Clean the wall with a damp cloth to remove dust and dirt. Let it dry completely before applying the sticker. Avoid textured or rough surfaces for better adhesion. Smooth, dry walls give the best results. Remove any nails or hooks that may block the sticker.
Positioning The Sticker
Plan where the sticker will go. Hold the sticker against the wall and check alignment. Use a level or measuring tape for straight placement. Mark the corners lightly with a pencil if needed. This helps to avoid mistakes during application.
Applying And Removing Transfer Tape
Place the sticker face down on a flat surface. Smooth the transfer tape over the sticker to stick it firmly. Peel the backing paper slowly, making sure the sticker stays on the tape. Carefully place the sticker and tape on the wall. Use a squeegee or credit card to press the sticker onto the wall. Remove the transfer tape slowly at a sharp angle. Check for any air bubbles and smooth them out gently.
Tips For Longevity
Ensuring your vinyl wall stickers last a long time enhances your home decor investment. Proper care and smart handling keep stickers looking fresh and vibrant. Follow simple tips to maintain their quality and avoid damage.
Cleaning And Maintenance
Clean stickers gently with a soft, damp cloth to remove dust and dirt. Avoid abrasive cleaners or scrubbing, which can damage the vinyl surface. Use mild soap and water for tougher spots. Keep walls dry to prevent peeling or bubbling.
Avoiding Common Mistakes
- Do not apply stickers on textured or dirty walls.
- Avoid touching the adhesive side to maintain stickiness.
- Do not expose stickers to direct sunlight for long periods.
- Apply stickers in a room with stable temperature and humidity.
- Do not stretch or pull the vinyl during application.
Removing Stickers Safely
Peel stickers off slowly at a 45-degree angle to prevent wall damage. Warm the sticker with a hairdryer to soften the adhesive. Use gentle adhesive removers or soapy water to clear leftover residue. Avoid sharp tools that can scratch the wall.
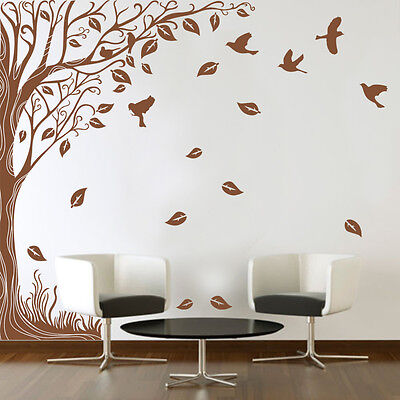
Credit: www.ebay.ca
Frequently Asked Questions
How Do I Choose Vinyl For Wall Stickers?
Select adhesive vinyl designed for walls. It should be removable, durable, and easy to cut. Matte finish works best to avoid glare and improve appearance. Avoid permanent or outdoor vinyl to prevent wall damage.
What Tools Are Needed To Make Vinyl Wall Stickers?
You need a vinyl cutter or craft knife, cutting mat, transfer tape, and weeding tools. A printer can help for designing. These tools ensure precise cuts and easy application of your stickers.
Can I Use Homemade Wall Stickers On Painted Walls?
Yes, vinyl stickers work well on clean, smooth, painted walls. Avoid textured or rough surfaces. Clean the wall with mild soap and water before application for better adhesion and longevity.
How Do I Apply Vinyl Wall Stickers Smoothly?
Peel the backing carefully and use transfer tape to position. Apply from one side slowly, smoothing with a squeegee or credit card. This avoids air bubbles and ensures even sticking.
Conclusion
Making vinyl wall stickers at home is fun and simple. You need just a few tools and materials. Cut your design carefully for the best look. Peel and stick the vinyl slowly to avoid bubbles. Personalize any room with your unique stickers.
Practice makes perfect, so try different shapes and colors. Enjoy creating your own wall art without spending much. This DIY project adds charm to your space easily. Keep experimenting to find your favorite styles and ideas. Your walls will thank you for the fresh, creative touch.


