
Looking for a simple way to add style and comfort to your living space? Making a round pouf seat is easier than you think, and it’s a perfect project for anyone who loves DIY.
Imagine having a cozy, handmade pouf that matches your decor and gives you extra seating whenever you need it. In this guide, you’ll discover step-by-step how to create your own pouf seat with materials you can find easily. Ready to transform your room and impress your friends with your craft skills?
Let’s get started!

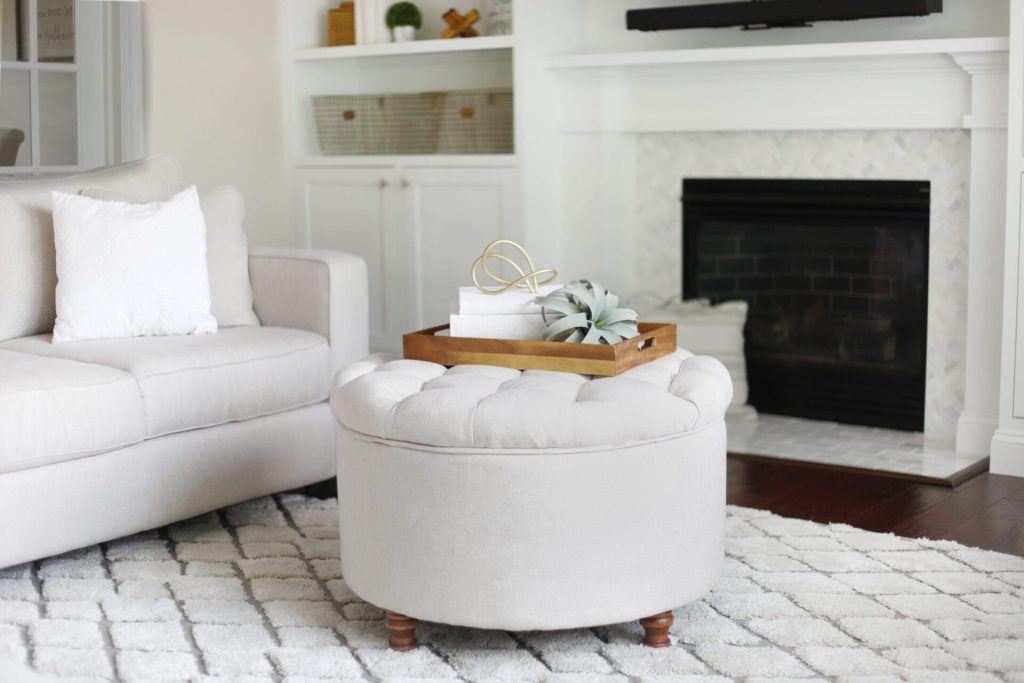
Credit: yarnandchai.com
Materials Needed
Gathering the right materials sets the foundation for your round pouf seat project. Choosing quality supplies will make your pouf comfortable and durable. Let’s look at what you need to get started and how each choice impacts the final product.
Fabric Selection
Pick a fabric that matches your style and stands up to wear. Thick cotton, canvas, or upholstery fabric works well because they’re strong and easy to clean. Think about the room where your pouf will live—will it face heavy use or occasional lounging?
Consider colors and patterns that complement your decor. If you want a cozy feel, a soft velvet or faux leather adds a nice touch. Have you checked how the fabric feels to the touch? Texture can make a big difference in comfort.
Filling Options
The filling determines how your pouf holds shape and how comfy it is to sit on. Common choices include polyester fiberfill, foam beads, or recycled foam pieces. Each has a different bounce and firmness, so decide what suits your comfort needs.
Polyester fiberfill is soft and fluffy but may compress over time. Foam beads allow better shape retention and support. Would you prefer a pouf that feels like a cushion or one that keeps its form like a small ottoman?
Tools Required
Having the right tools makes the project smoother and faster. You’ll need a sewing machine for sturdy seams, sharp fabric scissors for precise cuts, and a measuring tape to keep everything accurate. Don’t forget pins or clips to hold fabric in place while sewing.
A fabric marker or chalk helps outline your pattern cleanly. Optional tools like a zipper foot can be handy if you want a removable cover. Have you gathered these tools yet, or are you ready to improvise with what’s on hand?
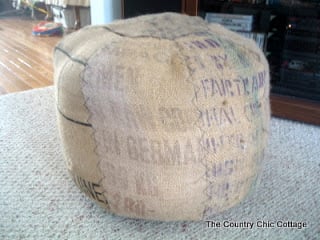
Credit: www.thecountrychiccottage.net
Choosing The Right Size
Choosing the right size for your round pouf seat is key to making it both comfortable and visually appealing in your space. Too big, and it might overwhelm the room; too small, and it won’t serve its purpose well. Knowing how to measure and adjust the dimensions will help you create a pouf that fits perfectly where you want it.
Measuring Dimensions
Start by measuring the area where you plan to place your pouf. Take note of the available floor space and any surrounding furniture to avoid crowding. Use a tape measure to get the diameter you want, keeping in mind that most poufs range between 16 to 24 inches across.
Think about how many people will use the pouf. Will it be a solo seat or a footrest for multiple guests? This affects the diameter choice. Also, consider the ease of moving it around. A pouf that’s too large can be heavy and cumbersome.
Adjusting Height And Diameter
The height of your pouf should complement nearby furniture. For example, if you want it to double as extra seating at a low table, match the pouf height to the table’s height or slightly lower. Typically, a height of 12 to 18 inches works well for most settings.
Don’t hesitate to tweak the diameter if you need a taller pouf, as a larger base will provide better stability. You can also experiment by sketching or cutting a cardboard template to visualize the size before cutting fabric or stuffing material. This hands-on step can save you from surprises later.
Have you ever bought furniture that looked right online but felt off in your room? Taking the time to measure and adjust will save you that hassle and make your pouf a seamless part of your home.
Cutting The Fabric
Cutting the fabric is a key part of making a round pouf seat. It sets the shape and size for your project. Precision matters here. Careful cutting makes sewing easier and the final pouf look neat. Use sharp scissors and a clean surface to work on. Measure twice, cut once.
Creating A Pattern
Start by making a pattern for your fabric pieces. Use paper or cardboard to draw the shapes. The top and bottom need perfect circles. The side panel is a long rectangle that wraps around the circles. Add an extra half inch for seam allowance on all edges. This helps when sewing the pieces together.
Cutting Circles And Side Panel
Lay the fabric flat and smooth out wrinkles. Pin the pattern onto the fabric to hold it in place. Cut around the pattern carefully with sharp scissors. For the circles, cut two identical pieces. Cut one long rectangle for the side panel. Check the pieces against each other to confirm the size matches. Keep fabric scraps for any small adjustments later.
Sewing The Pouf
Sewing the pouf is a crucial step in creating a stylish seat. It involves precise stitching and careful attention to detail. This process requires patience and a steady hand. Let’s explore the essential steps to sew the pouf effectively.
Assembling The Panels
Begin with cutting the fabric into equal panels. Typically, a round pouf needs six panels. Ensure each panel is identical in size and shape. Align the panels with the right sides facing each other. Pin them together carefully. This ensures stability during sewing.
Use a sewing machine to stitch the panels. Maintain a consistent seam allowance for a neat finish. Once stitched, press the seams open. This helps to flatten the fabric and gives a smooth appearance. Repeat the process for all panels. Form a circular shape by joining the last panel.
Adding A Zipper Or Closure
A zipper or closure is essential for easy stuffing. Choose a zipper that matches your fabric’s color. Attach the zipper along the seam of one panel. Ensure it aligns correctly for a seamless look.
Pin the zipper in place to avoid shifting. Use a zipper foot on your sewing machine for precise stitching. Sew along the edges of the zipper carefully. For a professional finish, ensure the zipper is smooth and flat.
If you prefer, use a Velcro closure. It’s simple and effective. Attach the Velcro strips securely on the inside of the opening. Ensure it aligns perfectly to close the pouf snugly.
Filling The Pouf
Filling your round pouf seat correctly is essential for comfort and durability. The right filling not only shapes your pouf but also affects how it feels when you sit or rest your feet on it. Let’s look at how to choose the best filling and stuff your pouf for a perfect finish.
Choosing The Right Filling
Think about how you plan to use your pouf. If it’s mainly for sitting, you want a filling that offers firm support but still feels soft. For a footrest or decorative piece, lighter fillings can work well.
Common options include:
- Polyester fiberfill:Affordable and soft, but may flatten over time.
- Foam pieces:Provide firm support and keep shape longer.
- Old clothes or fabric scraps:Great for recycling, but can be uneven and less durable.
- Bean bag pellets:Offer flexibility and a unique feel but may shift inside the pouf.
Consider your budget and how often the pouf will be used. Have you ever sat on a pouf that felt too squishy or too hard? Choosing the right filling helps avoid that discomfort.
Stuffing Techniques
How you stuff your pouf affects its final look and comfort. Start by filling the bottom half firmly to create a stable base. This keeps the pouf from collapsing when you sit down.
Next, add filling gradually to the sides and top. Use your hands to press and shape the filling evenly. Avoid overstuffing, which can make the pouf too rigid and uncomfortable.
Here are some tips to keep in mind:
- Stuff in small amounts, then test the firmness by pressing the pouf.
- Adjust filling by removing or adding as needed to reach your comfort level.
- Use a stick or long tool to push filling into hard-to-reach spots.
Stuffing your pouf is a bit like sculpting—you want it just right. What shape and firmness do you imagine for your perfect pouf seat?

Credit: yarnandchai.com
Finishing Touches
Finishing touches give your round pouf seat its final charm and ensure it lasts through everyday use. This phase is about securing everything neatly and adding personality that makes your pouf uniquely yours. Paying attention to these last details can transform a simple project into a stylish and functional piece.
Securing The Closure
How you close your pouf affects both its durability and appearance. Using a sturdy zipper is a smart choice because it allows you to remove the cover for washing.
If you prefer a more handmade look, consider strong buttons or fabric ties. Make sure they’re sewn tightly to avoid loosening over time.
Test the closure by gently tugging on it. Does it hold firm without strain? If not, reinforce the stitches or try a different closure method.
Adding Decorative Elements
Adding decorations lets your personality shine through your pouf. Think about using contrasting fabrics for the top and sides to create visual interest.
Try sewing on appliques, patches, or embroidered motifs to add texture and style. These small touches can make your pouf a real conversation piece.
Don’t overlook practical additions like handles or non-slip pads underneath. They improve usability without compromising on style.
Care And Maintenance
Proper care and maintenance keep your round pouf seat looking fresh and lasting longer. Regular upkeep stops dirt buildup and wear. Small fixes prevent big damage, saving time and money.
Follow simple steps to clean and repair your pouf. These tips ensure your handmade piece stays comfy and stylish.
Cleaning Tips
- Vacuum your pouf regularly to remove dust and dirt.
- Spot clean stains with mild soap and water using a soft cloth.
- Avoid harsh chemicals that can damage fabric or color.
- Let the pouf air dry completely after cleaning to prevent mold.
- Use fabric protectors suitable for your pouf’s material to repel stains.
Repairing Common Issues
- Fix small tears quickly with a needle and matching thread.
- Replace or tighten loose stuffing to keep shape and comfort.
- Check seams for wear and reinforce them with stitching if needed.
- Repair zippers or buttons promptly to avoid further damage.
- Use fabric glue for quick fixes on minor frays or holes.
Frequently Asked Questions
What Materials Are Needed To Make A Round Pouf Seat?
You need fabric, stuffing (like foam or polyester fiberfill), thread, a sewing machine, scissors, and a zipper. These materials help create a durable and comfortable pouf seat.
How Long Does It Take To Make A Round Pouf Seat?
Making a round pouf seat usually takes 2 to 4 hours. The time varies based on your sewing skills and design complexity.
Can I Customize The Size Of My Round Pouf Seat?
Yes, you can customize the size by adjusting fabric measurements and stuffing amount. This flexibility allows you to fit any space perfectly.
Is Sewing Experience Required To Make A Round Pouf Seat?
Basic sewing skills are helpful but not mandatory. Clear instructions and simple patterns make this project suitable for beginners.
Conclusion
Making a round pouf seat is easier than it seems. You only need a few materials and simple steps. This project adds comfort and style to any room. Plus, you can choose colors and fabrics you like. Try this DIY to create a cozy spot in your home.
Enjoy the process and your new handmade pouf. It’s a fun way to decorate and relax. Give it a try today!


