
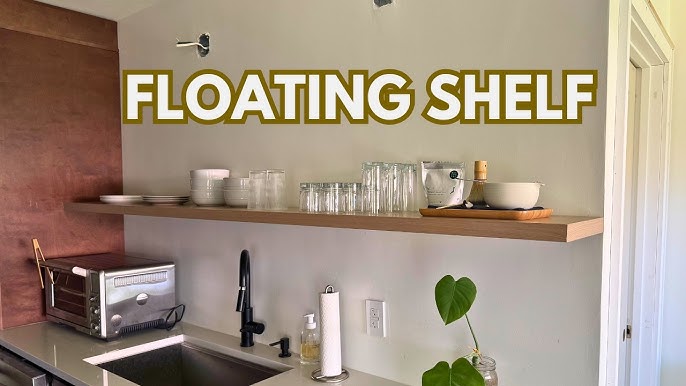
Are you looking for a simple way to add style and storage to your space? Making your own floating shelves is easier than you think.
Imagine having sleek, modern shelves that seem to hover on your wall, holding your favorite books, plants, or decorations. With just a few tools and some basic steps, you can create custom shelves that fit perfectly in your home. Keep reading, and you’ll discover how to transform your walls and impress everyone with your DIY skills.
Your perfect floating shelves are just a few steps away!
Credit: crystelmontenegrohome.com
Materials Needed
Gathering the right materials is key to building sturdy floating shelves. Using quality supplies ensures your shelves hold weight and look great. This section lists everything needed for a smooth project.
Wood Selection
Choose wood that fits your style and shelf use. Popular options include pine, oak, and plywood. Pine is soft and easy to work with. Oak is hard and durable. Plywood offers strength and resists warping. Pick wood with smooth surfaces and few knots for a clean finish. Decide on shelf thickness based on the weight you plan to hold. Thicker wood supports heavier items.
Tools Required
- Measuring tape for accurate dimensions
- Level to ensure shelves are straight
- Drill with drill bits for making holes
- Screwdriver or electric driver for screws
- Saw to cut wood to size
- Sandpaper or sander to smooth edges
- Stud finder to locate wall studs
Additional Supplies
- Wall anchors or brackets for secure mounting
- Screws suitable for both wood and wall type
- Wood glue for extra strength
- Wood stain or paint for finishing
- Paintbrush or cloth for applying finish
- Protective gear like gloves and safety glasses
Choosing The Right Location
Choosing the right location for your floating shelves is key to both function and style. The spot you pick affects how much weight your shelves can hold and how they look in your space. Consider the wall material, height, and stud placement before starting your project. This ensures your shelves stay safe and look great.
Wall Type Considerations
Different walls support shelves differently. Drywall needs anchors or studs for strong support. Brick or concrete walls require special drills and anchors. Knowing your wall type helps pick the right tools and materials. Avoid hanging shelves on weak or damaged areas to prevent accidents.
Height And Spacing
Place shelves at a comfortable height for easy reach. Think about what you will put on the shelves. Leave enough space between shelves for tall or bulky items. Keep balance in mind to create a clean, organized look. Avoid placing shelves too high or too low on the wall.
Stud Finding Tips
Studs provide the best support for floating shelves. Use a stud finder for accuracy. Tap the wall gently to listen for solid areas. Look for electrical outlets or switches, as they usually attach to studs. Mark stud locations clearly before drilling holes.
Cutting And Preparing Wood
Choose wood that fits your space and style. Measure and mark carefully before cutting to ensure straight, even shelves. Sand edges smooth for a clean, finished look.
Creating floating shelves is an exciting DIY project that can enhance any room in your home. A crucial step in this process is cutting and preparing the wood. This part of the project lays the foundation for your shelves’ final look and durability. Let’s delve into the essential steps you need to take to ensure your wood is ready for action.Measuring And Marking
Before you make any cuts, accurate measurements are essential. Use a tape measure to determine the desired length and width of your shelves. Mark your measurements clearly with a pencil to ensure precision. Double-checking your marks can save you from making costly mistakes. Have you ever cut a piece of wood only to find it too short? Avoid this by measuring twice, cutting once.Cutting Techniques
Now that your measurements are in place, it’s time to cut the wood. A circular saw is a popular choice for clean, straight cuts. Ensure your saw blade is sharp for the best results. If you’re not confident in your cutting skills, practice on a scrap piece of wood. Remember, safety first: always wear protective eyewear and gloves while cutting.Sanding And Finishing
Once cut, the wood edges might be rough. Sanding smooths out these edges and prevents splinters. Start with coarse-grit sandpaper and gradually move to finer grits for a polished finish. After sanding, consider applying a finish or stain to enhance the wood’s appearance and protect it from moisture. Which finish will best complement your room’s decor? A natural stain can highlight the wood’s grain, offering an earthy, warm look to your shelves. By following these steps, your floating shelves will not only be sturdy but also visually appealing. Each stage of preparing your wood plays a vital role in the success of your DIY project. So, roll up your sleeves, grab your tools, and get ready to transform your space.
Credit: www.projectallendesigns.com
Building The Shelf Brackets
Building the shelf brackets is a crucial part of creating sturdy and attractive floating shelves. These brackets hold the weight of the shelf and everything you place on it, so getting the design and assembly right matters a lot. Let’s look at different ways to design brackets, how to put them together, and how to make sure they stay strong over time.
Bracket Design Options
You can choose from several bracket styles depending on your tools and skills. The most common is the hidden bracket, which slides into the shelf and mounts invisibly on the wall. This design gives a clean, modern look without visible hardware.
Another option is an L-shaped metal bracket that supports the shelf from underneath. This style is easier to build and install but is visible and can add an industrial touch to your space.
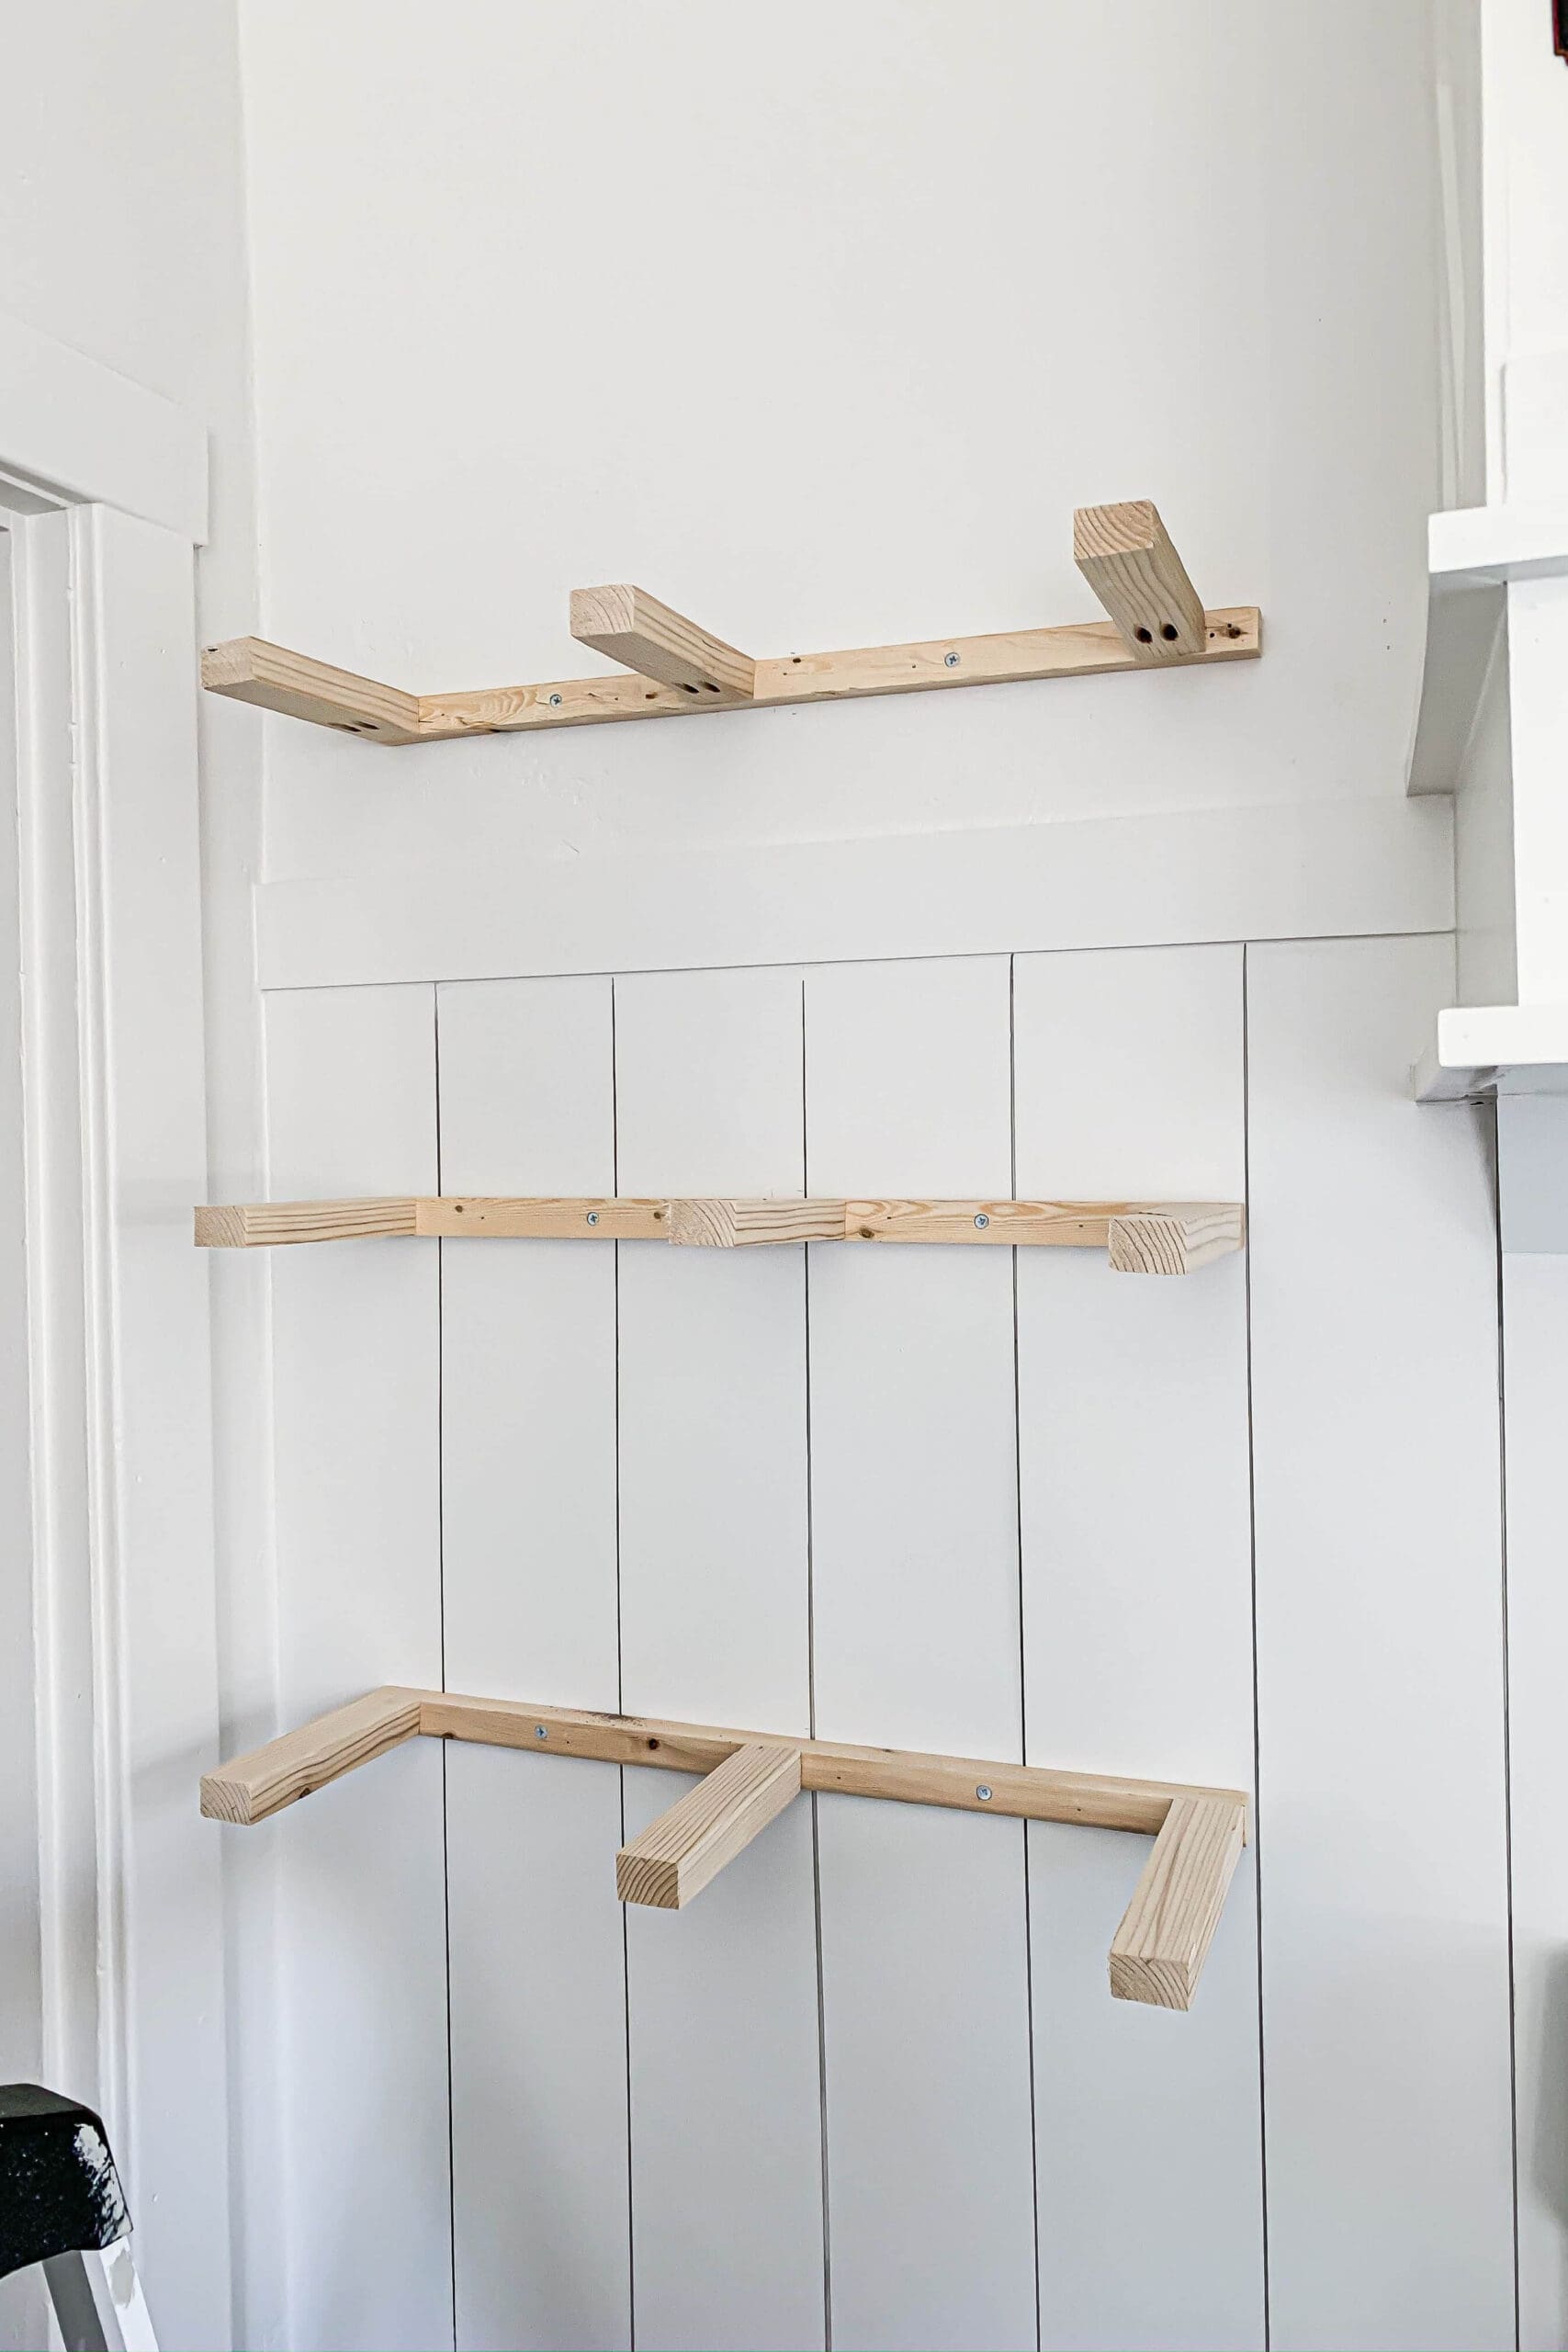
Wooden cleats are a simple design too. These are strips of wood attached to the wall, and the shelf sits on top. They’re quick to make and strong, but the cleats will show unless you fit the shelf tightly around them.
Assembly Steps
- Start by cutting your bracket pieces to the right size. If you’re making hidden brackets, the depth needs to match the shelf thickness closely.
- Drill pilot holes before screwing pieces together. This prevents the wood from splitting and ensures a tight fit.
- Use wood glue between joints for extra strength, especially if the bracket will hold heavy items.
- Sand down all edges to avoid splinters and to get a smooth finish for painting or staining.
When I built my first floating shelves, I realized pilot holes made a huge difference. Without them, screws often pushed the wood apart. That small step saved me time and frustration.
Ensuring Stability
Stability depends on both bracket strength and how well it’s attached to the wall. Use heavy-duty wall anchors or screw directly into studs whenever possible. Drywall anchors alone might not hold up under weight.
Check the bracket’s fit inside the shelf. It should be snug but not so tight that the wood cracks. If the shelf wobbles, try adding small shims or tightening screws.
Finally, test your shelf by gradually adding weight. Start light, then increase to what you expect to store. If the shelf stays firm, you’ve done it right.
Have you ever installed a shelf that felt secure at first but loosened over time? What steps did you take to fix it? Thinking about these details now can save you from those headaches later.
Installing The Shelves
Installing floating shelves properly ensures they hold weight and look sleek on your wall. Pay attention to each step to avoid common mistakes like crooked shelves or weak support. Getting this right boosts both the function and style of your space.
Marking Wall Points
Start by deciding exactly where your shelves will go. Use a level to draw a straight, light pencil line where the shelf’s bottom will sit. This helps keep your shelves perfectly horizontal, which is crucial for that clean floating look.
Next, hold the mounting brackets against the wall along that line. Mark the screw holes with a pencil. Double-check measurements and spacing before drilling—once holes are made, they’re hard to fix.
Drilling And Anchoring
Drill pilot holes at the marks you made. Choose a drill bit size that matches your wall anchors for a snug fit. If you hit a stud, use wood screws directly for stronger support.
Insert wall anchors into the drilled holes if you’re mounting on drywall without studs. They spread the weight evenly and prevent shelves from pulling out. Don’t skip this step—it’s what keeps your shelves secure over time.
Mounting The Shelves
Slide the floating shelf onto the brackets or screws carefully. Test the fit before fully tightening any screws to make sure everything aligns perfectly. Adjust if needed, because a small tilt can ruin the effect.
Once satisfied, tighten all screws firmly but avoid overtightening, which could crack the shelf or damage the wall. Step back and admire your work—does it feel solid? If yes, you’re ready to style your new floating shelves with your favorite items.
Finishing Touches
Finishing touches transform plain floating shelves into stylish decor pieces. These final steps enhance durability and appearance. Simple efforts bring out your shelf’s full potential. Let’s explore ways to polish your project.
Painting And Staining
Choose paint or stain that suits your room’s style. Use smooth, even coats for a neat look. Light sanding between coats improves finish quality. Stains highlight wood grain and add warmth. Paint offers bold colors and protection. Always apply a clear sealant to protect surfaces from damage.
Adding Decorative Elements
Decorative touches make shelves unique and inviting. Consider:
- Metal brackets for an industrial feel
- Wood trim to frame the edges
- Stencil patterns for artistic flair
- LED strip lights for subtle illumination
Small details can change the entire look. Match decorations with your room’s theme for harmony.
Maintenance Tips
Keep shelves looking fresh with regular care. Dust shelves weekly with a soft cloth. Avoid harsh chemicals that damage finishes. Tighten screws and brackets every few months. Check for signs of wear or water damage. Early care prevents costly repairs later.

Credit: www.create-enjoy.com
Frequently Asked Questions
What Materials Do I Need For Floating Shelves?
You need wood boards, a drill, screws, wall anchors, a level, a stud finder, and sandpaper. Choose sturdy wood for durability and proper wall anchors for secure mounting.
How Do I Find Studs For Mounting Shelves?
Use a stud finder to locate wooden studs behind drywall. Mark the stud positions with a pencil. Mounting shelves into studs ensures strong support and prevents damage.
How Much Weight Can Floating Shelves Hold?
Weight capacity depends on wood type, bracket strength, and wall anchors. Properly installed shelves can hold 20 to 50 pounds or more, depending on these factors.
Can I Paint Or Stain Floating Shelves?
Yes, painting or staining floating shelves enhances appearance and protects wood. Sand the surface first for better adhesion. Choose paint or stain that suits your décor style.
Conclusion
Making floating shelves at home is simple and fun. Choose the right materials and tools first. Measure carefully to fit your space perfectly. Follow each step to build strong, stable shelves. Paint or stain to match your style. Enjoy the extra space for books, plants, or decorations.
DIY shelves add charm and save money too. Try this project to improve any room easily. You will feel proud of your handy work. Give your home a fresh, neat look today.


