
Are you tired of dull, expensive desk lamps that don’t quite fit your style or needs? Imagine having a lamp that lights up your workspace perfectly, saves energy, and reflects your personal touch.
Making your own LED desk lamp is easier than you think—and it gives you full control over brightness, design, and comfort. In this guide, you’ll discover simple steps to build a lamp that’s just right for you. Ready to brighten your desk and boost your productivity?
Let’s get started!
Materials Needed
Gathering the right materials sets the foundation for building a functional and stylish LED desk lamp. The choices you make here influence not only the lamp’s look but also its brightness, power efficiency, and durability.
Before you start, think about where the lamp will sit and how you want it to perform. Are you aiming for a bright light for detailed work or a softer glow for ambiance? Your answers will guide the materials you pick.
Led Types And Options
LEDs come in various shapes, sizes, and color temperatures. You can choose from standard white LEDs, adjustable RGB LEDs for color changes, or even strip LEDs if you want a modern, flexible design.
Look for LEDs with a high lumen output if you need bright task lighting. If you want something easier on the eyes, consider warm white LEDs around 2700K to 3000K. Don’t forget to check the voltage and current ratings to match your power source.
Power Sources
Deciding on your power source early helps avoid compatibility issues. USB power adapters are convenient and common, perfect for desks near computers or outlets.
Battery packs offer portability but require occasional replacements or recharging. You could also use a direct plug-in power supply for consistent power but remember to match the voltage and polarity correctly.
Lamp Base And Frame
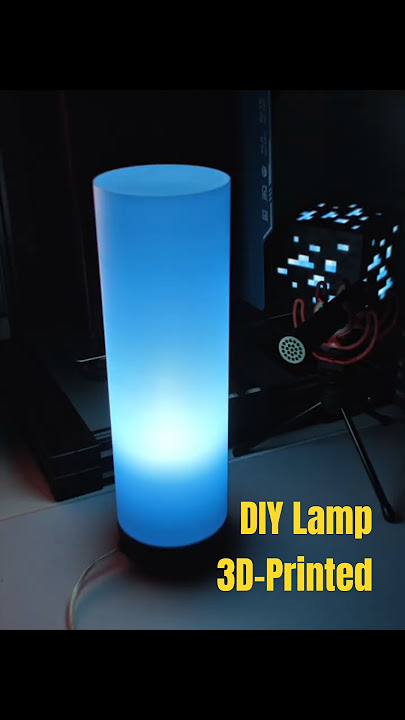
The base and frame hold everything together and impact how your lamp looks. You can use wood, metal, or even 3D-printed plastic parts depending on your tools and skills.
A sturdy base prevents tipping, so think about weight and stability. Adjustable arms or hinges add flexibility but need strong joints or screws to stay in place.
Tools Required
Having the right tools makes assembly easier and safer. Basic tools include a soldering iron, wire cutters, screwdrivers, and a drill.
Multimeters help check electrical connections before powering up. If you plan to work with wood or metal, clamps and sandpaper come in handy for precise fitting.
Do you have these tools ready, or will you need to borrow or buy some? Preparing your workspace to keep everything organized can save time and frustration.
Choosing The Right Led
Choosing the right LED is a key step in making your own desk lamp. The LED you select affects not just the light quality but also the energy use and how long your lamp will last. Understanding these factors helps you build a lamp that fits your needs perfectly.
Brightness And Color Temperature
Brightness is measured in lumens, and you want enough light to work or read comfortably without straining your eyes. A desk lamp typically needs between 400 to 800 lumens depending on your workspace size and tasks.
Color temperature, measured in Kelvins (K), determines the light’s warmth or coolness. Cooler light (around 5000K) mimics daylight and helps you stay alert, while warmer light (2700K-3000K) creates a cozy atmosphere.
Think about what you do at your desk. Are you crafting, studying, or relaxing? Your activities should guide your choice of brightness and color temperature.
Energy Efficiency
LEDs are known for low power consumption, but not all LEDs are equally efficient. Look for LEDs with high lumens per watt to get the most light for the least energy.
Energy-efficient LEDs reduce your electricity bill and generate less heat, which keeps your workspace comfortable.
Have you checked the energy rating when buying bulbs before? Applying that habit here can save you money in the long run.
Lifespan And Durability
A good LED should last for tens of thousands of hours. Check the manufacturer’s rated lifespan to avoid frequent replacements.
Durability matters, especially if your desk lamp might get bumped or moved often. Choose LEDs with solid build quality and good heat dissipation features.
Remember, a longer-lasting LED means less hassle and better value over time. Would you prefer replacing bulbs frequently or building a lamp that lasts?
Designing Your Lamp
Designing your own LED desk lamp is a creative process. It lets you tailor the lamp to fit your workspace perfectly. Thoughtful design improves both function and style. Consider size, flexibility, and look before building. These choices affect comfort and lighting quality.
Size And Shape Considerations
Choose a size that fits your desk space well. A lamp too large may clutter the area. Too small might not light enough. The shape affects how light spreads. A wider head lights a bigger area. A narrow beam focuses on one spot. Balance size and shape for your needs.
Adjustability Features
Adjustable parts help direct light exactly where needed. Swivel heads let you change angles easily. Extendable arms add reach and flexibility. Height adjustment adapts to different tasks. Think about how you work at your desk. Add features that improve comfort and usability.
Aesthetic Elements
The lamp should match your room’s style. Choose colors and materials that blend well. Simple designs fit many decors. Modern or vintage styles create different moods. Add small details like texture or patterns. These make your lamp unique and personal.
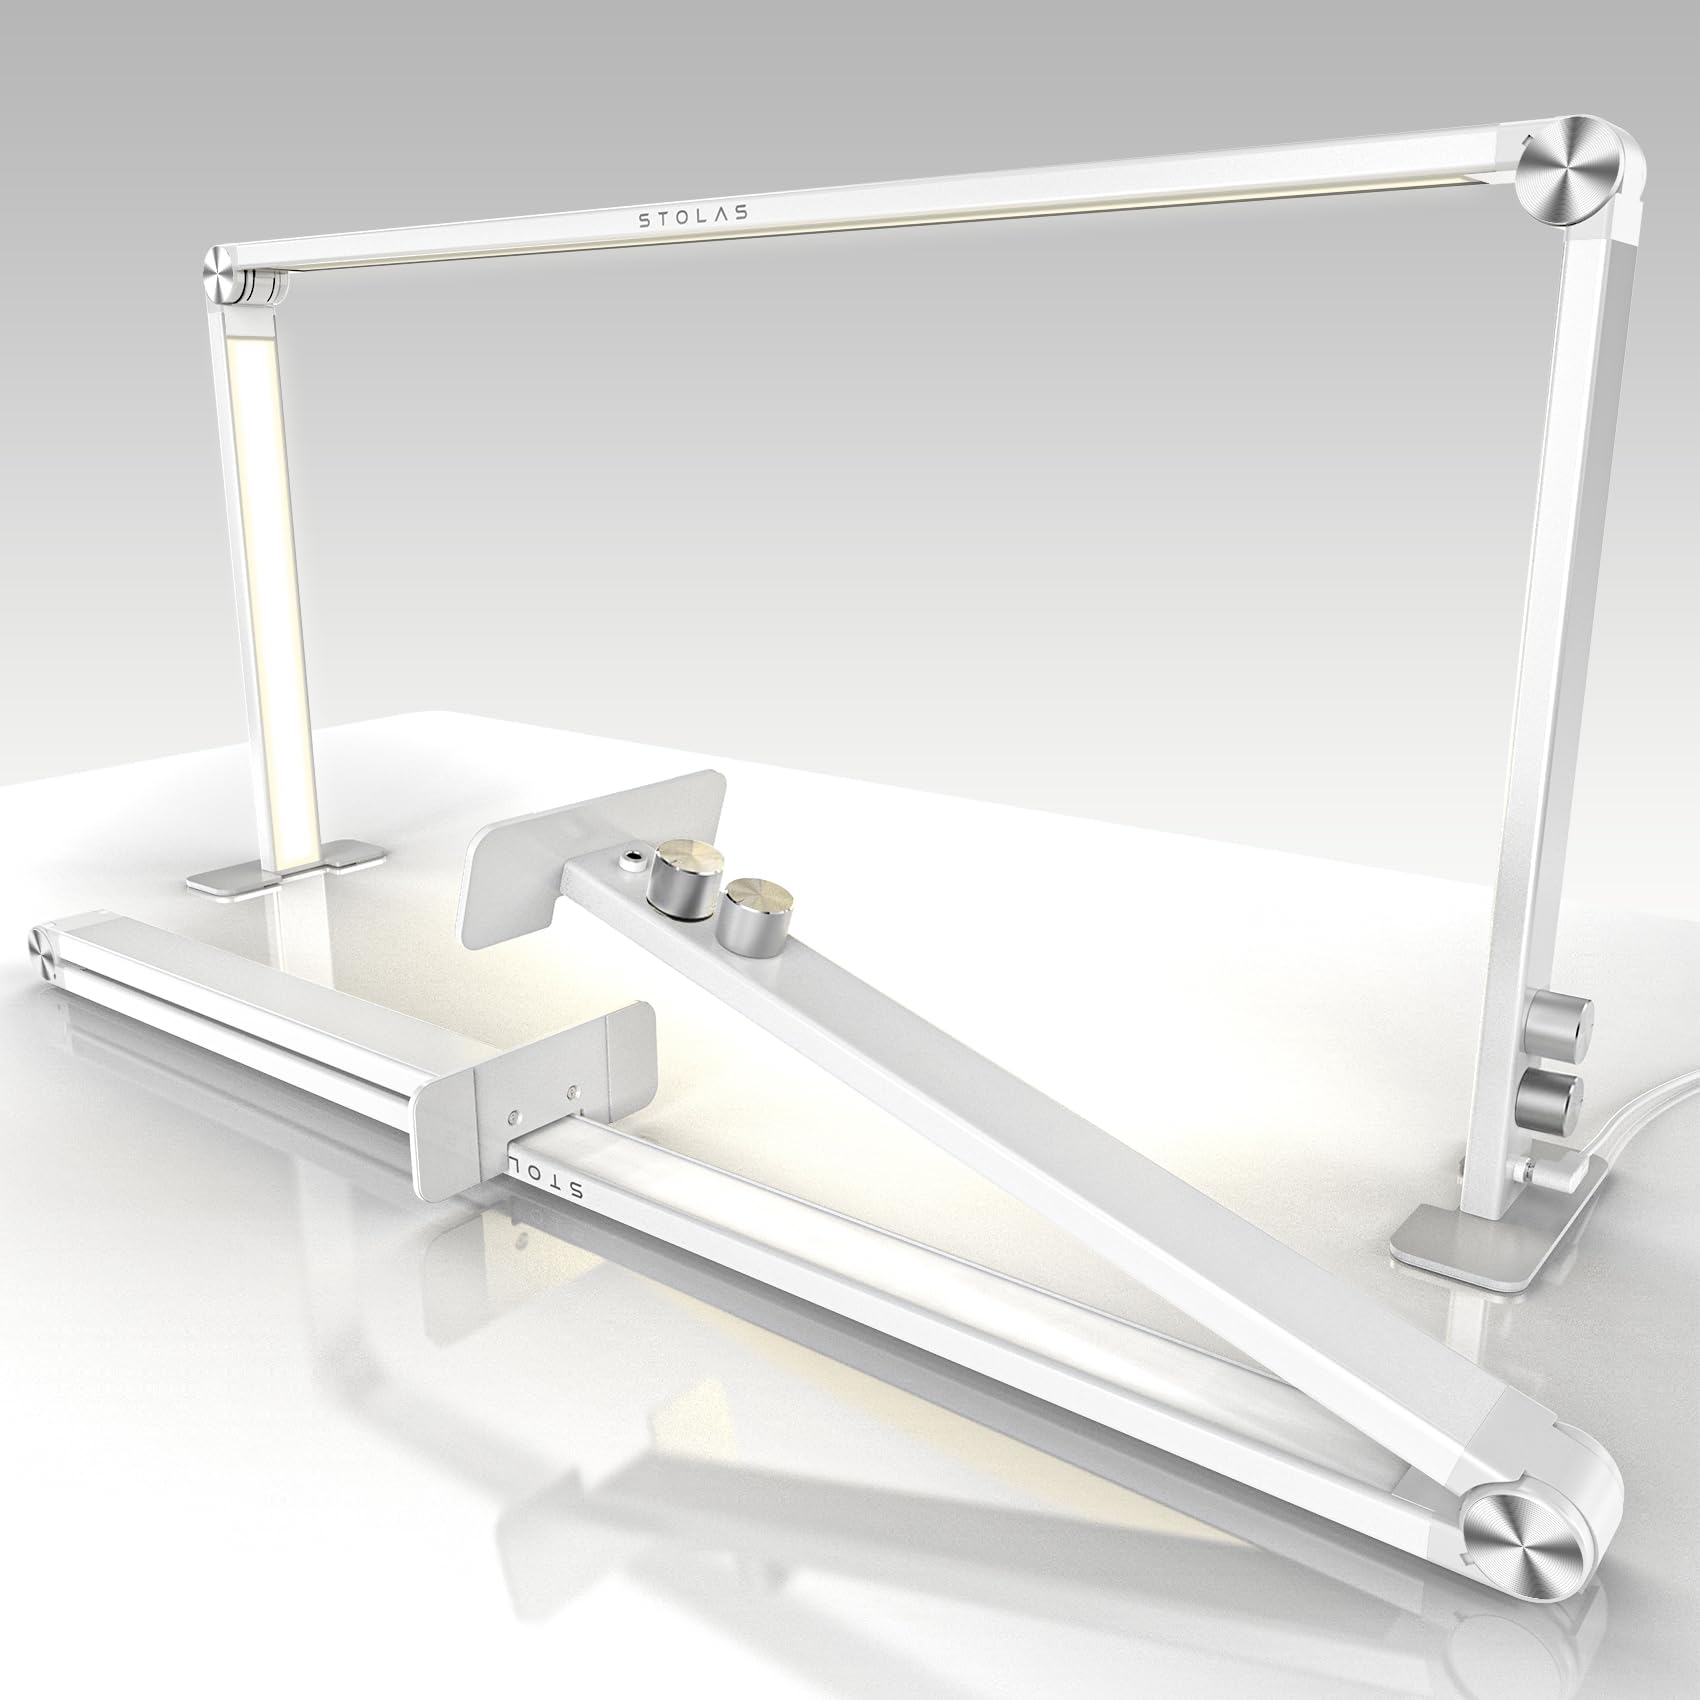
Credit: www.amazon.com
Assembling The Components
Assembling the components of your LED desk lamp is where your project truly starts to take shape. This phase involves carefully wiring the LEDs, connecting the power source, and securing the lamp structure to ensure it stands firm and functions well. Paying close attention here will save you time troubleshooting later and give you a lamp that’s both beautiful and reliable.
Wiring The Leds
Begin by arranging your LED strips or bulbs according to your lamp design. Make sure you identify the positive and negative terminals on each LED to avoid wiring mistakes. Use a soldering iron or connector clips to join wires securely—loose connections are a common cause of flickering lights.
Test each LED segment with a multimeter or a simple battery setup before final assembly. This quick check helps catch faulty LEDs early, saving frustration. Have you considered how the placement of LEDs affects the light spread on your desk? Adjust wiring lengths accordingly to avoid tangled messes inside the lamp body.
Connecting The Power Source
Your power source can be a USB cable, battery pack, or a direct plug-in adapter. Select one that matches your LED voltage and current requirements to prevent burnout. Strip the ends of the wires carefully and connect them to the LED wiring, paying attention to polarity—positive to positive, negative to negative.
Adding a switch between the power source and LEDs gives you easy control over your lamp. If you want dimming ability, consider integrating a compatible dimmer switch. Have you thought about safety? Always insulate connections with electrical tape or heat shrink tubing to avoid shorts.
Securing The Lamp Structure
With wiring complete, it’s time to put everything in its place. Use screws, glue, or clamps depending on your lamp’s materials—wood, metal, or plastic all require different approaches. Make sure wires are tucked neatly to prevent pinching or damage when assembling.
Balance is key; your lamp should stand steadily without wobbling. Test its stability on your desk before finalizing. What small adjustments can you make to improve both the look and feel of your lamp? Sometimes, repositioning parts by just a few millimeters can make a big difference.
Testing And Troubleshooting
Test your LED desk lamp by checking all connections and power supply. Troubleshoot by replacing faulty parts or adjusting wiring for proper function.
Once you’ve assembled your LED desk lamp, it’s time to make sure everything is working perfectly. Testing and troubleshooting are crucial steps to ensure your creation functions as intended. These steps will help you identify any issues and fine-tune the lamp’s performance, ensuring that your DIY project meets your expectations.Checking Electrical Connections
Begin by examining all electrical connections. Are the wires properly secured to the terminals? Loose connections can cause flickering or even failure to light up. Use a multimeter to check for continuity. This will help you verify that the current is flowing correctly through your circuit. If you find any inconsistencies, recheck your connections and soldering points.Adjusting Light Output
Is the light too dim or too bright for your needs? Adjusting the light output can make your lamp more suitable for various tasks. Consider using a dimmer switch if you haven’t already. This small addition can offer great flexibility in controlling brightness. Experiment with different resistor values if you’re familiar with electronics. This can help you find the perfect light intensity without needing additional components.Fixing Common Issues
Encounter a few hiccups? You’re not alone. If the lamp doesn’t turn on, double-check the power source. Is it plugged in, and is the outlet functioning? If the light flickers, it might be due to a poor connection or a faulty LED. Re-solder any shaky joints and replace any LEDs that appear damaged. Remember, patience and meticulousness are key. Have you tried turning it on in a different room to rule out power issues? Simple changes can sometimes solve the problem.Customizing Your Lamp
Customizing your LED desk lamp lets you create a light that fits your style and needs. Personal touches make your lamp stand out and work better for your space. Small changes can improve both look and function. Here are some ideas to personalize your lamp.
Adding Dimmers Or Switches
Include a dimmer switch to control brightness easily. Dimmers help set the perfect light for reading or working. You can also add a simple on/off switch for convenience. Choose switches that match your lamp’s design and wiring. This addition saves energy and extends LED life.
Decorative Finishes
Paint your lamp with colors that match your room. Use spray paint or brush-on paint for a smooth finish. Add patterns or stencils to make it unique. Wrap parts of the lamp with fabric or washi tape. Small decorations like stickers or decals can add charm too.
Enhancing Functionality
Add features like a USB charging port for your devices. Attach a flexible arm for better light direction. Use a clamp base to save desk space. Place a small tray or holder for pens and notes. These improvements make your lamp more useful daily.
Safety Tips
Working with electrical parts requires careful attention. Safety is the key to avoid accidents. Follow these tips to keep your DIY LED desk lamp project safe and successful.
Handling Electrical Components
Always disconnect power before touching wires or circuits. Use insulated tools to prevent electric shocks. Check all connections twice to avoid loose wires. Wear safety gloves to protect your hands. Keep components away from water and damp areas.
Preventing Overheating
Choose LED bulbs with the right wattage for your lamp. Use a heat sink or metal base to spread heat. Avoid enclosing the lamp in tight spaces without ventilation. Turn off the lamp when not in use to reduce heat build-up. Monitor the lamp during the first few hours of use.
Proper Usage Guidelines
- Place the lamp on a stable, flat surface.
- Do not cover the lamp with cloth or paper.
- Keep the lamp away from flammable materials.
- Use the correct power adapter as recommended.
- Regularly inspect the lamp for damage or wear.
Credit: www.amazon.com
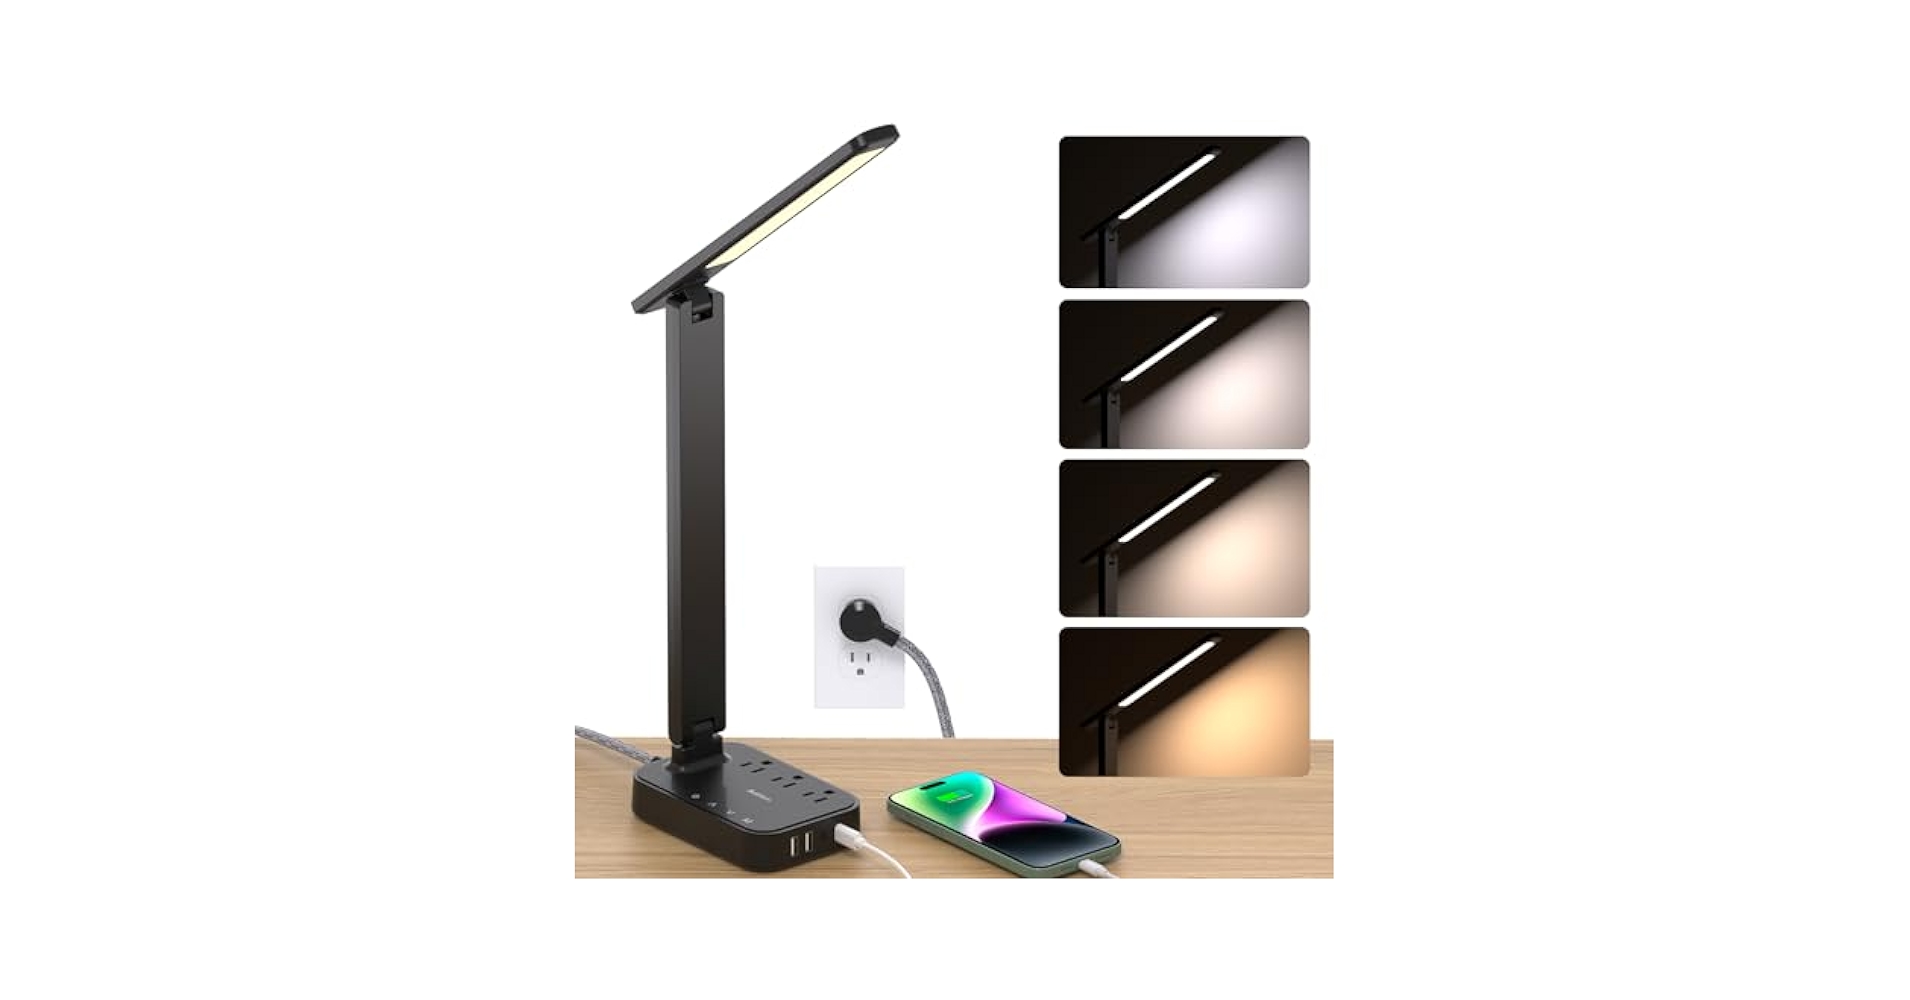
Credit: www.amazon.com
Frequently Asked Questions
What Materials Are Needed To Make A Led Desk Lamp?
You need LED bulbs, a lamp base, wiring, a switch, and a power source. Also, gather tools like a soldering iron and screwdriver. Quality materials ensure safety and durability for your DIY LED desk lamp.
How Do I Wire The Led Lamp Safely?
Connect LEDs to the power source using insulated wires. Use a resistor to prevent overcurrent. Always double-check connections and avoid exposed wires to ensure safety. Proper wiring prevents short circuits and extends the lamp’s lifespan.
Can I Customize The Brightness Of My Led Desk Lamp?
Yes, include a dimmer switch in your circuit. This allows you to adjust brightness levels easily. Customizing brightness improves comfort and energy efficiency while working or reading at your desk.
How Long Does It Take To Build A Diy Led Desk Lamp?
Building a LED desk lamp usually takes 2 to 4 hours. Time depends on your experience and the lamp’s complexity. Planning and gathering materials beforehand speeds up the process significantly.
Conclusion
Building your own LED desk lamp saves money and adds a personal touch. You control the brightness and style to fit your needs. It also helps you learn basic electronics and crafting skills. Enjoy better lighting while working or reading.
Start with simple materials and follow steps carefully. Soon, you’ll have a lamp that suits your space perfectly. Making your own lamp feels rewarding and fun. Give it a try and brighten your desk today!


