
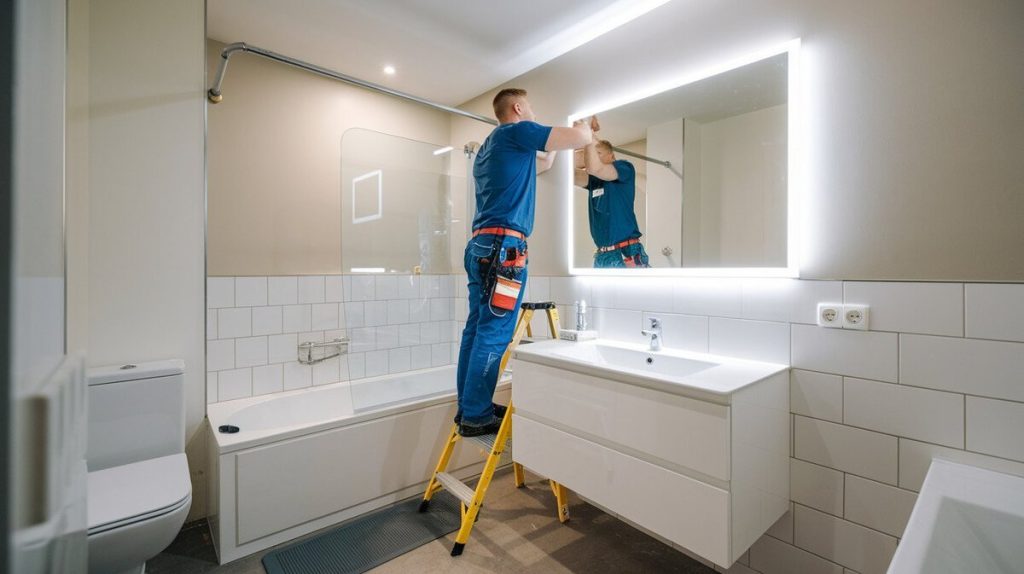
Are you ready to give your space a sleek, modern touch? Mounting a frameless mirror on your wall can instantly brighten up any room and make it look bigger.
But you might be wondering, “How do I do this without damaging the wall or the mirror? ” Don’t worry—you’re in the right place. In this guide, you’ll learn simple, step-by-step tips that anyone can follow. By the end, you’ll have the confidence to hang your frameless mirror perfectly and safely.
Let’s get started!
Credit: bfymirror.com
Choosing The Right Mirror
Choosing the right mirror sets the foundation for a successful installation. It affects the room’s style and the ease of mounting. Consider style, size, and wall type to find the perfect fit. This ensures safety and enhances the room’s look.
Selecting Frameless Designs
Frameless mirrors offer a clean, modern look. They reflect more light and create a spacious feel. Choose designs with smooth edges for safety. Shapes like rectangles and circles suit most rooms. Avoid sharp corners to prevent accidents.
Considering Mirror Size And Weight
Size affects both appearance and installation. Large mirrors make rooms look bigger but weigh more. Check the mirror’s weight before buying. Heavier mirrors need stronger support. Choose a size that fits the wall space well.
Checking Wall Compatibility
Not all walls can hold heavy mirrors. Drywall needs anchors or studs for support. Brick and concrete walls require special drills and anchors. Test the wall strength before mounting. Use the right tools for a secure hold.
Gathering Tools And Materials
Gather all necessary tools like a drill, level, measuring tape, and screws before starting. Choose materials suited for your wall type and mirror size. Preparing everything ahead makes the mounting process smooth and safe.
Mounting a frameless mirror on your wall can be a stylish upgrade for your home. But before you jump into the installation process, gathering the right tools and materials is crucial for a smooth experience. Ensuring you have everything on hand not only saves time but also minimizes frustration during the task.Essential Mounting Supplies
Start by collecting the essential mounting supplies you’ll need to securely attach your mirror. These include:- Mirror clips or adhesive strips:Depending on your wall type and mirror weight, choose between these two options.
- Measuring tape:To ensure precise placement, measure the wall and mirror dimensions carefully.
- Pencil:Mark your wall to help align the mirror accurately.
- Level:This tool is vital for making sure your mirror hangs straight.
- Drill and screws:If using mirror clips, a drill will be necessary to secure them to the wall.
Safety Equipment
Your safety is paramount, so don’t overlook safety equipment. Equip yourself with:- Protective gloves:Prevent injuries from sharp mirror edges.
- Safety goggles:Shield your eyes from dust and debris while drilling.
- Sturdy ladder or step stool:Ensure you can reach the desired height safely when mounting the mirror.
Optional Accessories
While not mandatory, optional accessories can enhance your installation process. Consider these:- Decorative frames:Add a frame to give your frameless mirror a chic look.
- Anti-tip kits:These provide extra security, especially in homes with pets or children.
- Mirror edge sealant:Protects against moisture, which can extend your mirror’s lifespan.
Preparing The Wall
Preparing the wall is a key step before mounting a frameless mirror. A clean, strong surface ensures the mirror stays secure. Proper preparation also helps avoid damage to the wall and the mirror itself. Follow these steps to get the wall ready for installation.
Cleaning Surface Area
Start by cleaning the wall where the mirror will hang. Use a mild detergent and water to remove dust and grease. Wipe the area with a clean cloth and let it dry completely. A clean surface helps adhesive or mounting hardware stick better.
Locating Studs Or Support
Find wall studs or other strong supports behind the drywall. Studs provide the best support for heavy mirrors. Use a stud finder to locate them accurately. Mark their positions lightly with a pencil. If no studs are available, use wall anchors suitable for your wall type.
Marking Mounting Points
Measure the mirror and decide where to place the mounting points. Transfer these measurements to the wall, aligning with the studs or anchors. Use a level to ensure the marks are straight. Double-check the marks before drilling or attaching hardware.
Choosing Mounting Methods
Choosing the right mounting method is essential for a frameless mirror. The choice depends on the mirror’s size, weight, and wall type. Some methods are simple and quick. Others offer more security and strength.
Consider the mirror’s weight and your skill level. Also, think about the tools you have and the wall surface. Each mounting method has pros and cons. Pick the one that fits your needs best.
Using Mirror Clips
Mirror clips are small metal or plastic brackets. They hold the mirror firmly against the wall. Clips attach to the wall with screws. The mirror fits snugly inside the clips.
This method works well for medium to large mirrors. It allows easy removal for cleaning or repositioning. Mirror clips are strong and cost-effective. They leave a small gap between the wall and mirror, giving a floating effect.
Applying Adhesive Strips
Adhesive strips offer a clean, no-drill option. They stick directly to the back of the mirror and the wall. This method suits lightweight mirrors and smooth wall surfaces.
Make sure the wall is clean and dry before applying. Press the mirror firmly to secure the bond. Adhesive strips are quick to install and leave no holes. They are not ideal for heavy mirrors or textured walls.
Installing French Cleats
French cleats provide strong support for heavy frameless mirrors. The system uses two interlocking wood or metal strips. One attaches to the wall, the other to the mirror back.
The mirror hangs securely by fitting the cleats together. This method allows easy removal and repositioning. French cleats distribute weight evenly, reducing wall damage. Installation requires precise measuring and sturdy tools.
Step-by-step Mounting Process
Mounting a frameless mirror on your wall might seem intimidating, but breaking it down into clear steps makes the process manageable. Each phase—from measuring to attaching—requires careful attention to detail. Taking your time here ensures your mirror stays secure and looks flawless.
Measuring And Aligning
Start by choosing the exact spot where your mirror will hang. Use a tape measure and level to mark the wall precisely. Make sure the marks are even; an off-center mirror can throw off the entire room’s balance.
Double-check your measurements before drilling. Think about the mirror’s height relative to furniture or eye level—does it feel right to you? If you’re unsure, hold the mirror up temporarily or use painter’s tape to visualize its position.
Securing Mounting Hardware
Select mounting hardware that matches your wall type and the mirror’s weight. Drywall anchors work well for hollow walls, while masonry anchors suit brick or concrete surfaces. Avoid cheap hardware; your mirror’s safety depends on it.
Mark the drill points using your initial measurements, then drill carefully to avoid damage. Insert anchors firmly and screw in brackets or hooks, making sure they sit flush against the wall. If possible, test their strength by gently pulling before hanging the mirror.
Attaching The Mirror Safely
Mirrors can be heavy and fragile, so handle them with care. It’s best to have a helper when lifting the mirror into place. Align the mirror’s mounting clips or brackets with the hardware on the wall.
Secure the mirror slowly, ensuring it fits snugly without forcing it. Check the final position with a level to confirm it’s perfectly straight. Have you considered wearing gloves? They protect both your hands and the mirror’s surface from smudges or scratches.
Finishing Touches
Finishing touches make your frameless mirror look polished and secure. These small steps ensure safety and keep your mirror clean. Take time to complete each task carefully for the best results.
Checking Stability
Gently press the mirror on different sides. Make sure it does not wobble or shift. Confirm that all mounting points hold firmly. A stable mirror stays safe and lasts longer.
Cleaning The Mirror Surface
Use a soft cloth and glass cleaner to wipe the mirror. Remove fingerprints, dust, and smudges carefully. Avoid abrasive materials that can scratch the glass. Clean mirrors reflect light better and look more attractive.
Adding Protective Pads
Place small rubber or felt pads behind the mirror corners. These pads prevent wall damage and reduce vibrations. Pads keep the mirror steady and protect your paint. They are simple but important for a neat finish.
Troubleshooting Common Issues
Troubleshooting common issues during frameless mirror installation saves time and frustration. Problems like uneven walls, heavy mirrors, and loose mounts often occur. Addressing these challenges ensures your mirror stays secure and looks great.
Dealing With Uneven Walls
Uneven walls cause gaps between the mirror and surface. Use a level to check the wall before mounting. Apply shims behind the mirror to fill spaces. Choose thin, sturdy materials like wooden or plastic shims. Press the mirror firmly against the wall to hold it in place. This creates a flush and stable fit.
Handling Heavy Mirrors
Heavy mirrors need strong support. Use wall anchors designed for heavy loads. Locate studs in the wall using a stud finder. Attach mounting brackets directly into studs for extra strength. Avoid using only drywall anchors for heavy mirrors. Spread the mirror’s weight evenly across multiple mounts. This prevents damage and keeps the mirror steady.
Fixing Loose Mounts
Loose mounts can cause the mirror to fall or tilt. Tighten screws regularly to maintain firmness. Replace stripped screws with larger or longer ones. Use wall plugs or anchors if screws do not hold well. Check mounting hardware for wear or damage. Secure mounts prevent accidents and improve mirror safety.

Credit: www.ebay.com

Credit: www.amazon.com
Frequently Asked Questions
How Do You Safely Mount A Frameless Mirror?
Clean the wall and mirror surface first. Use strong adhesive or mounting clips for support. Ensure the wall can hold the mirror’s weight. Measure precisely and use a level to avoid crooked placement.
What Tools Are Needed To Mount A Frameless Mirror?
You’ll need a drill, screws, wall anchors, a level, measuring tape, adhesive, and mounting clips. These tools help secure the mirror firmly and ensure proper alignment for a professional finish.
Can I Mount A Frameless Mirror On Drywall?
Yes, but use wall anchors to support the mirror’s weight. Drywall alone may not hold the mirror securely. Anchors prevent damage and ensure the mirror stays safely mounted.
How To Avoid Damage When Mounting A Frameless Mirror?
Handle the mirror carefully and avoid dropping it. Use proper mounting hardware and measure twice before drilling. Apply adhesive evenly and check for level alignment to prevent stress cracks.
Conclusion
Mounting a frameless mirror on your wall can be simple and safe. Follow the steps carefully and use the right tools. Check the mirror’s weight and wall type before starting. Take your time to measure and mark the spots correctly.
Secure the mirror firmly to avoid accidents. Enjoy the clean, modern look it adds to your space. With patience and care, your mirror will stay in place for years. Ready to brighten your room? Give it a try today.


