
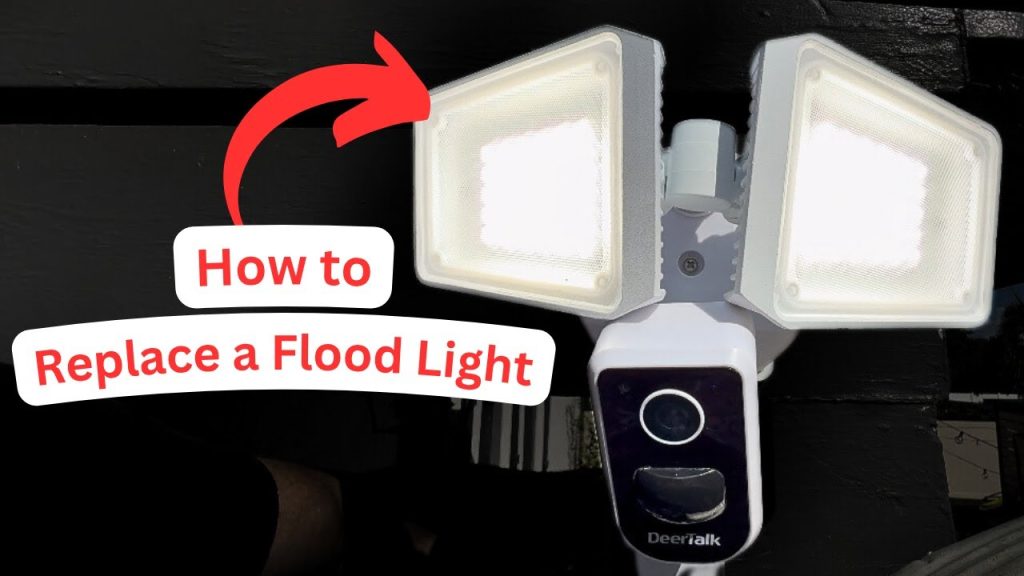
Are your outdoor motion sensor lights flickering, dim, or just not working anymore? Replacing them might seem tricky, but it’s easier than you think.
Imagine coming home to a well-lit porch that turns on automatically, keeping your family safe and saving energy. In this guide, you’ll learn simple steps to replace your outdoor motion sensor lights quickly and confidently—no special tools or skills needed.
Keep reading, and you’ll have your lights shining bright again in no time.
Credit: mrelectric.com
Tools And Materials Needed
Replacing outdoor motion sensor lights is easier when you have the right tools and materials at hand. Preparing everything beforehand saves time and avoids frustrating interruptions. Let’s look at what you need to get the job done smoothly.
Essential Tools
Start with a sturdy ladder to reach your existing light fixture safely. A screwdriver set, especially a flathead and a Phillips head, is crucial for removing and attaching screws.
Don’t forget wire strippers or a utility knife for handling electrical wires. A voltage tester is a must-have to ensure the power is off before you touch any wiring.
Other handy tools include electrical tape, wire nuts, and a drill if you need to mount a new bracket. Having these ready means you won’t have to stop midway to find something.
Choosing The Right Replacement Light
Look for a motion sensor light that matches your outdoor space’s size and style. Consider the sensor range and sensitivity—too wide, and it might trigger unnecessarily; too narrow, and it might miss movement.
Think about the light’s brightness measured in lumens. A brighter light improves security but can also cause glare if it’s too intense. LED lights are energy-efficient and last longer, making them a smart choice.
Check if the replacement is weatherproof and rated for outdoor use. Does the fixture’s design complement your home’s exterior? Choosing the right light can enhance both safety and curb appeal.
Safety Precautions
Replacing outdoor motion sensor lights can be straightforward, but safety must be your top priority. Electrical work outside exposes you to risks like electric shocks and falls. Taking the right precautions not only protects you but also ensures the job goes smoothly without unexpected setbacks.
Turning Off Power
Before you touch any wires or fixtures, make sure the power to the outdoor light is completely off. Locate your home’s circuit breaker panel and switch off the breaker controlling the light.
Double-check by trying to turn the light on after switching off the breaker. If the light stays off, you’re safe to proceed. Never assume the power is off without verifying—it’s a simple step that can prevent serious injury.
Using Protective Gear
Protective gear is essential when working with electrical components outdoors. Wear insulated gloves to guard against accidental shocks, especially if the fixture or wiring is damp from rain or dew.
Eye protection is also important. Small debris or insects can fall while you’re working on the fixture, and safety glasses will keep your eyes safe. Don’t overlook sturdy footwear to prevent slips on wet surfaces or uneven ground.
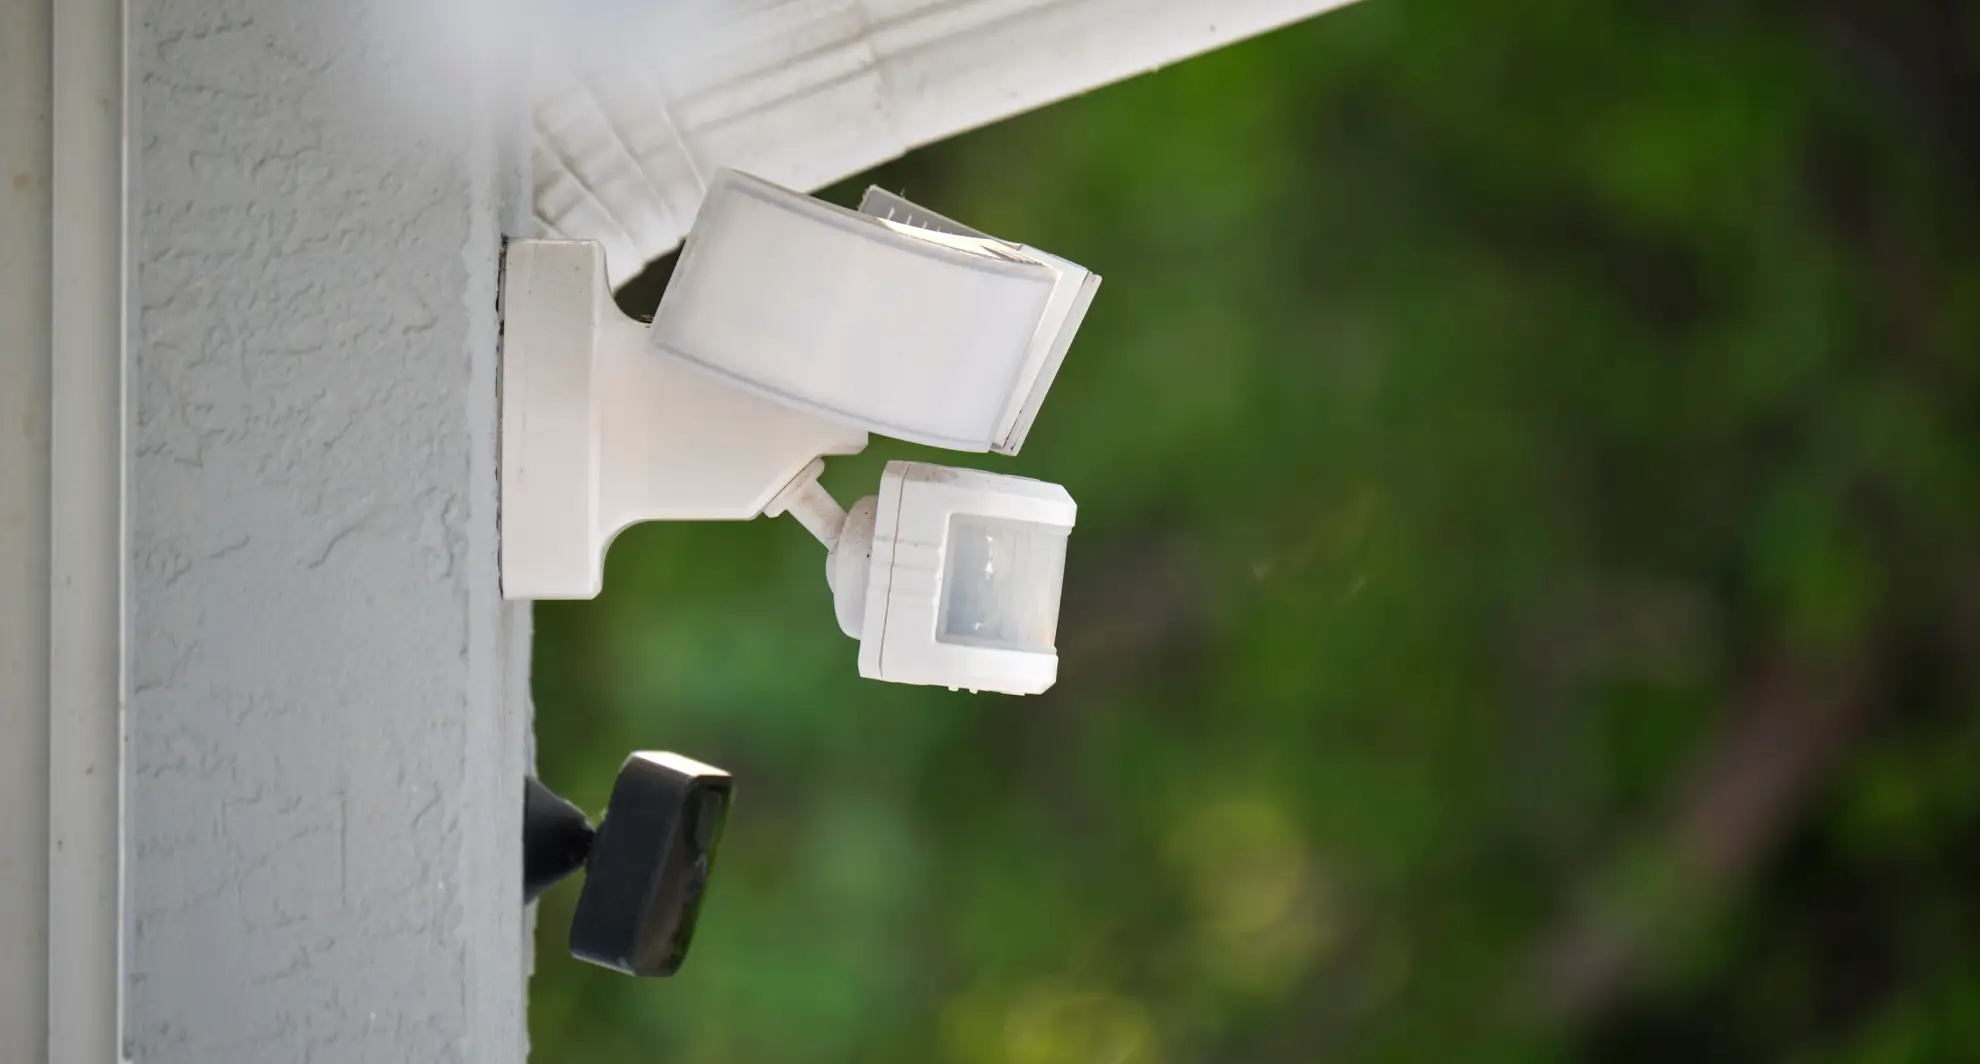
Removing The Old Sensor Light
Removing the old motion sensor light is the first step in upgrading your outdoor lighting. This process requires care to avoid electrical hazards and damage. Follow simple steps to safely disconnect and detach the fixture. Proper removal ensures a smooth installation of the new sensor light.
Disconnecting The Power
Turn off the power at the circuit breaker. This stops electricity flowing to the light. Use a voltage tester to check if power is off. Never skip this safety step.
Locate the wires connected to the sensor light. They usually include black (hot), white (neutral), and green or bare copper (ground). Unscrew wire nuts carefully. Separate the wires and set them aside.
Detaching The Fixture
Remove the screws holding the sensor light to the wall or mounting bracket. Keep the screws safe for reuse or replacement. Gently pull the fixture away from the wall to expose wiring and mounting base.
Check for any clips or brackets that may still hold the fixture. Release them carefully to avoid damage. Once free, place the old sensor light aside.

Credit: www.youtube.com
Installing The New Motion Sensor Light
Installing the new motion sensor light is a key step in improving your outdoor security and convenience. Proper installation ensures the sensor works accurately and the light stays secure in place. Focus on connecting the wires correctly and mounting the fixture firmly to avoid future issues.
Wiring The New Fixture
Turn off the power at the circuit breaker before starting any wiring work. Match the wires from the new fixture to the wires in your wall or junction box.
- Connect the black (live) wire to the black wire.
- Connect the white (neutral) wire to the white wire.
- Connect the green or bare copper wire (ground) to the ground wire or screw.
Use wire nuts to secure each connection. Wrap electrical tape around the wire nuts for extra safety. Carefully push the wires back into the electrical box without pinching them.
Mounting The Light
Align the new fixture’s mounting bracket with the holes on the wall or junction box. Use screws to attach the bracket tightly. Make sure the bracket is level to avoid a crooked light.
Attach the motion sensor light to the bracket according to the manufacturer’s instructions. Adjust the sensor angle for optimal coverage of your outdoor area. Test the light by turning the power back on and walking near the sensor.
Adjusting Sensor Settings
Adjusting the sensor settings is key for motion sensor lights to work well. Proper settings help the light detect motion accurately and avoid false triggers. Spend time fine-tuning the sensor to match your outdoor space needs. Two main settings to focus on are sensitivity and range, plus how long the light stays on.
Setting Sensitivity And Range
Sensitivity controls how easily the sensor detects motion. High sensitivity means the light reacts to small movements. Low sensitivity ignores minor motions, reducing false alarms. Find a balance to avoid constant switching on or missing real movement.
Range sets how far the sensor can “see.” Adjust it to cover your desired area without reaching too far. Too wide a range can cause the light to trigger from distant motion. Too narrow misses some activity.
- Test different sensitivity levels by walking in front of the sensor.
- Adjust range to cover entrances, pathways, or driveways.
- Use small turns on the sensor dial or buttons to make changes.
Configuring Light Duration
Light duration is how long the light stays on after detecting motion. This setting affects energy use and security. A short duration saves power but may turn off too soon. A longer duration gives more light but uses more energy.
Most sensors allow you to set the light to stay on from a few seconds to several minutes. Choose a time that fits your routine and safety needs.
- Set a short time for quick alerts or passing traffic.
- Choose longer time if you want light while working outside.
- Adjust the timer and test by triggering the sensor.

Credit: www.homezoneliving.com
Testing The New Light
Test the new outdoor motion sensor light by checking its motion detection and brightness. Make sure it turns on smoothly and stays lit for the set time. Adjust the sensor angle if needed for better coverage.
Testing the new motion sensor light is a crucial step to ensure your outdoor space is both safe and energy-efficient. Once you’ve installed the light, you want to make sure it’s functioning as expected. This process doesn’t just confirm the installation was successful, but it also helps you understand how sensitive and effective the sensor is.Checking Sensor Activation
Start by observing the sensor’s response to movement. Walk past the sensor at various distances to see when it activates. This helps you identify the sensor’s range and whether it suits your needs. Consider the sensitivity settings. Many sensors allow you to adjust how easily they trigger. Fine-tuning these settings can prevent false alarms, like those from passing cars or small animals. Observe the timing settings. Does the light stay on long enough for you to safely navigate the area? Adjust the duration if needed. This ensures the light is both practical and energy-efficient.Troubleshooting Common Issues
If the light doesn’t activate, check the power source first. Ensure the circuit breaker hasn’t tripped and all connections are secure. A loose wire or blown fuse could be the culprit. Look at the sensor’s angle. If it’s not pointing in the right direction, it might miss movements. Adjusting the angle can improve its performance dramatically. Finally, inspect the sensor for obstructions. Sometimes, dirt or debris can block its view. A quick clean with a damp cloth might be all it needs to function correctly. Have you ever noticed how a small tweak can make a big difference? Often, the simplest adjustments lead to the best results. Testing your new light ensures you’re prepared for whatever the night may bring.Maintenance Tips
Maintaining your outdoor motion sensor lights is key to keeping them functional and efficient. Simple care routines can prevent many common issues and extend the life of your lights. Let’s dive into practical tips that make a real difference.
Cleaning The Sensor
Dust, dirt, and spider webs can block the sensor’s view, causing your lights to miss motion or turn on unexpectedly. Use a soft cloth dampened with mild soapy water to gently wipe the sensor lens. Avoid harsh chemicals or abrasive materials that can damage the surface.
Check the sensor regularly, especially after storms or windy days, when debris can accumulate quickly. Have you ever noticed your lights acting strangely after a rainstorm? Cleaning often solves those mysterious glitches.
Regular Inspection
Take time every few months to inspect all parts of your motion sensor light. Look for cracked covers, loose wires, or corrosion around the connections. These issues can reduce sensitivity or cause complete failure.
Test the sensor by walking within its range and observing the light’s response. If it’s slow or inconsistent, it might be time to adjust the sensor’s angle or replace worn components. What if a quick inspection could save you from a costly replacement?
Frequently Asked Questions
How Do I Safely Replace Outdoor Motion Sensor Lights?
Turn off power at the breaker before starting. Remove the old fixture carefully. Connect the new light’s wires matching colors. Secure the fixture and restore power to test functionality.
What Tools Are Needed To Replace Motion Sensor Lights?
You will need a screwdriver, wire strippers, voltage tester, electrical tape, and a ladder. These tools help ensure a safe and efficient replacement process.
How Do I Adjust The Motion Sensor Sensitivity?
Locate the sensitivity dial on the sensor unit. Turn it clockwise to increase sensitivity or counterclockwise to decrease it. Test the sensor after adjustment for optimal performance.
Can I Replace Motion Sensor Lights Myself?
Yes, with basic electrical knowledge and safety precautions, you can replace them. Always turn off power and follow manufacturer instructions carefully to avoid hazards.
Conclusion
Replacing outdoor motion sensor lights can be simple and quick. Follow safety steps carefully to avoid risks. Choose the right replacement light for your needs. Proper installation helps your lights work well and last longer. Test the sensor after installation to ensure it detects motion correctly.
Regular checks keep your outdoor area safe and bright. Taking time to do it right saves money and effort later. Now, your space can stay well-lit and secure at night.


